Edit a Publication Topic
When you create a publication, Paligo adds some commonly used "info elements" to the publication topic, such as copyright and pubdate. There are other elements that you can add too, including authorgroup, author and edition.
If you do not want a Publication Topic to be clickable in the TOC sidebar or Breadcrumb Homepage Link, see Make Topics Non-clickable Labels (HTML5).
Tip
To help you understand the correct structure for a publication topic, we have included a sample, see Example Publication Topic Structure. The sample shows the XML for a valid publication topic and includes many of the available info elements.
To edit a publication topic:
Establish which elements you want to include or exclude, see Supported Info Elements.
Select the Dotted Menu (...) for the publication in Content Manager.
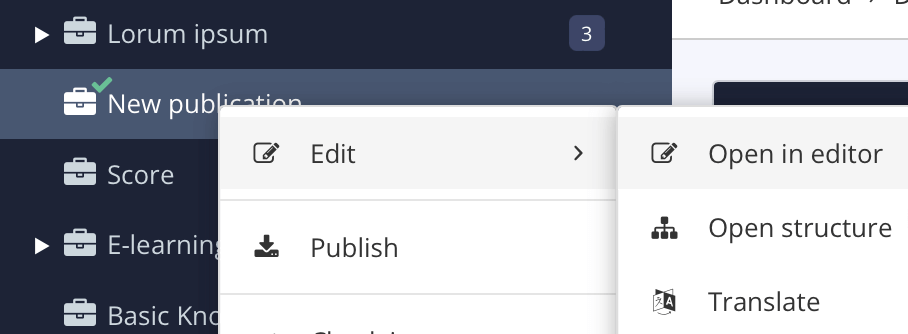
Select Edit and choose Open in editor.
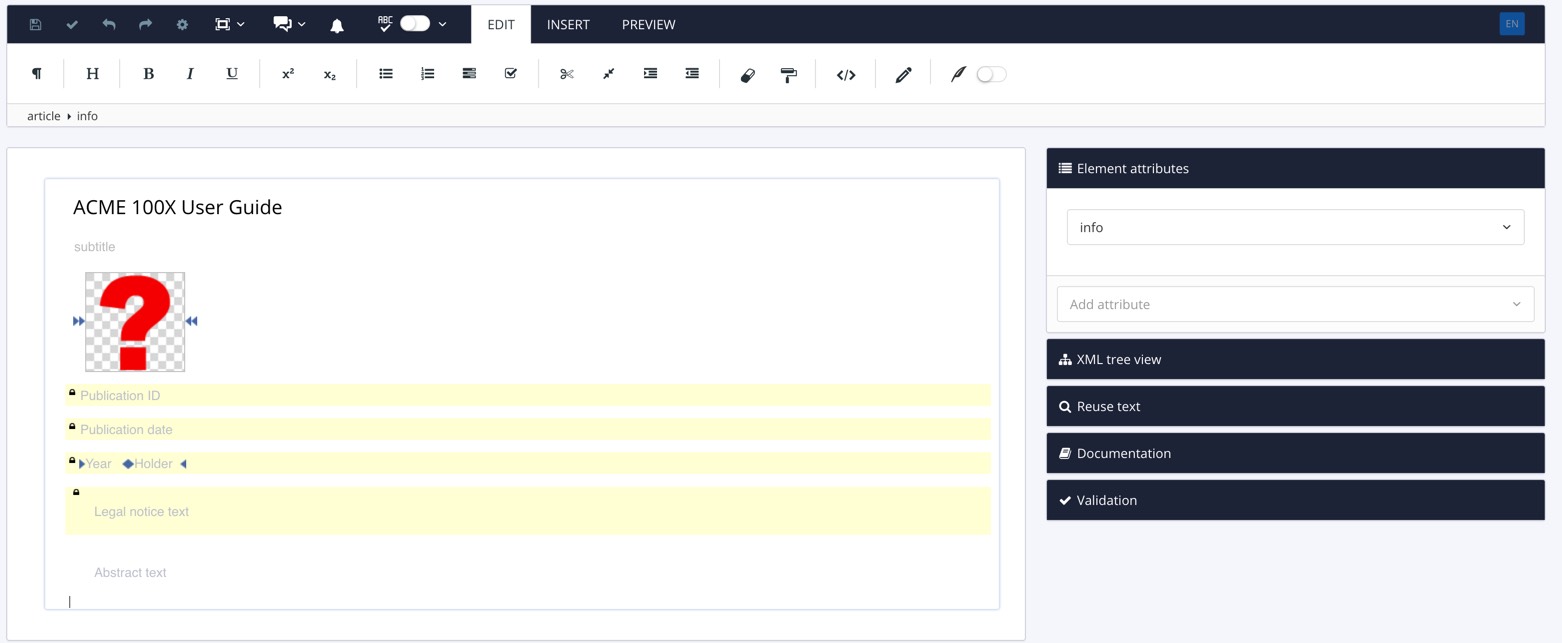
Paligo opens the publication topic.
Remove elements not needed.
Position the cursor where the new element is to be inserted inside the
infoelement.Press Alt + Enter ⏎ (Windows) or Command ⌘ + Enter ⏎ (Mac) to display the Element Context Menu.
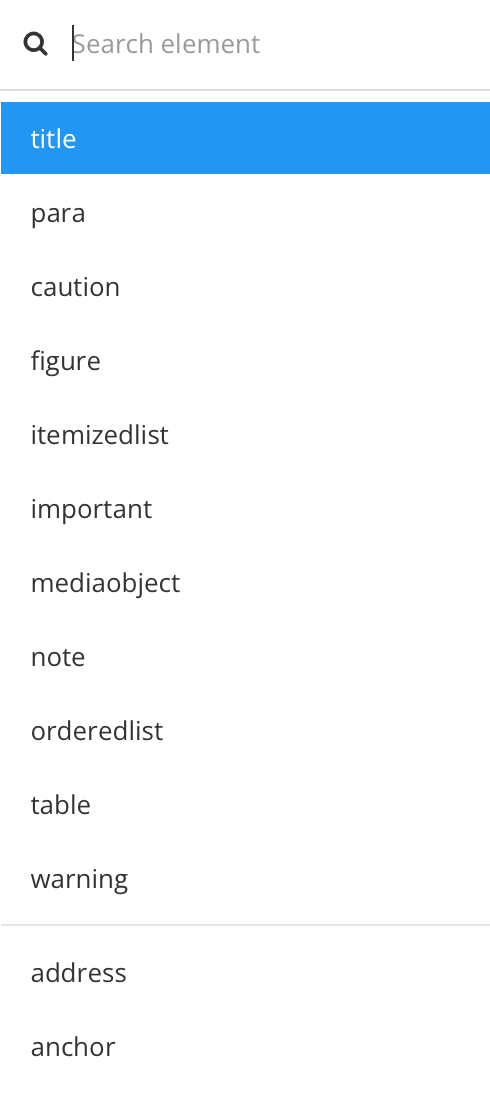
Scroll down the menu and add needed elements.
The menu provides access to all of the valid elements for the selected position. While the elements are valid, Paligo does not make use of them all and some may be excluded from the output. You should only use the elements that are supported (see Supported Info Elements).
Note
For some elements, you will need to apply a certain structure, for example, if you want to credit multiple authors, you will need to use
authorgroupandauthorelements. Other elements, such ascopyright, have additional child elements, such asyearandholder. See the examples for details.When you add an element, it is empty by default. You need to define the value that is going to be shown in the output. This could be:
Regular text - This is known as "hard coding" as the text is added to the topic and to change it, you would need to edit the topic.
Variable - These are containers for text that is defined elsewhere (in a variable set). The benefit of this approach is that you can use a variable set to modify or change multiple publications from one place. There is no need to edit each publication separately. To find out more, see Variables.
Dynamic variable - These are special types of variable that take their value from either the client session or from other elements in your content. For example, you could set the copyright year to always use the year that the publication was published. To find out more, see Dynamic Text Variables.
An image file (for
mediaobjectstructure).
Note
For the
pubdateelement, you can set Paligo to insert the date automatically. For details, see Change Publication Date and Time Format (PDF).Select Save.

If you are publishing to PDF, check that the element(s) are set to be included in the output when published.
Select Layout in the top menu.

Paligo displays a list of Layouts. The list is empty if there are no custom Layouts in your Paligo instance.
Select the Layout you want to update or Create a Layout.
Tip
You can copy the URL of the Layout Editor and paste it into a new tab in your browser. This can be useful if you frequently switch between your Paligo content and the Layout settings.
Select Front page in the sidebar.

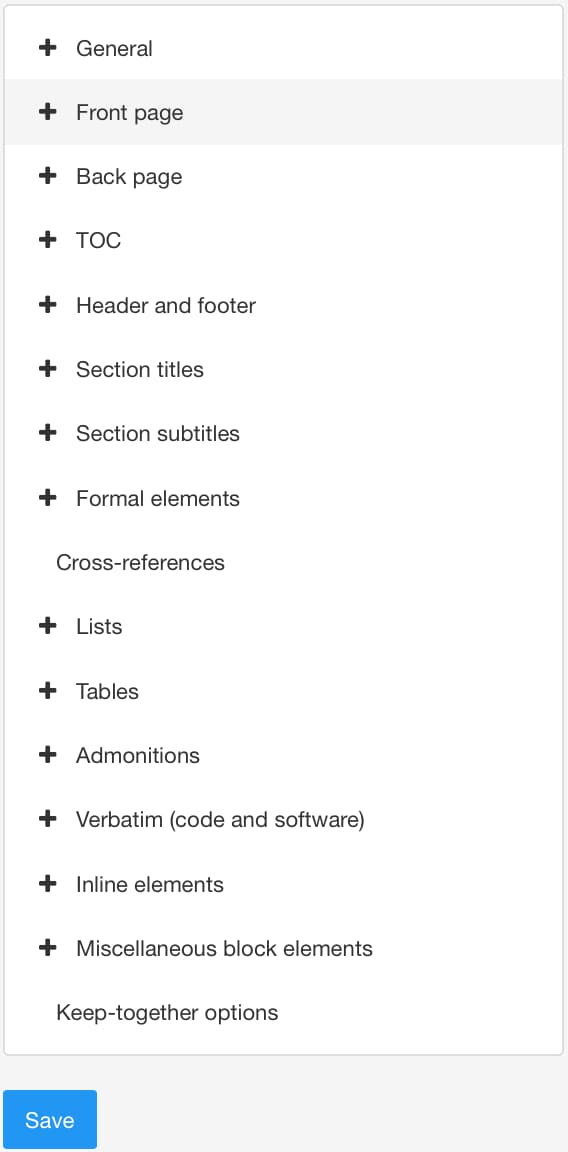
Select Info elements.
Make sure that the appropriate Render <element name> element on this side of the front cover setting has a value of recto (front page) or verso (reverse side).
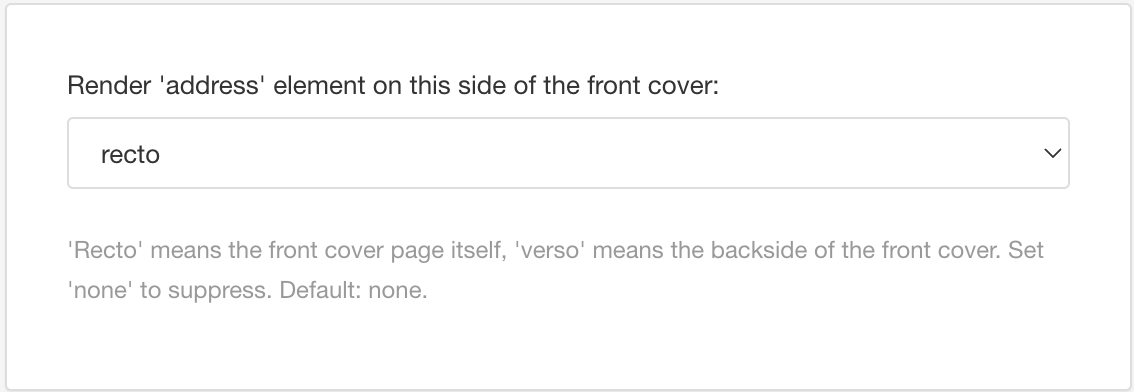
Note
Some elements are set to none by default, meaning that they will not be included in the output unless you change them to recto or verso.
Select Save.
Tip
When you publish your publication, it will include the info elements. To learn how to style the info elements, such as setting font colors and positioning content on the front cover or on the reverse side, see:
Style with CSS - For HTML outputs, create a custom CSS file with styles to define the look and feel that you want, then upload it to the HTML layout and publish it again.