- Paligo Documentation
- Publish
- PDF Styling
- Cover Pages and Front Matter
- Style the Info Elements
Style the Info Elements
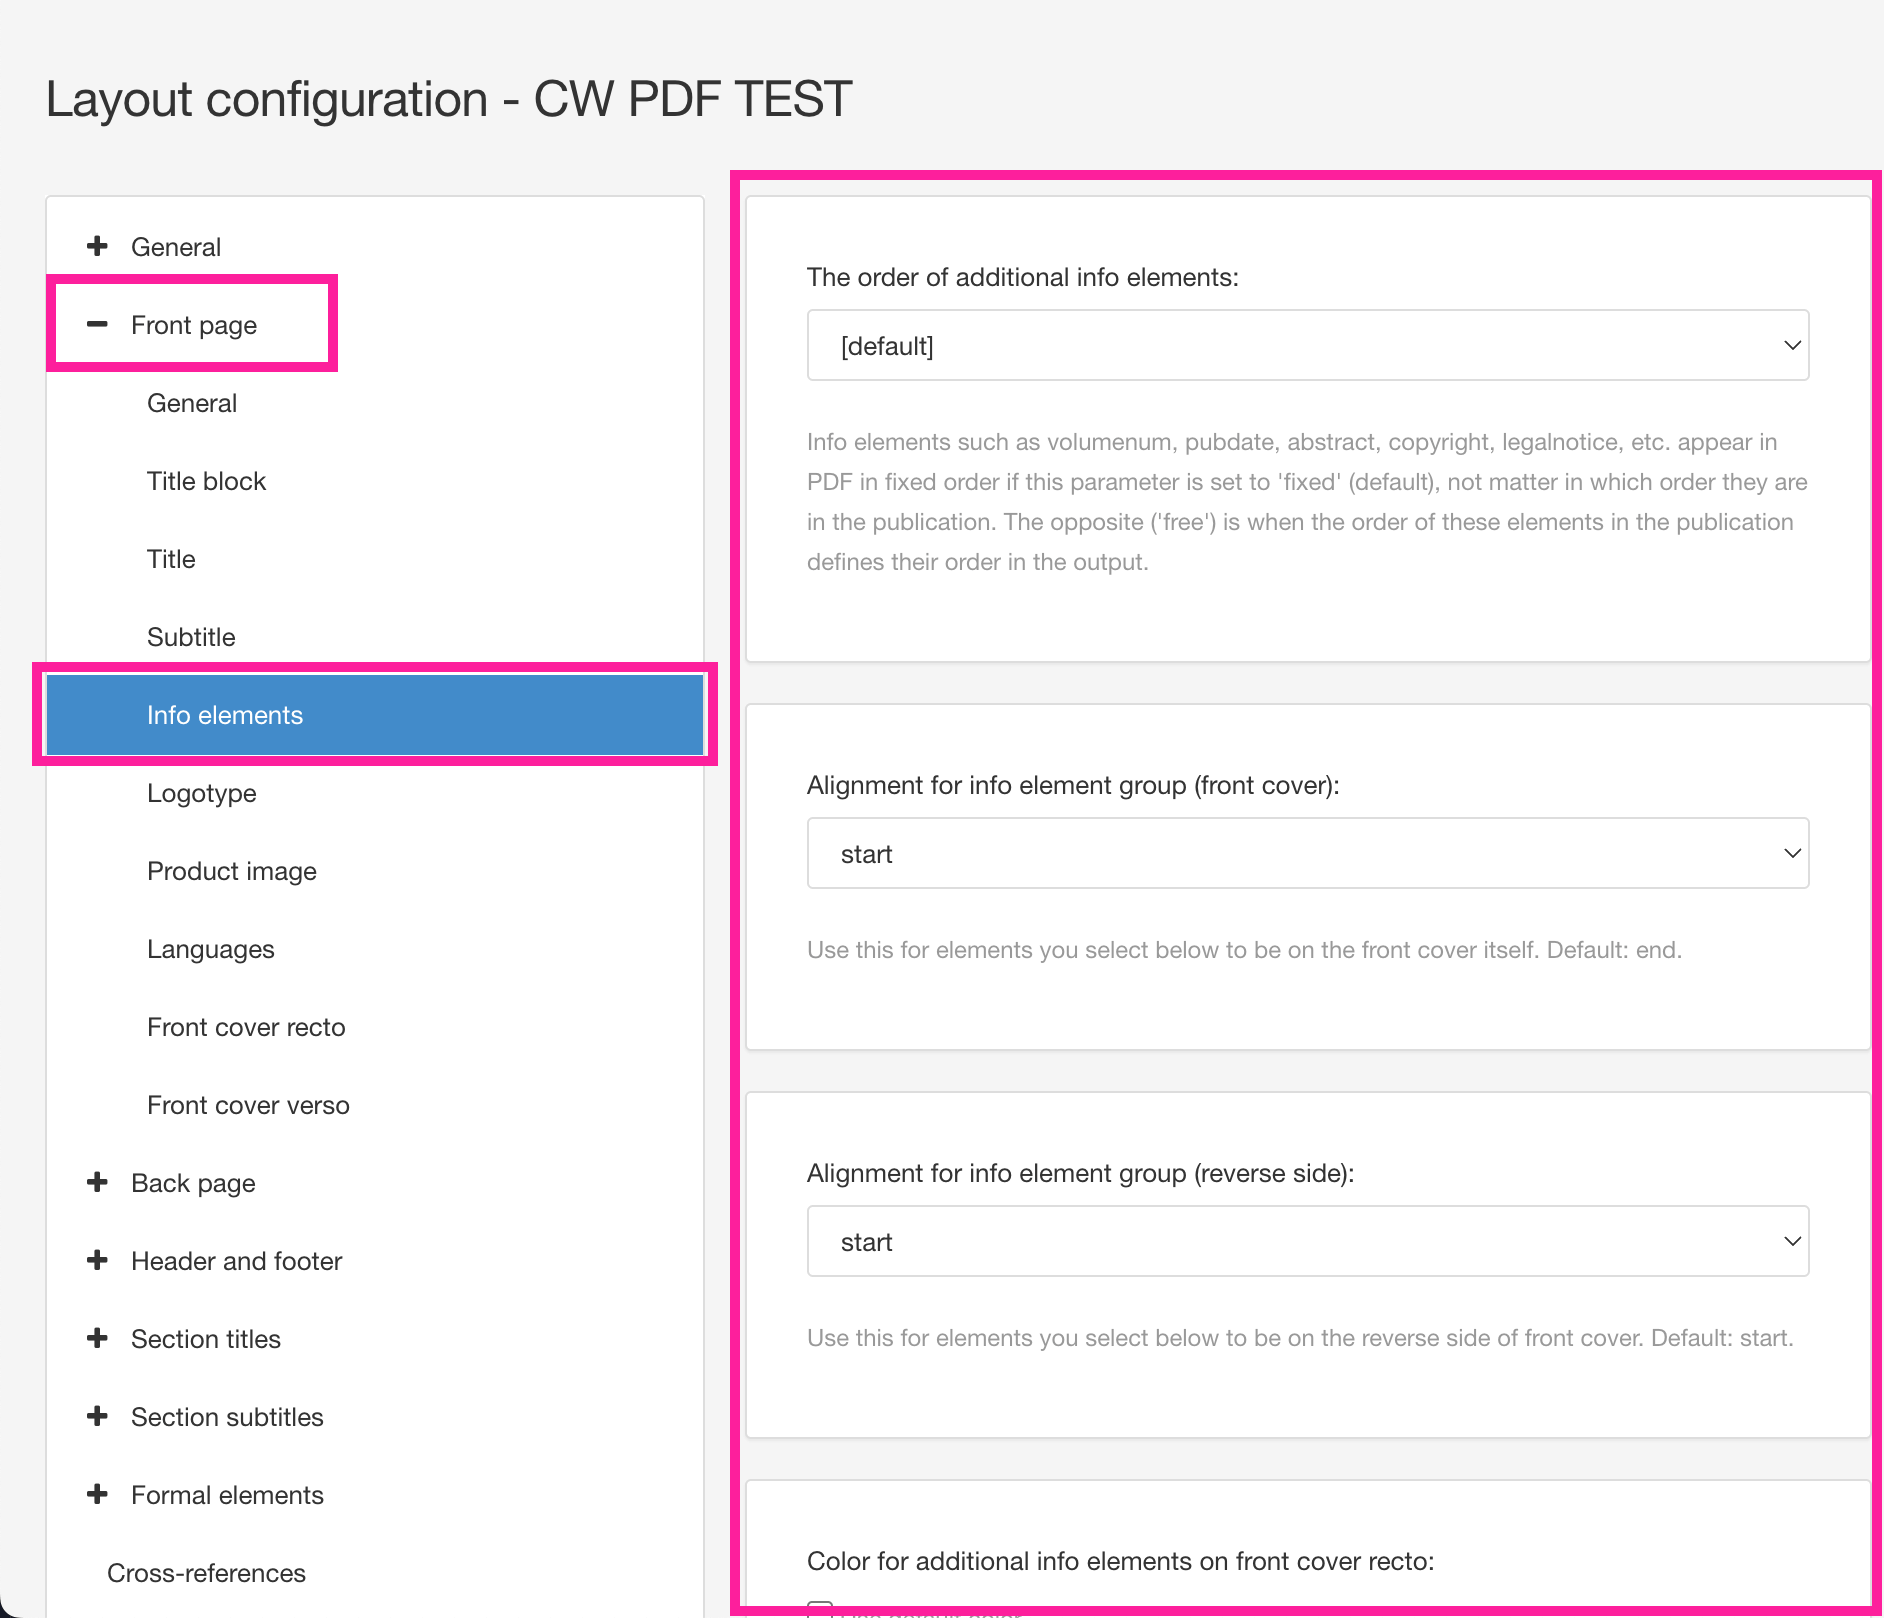
The PDF layout has settings for styling the "info elements" that you can add to a publication topic. You can find them in the Front Page group under the Info elements category.
 |
In a Publication Topic, you can have "info" elements, such as copyright and author. By default, Paligo displays these elements in a fixed order, see Order of Info Elements. But you can use the PDF layout settings to change the order to meet your own requirements.
To set the order of the info elements for PDF output:
Select Layout in the top menu.

Paligo displays a list of Layouts. The list is empty if there are no custom Layouts in your Paligo instance.
Select the Layout you want to update or Create a Layout.
Tip
You can copy the URL of the Layout Editor and paste it into a new tab in your browser. This can be useful if you frequently switch between your Paligo content and the Layout settings.
Select Front page in the sidebar.

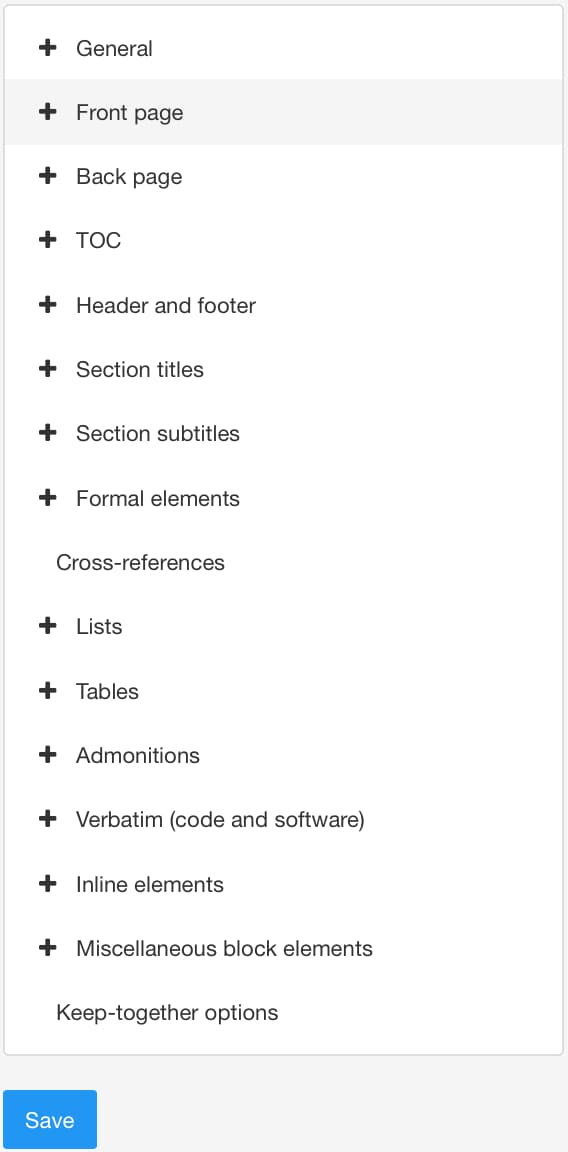
Select Info elements.
Use the The order of additional info elements setting to control the order of the info elements in the PDF output. Choose from:
Fixed - Paligo will present the info elements in a pre-defined order, which may not match the order of the elements that you can see when you edit the publication topic. For more details on the fixed order, see Order of Info Elements.
Free - The info elements will be in the same order that they appear in the publication topic in the Paligo editor.
Select Save.
When you publish with this layout, the info elements will be in the order that you have chosen.
Note
It is possible to make changes beyond those that are supported by the PDF layout. An XSLT developer can make changes by creating a customization. We can provide this as a professional service. For details, please contact customer support.
Publication topics contain "info" elements and by default, Paligo will try to add them to the front side of the front cover (front recto).
If there is not enough space, Paligo will show them on the next page (front verso). If you prefer, you can use the PDF layout settings to control which side of the front cover each "info" element will appear on.
Select Layout in the top menu.

Paligo displays a list of Layouts. The list is empty if there are no custom Layouts in your Paligo instance.
Select the Layout you want to update or Create a Layout.
Tip
You can copy the URL of the Layout Editor and paste it into a new tab in your browser. This can be useful if you frequently switch between your Paligo content and the Layout settings.
Select Front page in the sidebar.


Select Info elements.
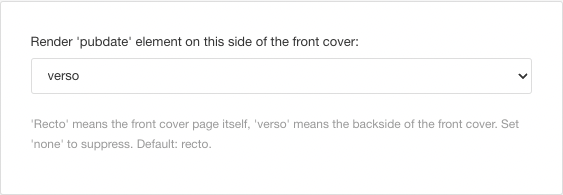
Use the Render element on this side of the front cover settings to choose which page the various additional info elements should appear on.
There are render element on this side of the front cover options for most of the additional info elements, including
authorgroup,author,volumenum, andpubdate.For each info element, you can choose either recto (for the right page) or verso (for the left page). You can also choose none to prevent an info element from being shown on the page.
Note
Paligo will position the info elements on the sides you have chosen as long as there is enough space available. For example, if you set the publication date to appear on the front cover (recto), but there is insufficient space, it will push the content onto the next page instead.
Select Save.
When you publish with this layout, the info elements will appear on the sides you have chosen, as long as there is enough space available.
Note
It is possible to make changes beyond those that are supported by the PDF layout. An XSLT developer can make changes by creating a customization. We can provide this as a professional service. For details, please contact customer support.
Paligo can generate labels for some elements, such as pubdate, edition and abstract. The labels are shown next to the element in the output and they give the reader extra context about the information. For example, the label for the publication date is "Publication date". Without the label, the date would appear on its own.
To set Paligo to use auto-labels for PDFs:
Select Layout in the top menu.

Paligo displays a list of Layouts. The list is empty if there are no custom Layouts in your Paligo instance.
Select the Layout you want to update or Create a Layout.
Tip
You can copy the URL of the Layout Editor and paste it into a new tab in your browser. This can be useful if you frequently switch between your Paligo content and the Layout settings.
Select Front page in the sidebar.


Select Info elements.
Set up automatic labeling for the
pubdate,edition, andabstractelements (if they exist in your publication topic). There is a separate setting for each of these elements.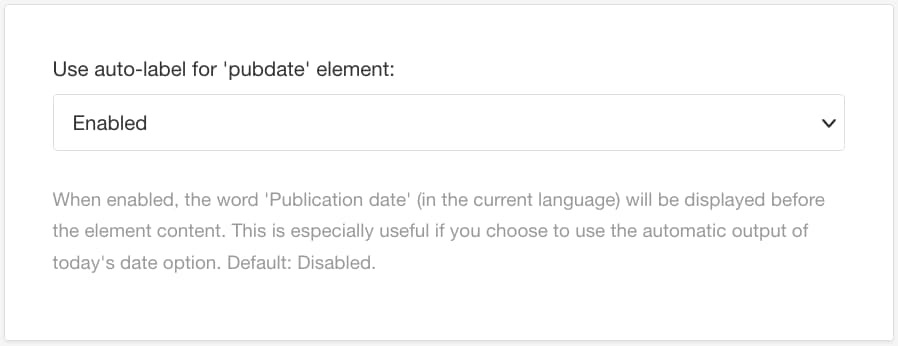
For each of these elements, enable or disable auto-labelling.
Enabled - Adds the term "Publication date" or "Abstract" before the content or "Edition" after the content of those elements.
Disabled - Does not include the auto-label terms before the
pubdate,edition, orabstractelements.Default to inherit the value for this setting from the base Layout. The base Layout is either a built-in Layout provided by Paligo or another custom Layout, see Layout Relationships - Base, New, Duplicate.
Select Save.
When you publish with this layout, the elements will use the auto-label settings you have chosen.
Note
It is possible to make changes beyond those that are supported by the PDF layout. An XSLT developer can make changes by creating a customization. We can provide this as a professional service. For details, please contact customer support.
Use the Layout Editor to control the format of the publication date for PDF outputs.
Select Layout in the top menu.

Paligo displays a list of Layouts. The list is empty if there are no custom Layouts in your Paligo instance.
Select the Layout you want to update or Create a Layout.
Tip
You can copy the URL of the Layout Editor and paste it into a new tab in your browser. This can be useful if you frequently switch between your Paligo content and the Layout settings.
Select Front page in the sidebar.


Select Info elements.
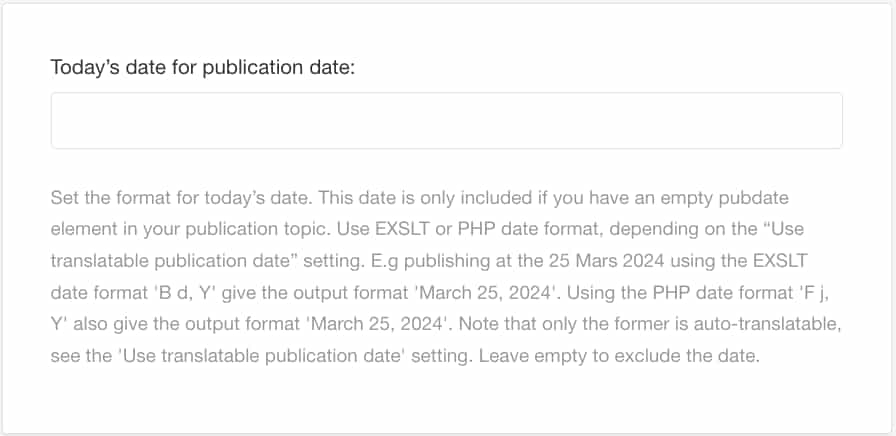
Define the date format for the
pubdateelement in the Today's date for publication date field.Which date format to select depends on whether the setting Use translatable publication date is enabled or not.
Note
Be aware that:
If you add an empty
pubdateelement to your publication topic, Paligo will automatically insert the date when you publish. It will use the date format you set in the Layout.If Today's date for publication date is left empty, the publication date will not appear in the output.
If you have a
pubdateelement and it contains content inside it, such as a text date or a variable, that content takes priority. Paligo will ignore the Today's date for publication date value.If the format you define in Today's date for publication date is not supported, Paligo will include the format value in the output.
Use translatable publication date to control whether a full-text date format for the
pubdateelement should automatically be converted into other languages.For example, you could have 28 March 2024 in English. For a Swedish output, Paligo would translate the date to 28 mars 2024.
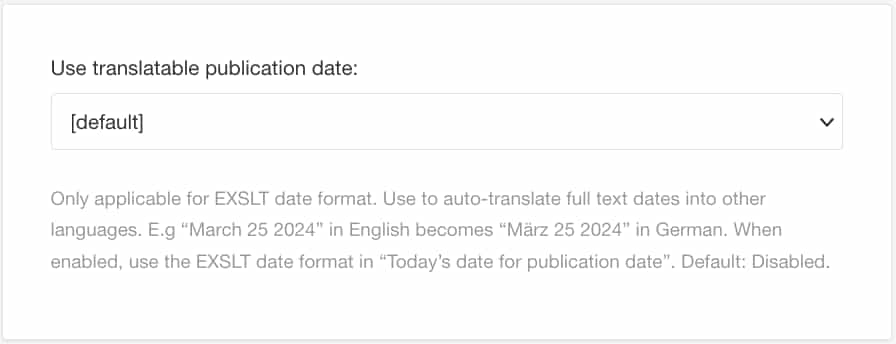
Select one of the following options:
Enabled to activate the auto-translation. Use EXSLT Date Format in Today's date for publication date.
Disabled to deactivate the auto-translation. Use PHP Date Format in Today's date for publication date.
Default to inherit the value for this setting from the base Layout. The base Layout is either a built-in Layout provided by Paligo or another custom Layout, see Layout Relationships - Base, New, Duplicate.
Use leading zero padding to control whether the date should have a leading zero for single-digit dates (when using EXSLT Date Format).
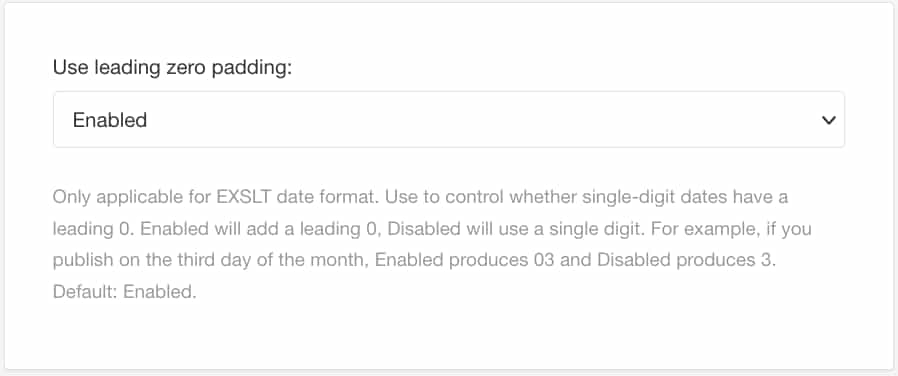
Select one of the following options:
Enabled to use a leading zero (for example 03).
Disabled to use a single digit (for example 3).
Use the PHP Date Format. It supports leading zeros by the use of different codes.
Default to inherit the value for this setting from the base Layout. The base Layout is either a built-in Layout provided by Paligo or another custom Layout, see Layout Relationships - Base, New, Duplicate.
Select Save.
When you publish with this Layout, the output will use the publication date settings you have chosen.
Note
It is possible to make changes beyond those that are supported by the PDF layout. An XSLT developer can make changes by creating a customization. We can provide this as a professional service. For details, please contact customer support.
Publication topics can contain info elements, such as copyright information and the name of the author. These elements are mostly left-aligned by default, but you can use the PDF layout to change the alignment. (For HTML, use CSS to adjust the alignment).
Select Layout in the top menu.

Paligo displays a list of Layouts. The list is empty if there are no custom Layouts in your Paligo instance.
Select the Layout you want to update or Create a Layout.
Tip
You can copy the URL of the Layout Editor and paste it into a new tab in your browser. This can be useful if you frequently switch between your Paligo content and the Layout settings.
Select Front page in the sidebar.


Select Info elements.
Set the info element alignment for the front page and reverse side.
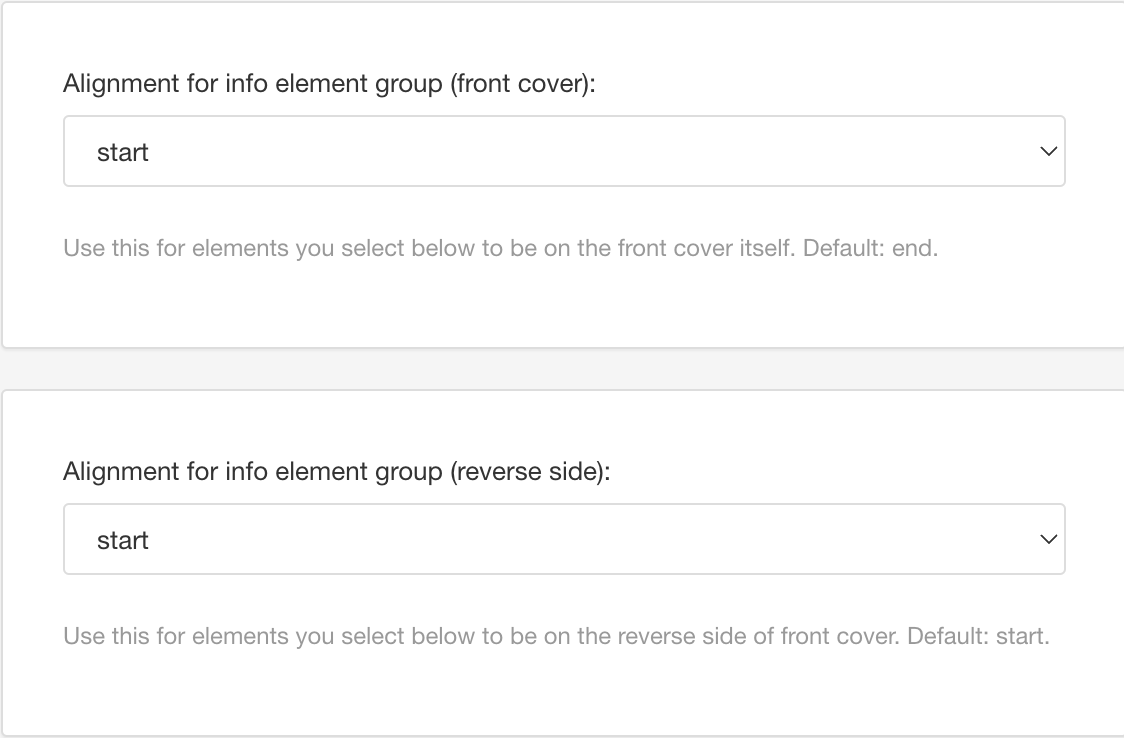
Use these settings to set the alignment for the front cover, the reverse, and any further pages:
Alignment for info element group (front cover) - Use to set the alignment of info elements on the front cover page.
Alignment for info element group (reverse side) - Use to set the alignment of info elements on the reverse side of the cover page. This will also apply to any additional pages that appear before the table of contents, for example, if you have a legal notice that goes over two pages, they will both use the alignment for the reverse side.
With both of the alignment settings, you can choose from:
Start - Left-align the content (in left-to-right languages). Default.
End - Right-align the content (in left-to-right languages).
Center - Align the content centrally.
Justify - Add space to make the content fit the full width of the content area. The first and the last word, number or symbol will be at the margin boundaries of the content area.
Inside - Align the content to the "spine". The spine is where the pages would be bound if the document was printed out as a book. If the content is on a left page ("verso"), the content is right-aligned and if it is on a right page ("recto") it is left-aligned.
Outside - Align the content to the outer edge of the page. This is the opposite edge to the "spine" (see Inside). If the content is on a left page ("verso"), the content is left-aligned and if it is on a right page ("recto") it is right-aligned.
Default to inherit the value for this setting from the base Layout. The base Layout is either a built-in Layout provided by Paligo or another custom Layout, see Layout Relationships - Base, New, Duplicate.
Select Save.
When you publish with this layout, the title will use the style and positioning settings you have chosen.
Note
It is possible to make changes beyond those that are supported by the PDF layout. An XSLT developer can make changes by creating a customization. We can provide this as a professional service. For details, please contact customer support.
To change the color of the info elements, such as copyright and the author's name, on the front cover or "front matter" pages:
Select Layout in the top menu.

Paligo displays a list of Layouts. The list is empty if there are no custom Layouts in your Paligo instance.
Select the Layout you want to update or Create a Layout.
Tip
You can copy the URL of the Layout Editor and paste it into a new tab in your browser. This can be useful if you frequently switch between your Paligo content and the Layout settings.
Select Front page in the sidebar.


Select Info elements.
Set the color of the info elements on the front cover and the reverse side.
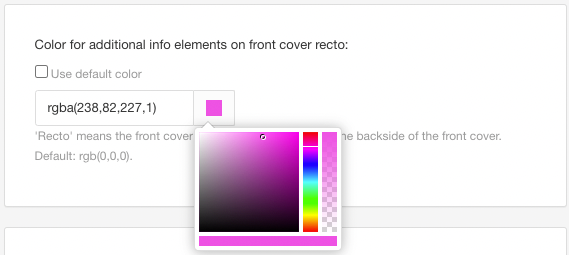
Color for additional info elements on front cover recto
Use to set the color of info elements on the front cover.
Color for additional info elements on front cover verso
Use to set the color of info elements on the reverse side of the cover and any further pages.
For both color options, you can either use the default color (black) or clear the checkbox and then choose a different color. You can enter rgba values or use the color selector to choose a color.
Select Save.
When you publish with this layout, the info elements will use the colors you have chosen.
Note
It is possible to make changes beyond those that are supported by the PDF layout. An XSLT developer can make changes by creating a customization. We can provide this as a professional service. For details, please contact customer support.