Variables in Paligo
Dynamic Text Variables
Dynamic text variables are pieces of content that take their value from either the client session or from other elements in your content. They are resolved when you publish and you can use them to insert content such as:
Current date and time, which is taken from your client session and so is accurate for your local time zone, see Dynamic Text Variables for Time and Date.
Content of any element or attribute in your publication. This can be elements in the publication or elements in your topics, see Dynamic Text Variables for Elements and Attributes.
If you publish to PDF in multiple languages, there is an option to Combine selected languages in the PDF layout.
You can only use dynamic text variables if Combine selected language is disabled (unchecked). Dynamic text variables are only supported when publishing individual PDFs.
Dynamic Text Variables for Elements and Attributes
You can use dynamic text variables to insert the value of an element or attribute from your content into a topic. For example, you could add the value of the edition, author or releaseinfo elements from a Publication Topic into the topic. To learn more, see Supported Elements, Supported Info Elements and Supported Attributes.
To reference elements and attributes, you will need:
A basic understanding of XPath 1.0. XPath is required for navigating the elements in the XML output, see https://www.w3schools.com/xml/xpath_intro.asp.
Access to the XML file that contains all of your content, see Plan your References with the Debug XML File. You can use this file to plan your XPath references. Once you know which elements and attributes are needed, you can insert the appropriate references in your dynamic text variables.
To Insert a Dynamic Text Variable in your topics, and add the references using the appropriate syntax.
Dynamic Text Variables for Time and Date
With dynamic text variables, you can enable time and date to be automatically added to your content during the Publish Content. Since the information is retrieved from your browser's client session time and date, it will be accurate for your location. To find out more about the syntax for time and date variables, see SimpleDateFormat (Java 2 Platform SE 5.0).
To Insert a Dynamic Text Variable in your topics, add the references using the appropriate syntax in a phrase element. There are many different ways of displaying the time and date and we have included some examples below.
Syntax | Returns |
|---|---|
${date:date-time()}$ | The current date, time, and timezone information. |
${date:format-usertime('h:m')}$ | The current hour and minutes. Use this function for greater control over the format of the date and time in the output. Set the arguments for the function in brackets, where string arguments must be enclosed in single quotes (as shown in the table). |
${date:format-usertime('EEE, MMM d, yyyy')}$ | The current day, month, and year. |
${date:format-unixtime(ancestor::d:section[@xinfo:time-modified][1]/@xinfo:time-modified, 'EEE, MMM d, yyyy')}$ | This syntax formats the Unix time stamp into readable text: Thu, Aug 10, 2023. Replace the date format in the syntax to change how the date is presented. To find suggestions, see Simple Date Format. If 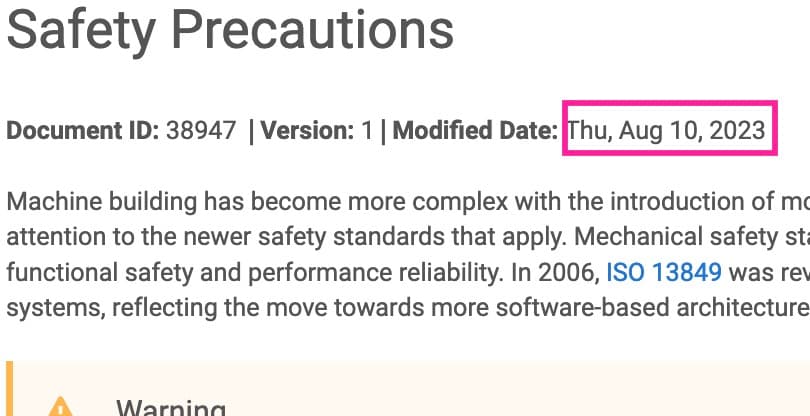 |
Insert a Dynamic Text Variable
When you know what elements and attributes you want to use for your dynamic text variables, you add them to your topics. This works for both HTML5 and PDF output.
To write XPath expressions, there are several things you need to be aware of:
Include the "d:" prefix for navigatingthe XML, for example:
${/*[1]/d:info/d:title}$. The namespace prefixdis bound to http://docbook.org/ns/docbookSome DocBook attributes and Paligo extension attributes do not require a prefix. To access the extension attributes, use the
@xinfoprefix, for example${@xinfo:time-modified}$. It will show the date as a computer code, see Dynamic Text Variables for Time and Date for examples of how to make it readable. The namespace prefixxinfois bound to http://ns.expertinfo.se/cms/xmlns/1.0.For PDF output the top-level node that you can access is
article. You cannot access the article's parent node (part).
To insert a dynamic text variable:
Select the topic or component in the Content Manager to open it in the Editor.
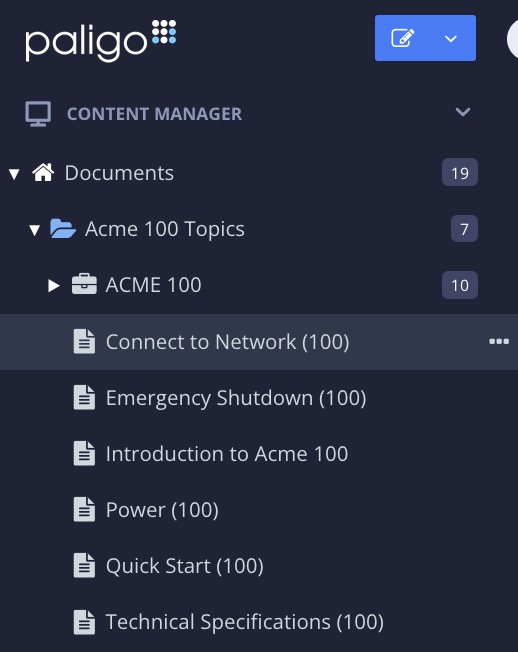
Alternatively, you can Create a Topic and edit that.
Position the cursor at a valid position for the dynamic text variable.
For example, inside a
paraelement.Press Alt + Enter ⏎ (Windows) or Command ⌘ + Enter ⏎ (Mac) to display the Element Context Menu.
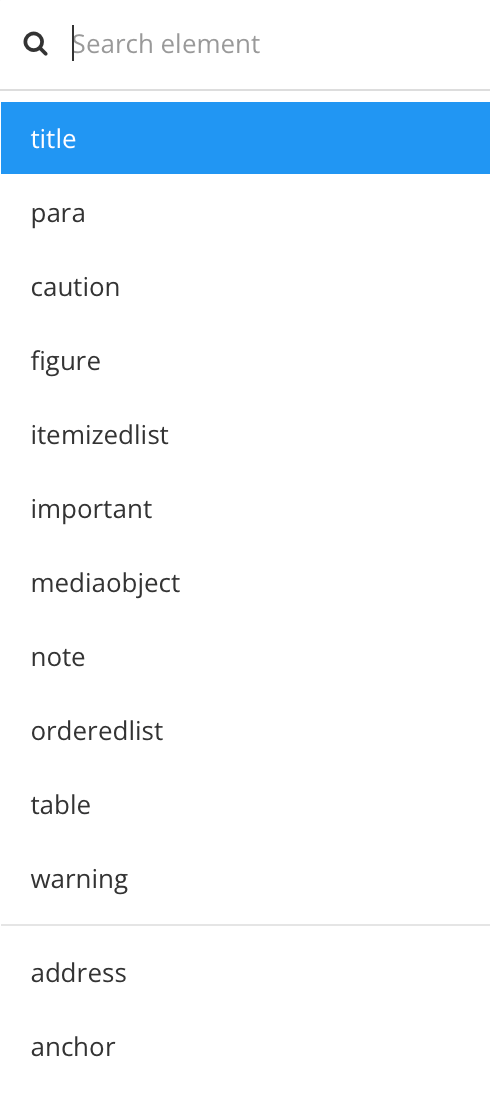
Enter
phraseand select it from the menu.Select the phrase element in the Element Structure Menu and choose Go to element.

Add the
roleattribute in the Element Attributes Panel and set its value todyntextvar.
This will add the minimum required syntax for the dynamic variable
<phrase role="dyntextvar">${}$</phrase>In the
phraseelement, enter the syntax for the relevantXPath expressionto access the element or attribute you want to use.ImportantIf you use an expression to access an element or attribute that does not exist, the dynamic text variable will be empty (blank) in the output.
Select Save.

Preview the topic to verify the timestamp.
Plan your References with the Debug XML File
Paligo can provide you with a single XML file that contains all of the content in a publication (the publication itself and all of the topics). You can use this XML file to get a better understanding of the structure of your content, so that you plan the XPath expressions for your dynamic text variables. Use XPath 1.0 expressions to access the elements and attributes in your content.
To get the XML file:
In the Content Manager, find your publication, select its option ( ... ) button, and then select Publish.
On the Publish document dialog, choose the type of output you want, set the Languages, Profiling Attributes, and regular Variables, and then select the Make debug build option.
The Make debug build option tells Paligo to include the build files in the output as well as the actual output. One of the build files is an XML file that contains your content.
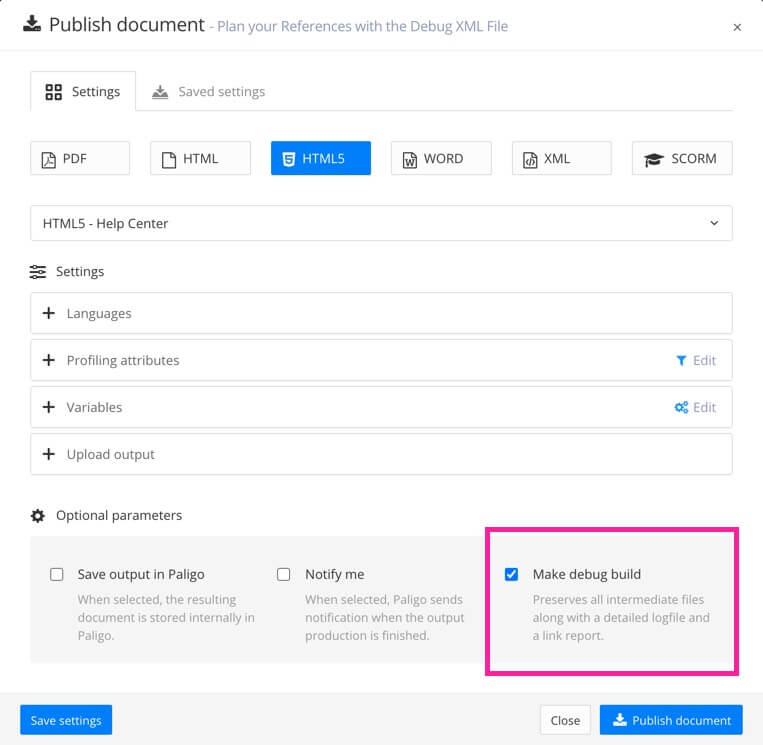
Select Publish document to publish your content.
When it downloads, unzip it and look for the XML file that contains your content.
For PDF outputs, the XML file has the same name as the publication and has a language suffix. For example, "Acme_100_user_guide-en.xml".
For HTML, HTML5, XML, Word, and SCORM outputs, the XML file is named index and has a language suffix, for example, index-en.xml.
Open the XML file from step 3 and use it to plan your XPath 1.0 expressions. When you have planned the expressions, you can insert dynamic text variables into your content and add the relevant expressions.