Publish to Salesforce Knowledge
Discover how to publish your Paligo content to your Salesforce Knowledge.
If you have set up the Paligo-Salesforce integration, you can publish content from Paligo to your Salesforce Knowledge instance. You can also use Paligo to delete content that already exists in Salesforce.
Decide whether you are going to use a Salesforce Nested Layout or a Salesforce Knowledge Layout for publishing.
Salesforce Nested Layouts are for publishing a structure of navigational topics and articles to a community. For these, you must publish from a publication.
Salesforce Knowledge Layouts are for publishing articles only, with no structure. For these, you can publish from a publication or an individual topic.
To learn more, see Mapping with a Salesforce Knowledge Layout and Mapping with a Salesforce Nested Layout.
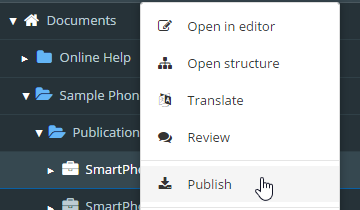
Select the dotted menu (...) for the topic or publication in the Content Manager and then select Publish
 .
.
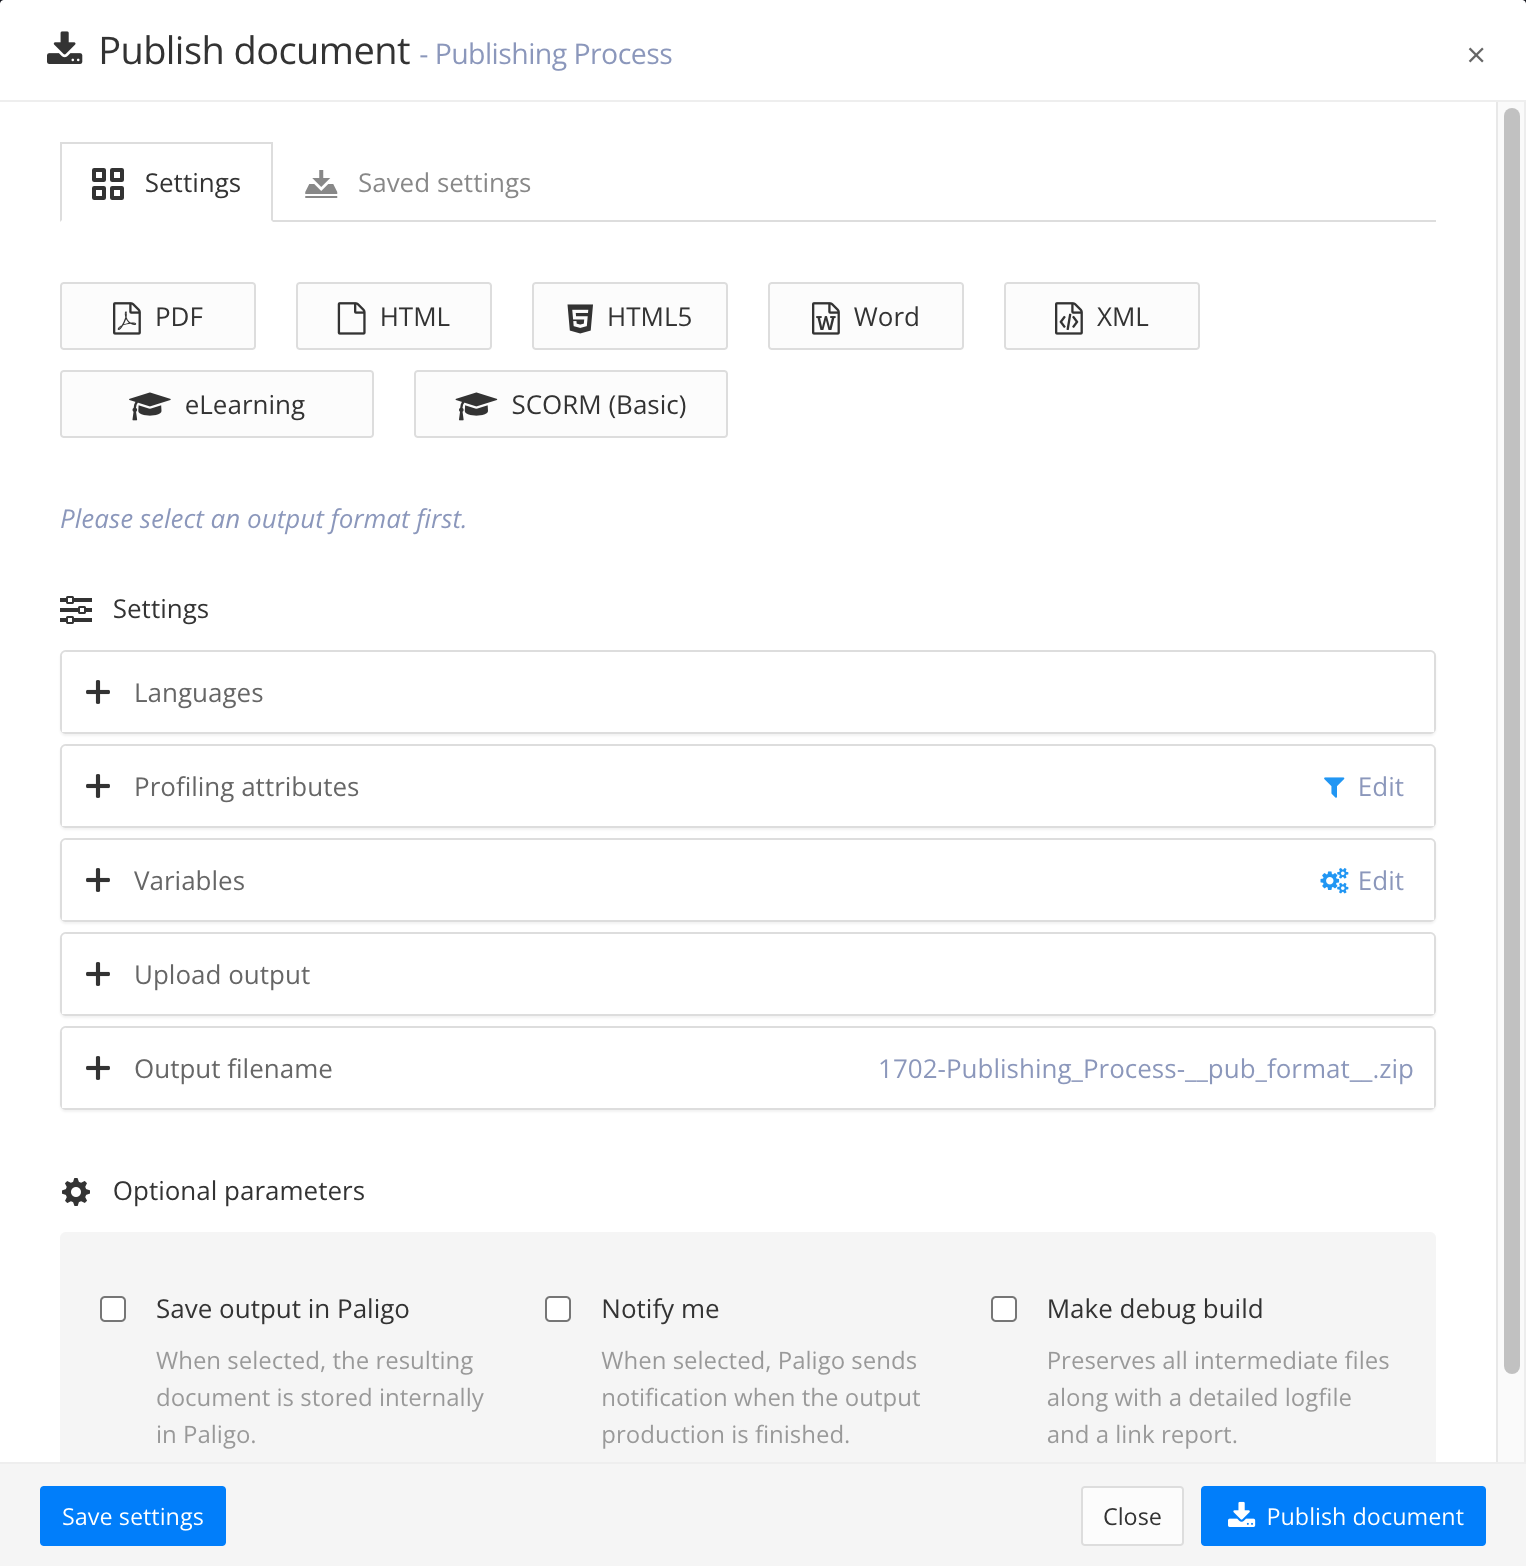
Paligo displays the Publish document dialog.
Select the HTML output and choose the Salesforce Layout that you want to use for publishing. We recommend that you use a custom Salesforce Nested or Salesforce Knowledge Layout. To learn how to create a custom Layout, see Create a Salesforce Layout.

Use the Salesforce link prefix field to customize any cross-references. You should only use this field if your articles in Salesforce are not located directly in the root of your instance.
For example, if the URL for your articles is 'my-instance.force.com/<name of article>', leave the Salesforce link prefix field empty. Paligo will publish your cross-references correctly by default.
If the URL for your articles has one or more extra directories between the instance and the article, enter the syntax in the Salesforce link prefix field. For example, if the URL for your articles is 'my-instance.force.com/sa/<name of article>, enter /sa/ in the Salesforce link prefix field.
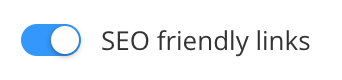
Use the SEO friendly switch to control how Paligo generates URLs for the articles.
Set the switch to on (blue) if you want Paligo to generate URLs that are based on the title of the topic. This creates a more meaningful URL that is better for search engines and your readers. For example, if you have a topic with the title "Research Articles", Paligo will generate its URL as "/articles/research-grants-12345". Spaces in the title are replaced by hyphens and the ID of the topic is added to the end to make sure the URL is unique.
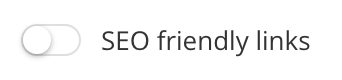
Set the switch to off (white) if you want Paligo to generate URLs that are based on the UUID of the topic. This create a URL that contains the UUID, such as /articles/UUID-123-1230654.
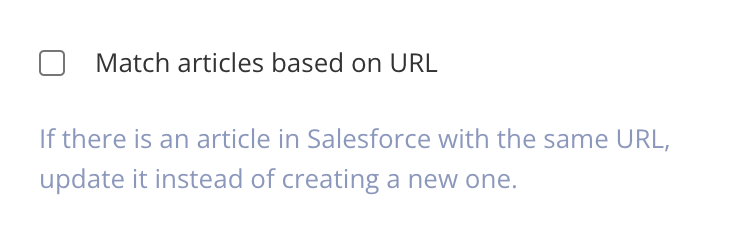
Use Match articles based on URL to control what action Paligo takes if the mapping between Paligo and Salesforce is lost.
Typically, mapping is lost if you have been publishing to one Salesforce instance and then switch to another Salesforce instance. But there may be other circumstances that also cause a loss of mapping.
To prevent the loss of mapping, check the Match articles based on URL box.
If you leave the box clear (unchecked), Paligo will create new articles if the mapping is lost. This can cause the publishing process to fail if the Salesforce instance already contains an article with the URL Paligo is trying to use.
Use the Salesforce communities setting to choose the Experience Cloud that will receive the content from Paligo. The Experience Cloud is the site that contains your Salesforce Knowledge articles. You can find out about Experience Clouds in the official Salesforce documentation.
Note
The Salesforce communities setting is only available if you are publishing with a Salesforce Nested Layout.
To associate the content you are publishing with data categories, click in the Salesforce Data Categories field and choose from the list. Alternatively, you can leave the field blank and publish without data categories.
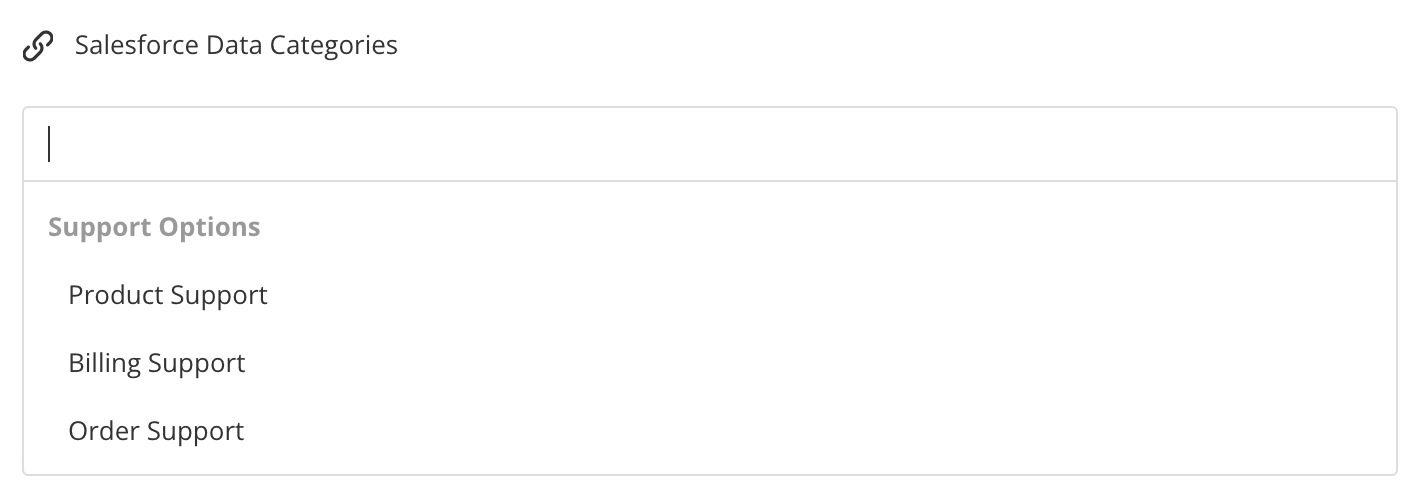
Data categories are a Salesforce concept and they allow you to classify and control access to articles. You need to set them up in Salesforce Knowledge. When they are in place, Paligo can detect them and will display them as options in the Salesforce Data Categories setting.
To learn about data categories, see the official Salesforce documentation.
Note
If you select a "parent" data category, you cannot select any of its "child" data categories. This is because Salesforce does not allow you to associate an article with both a parent category and its child categories.
Warning
When you publish, Paligo will remove any existing relationships between the articles and data categories. It will then create the new relationships you chose in Paligo's publishing settings.
This step only applies if you did not select any data categories in the previous step.
Clear the Remove existing data categories box to keep any existing data categories.
Check the Remove existing data categories box to remove any existing data categories in your Salesforce Knowledge.
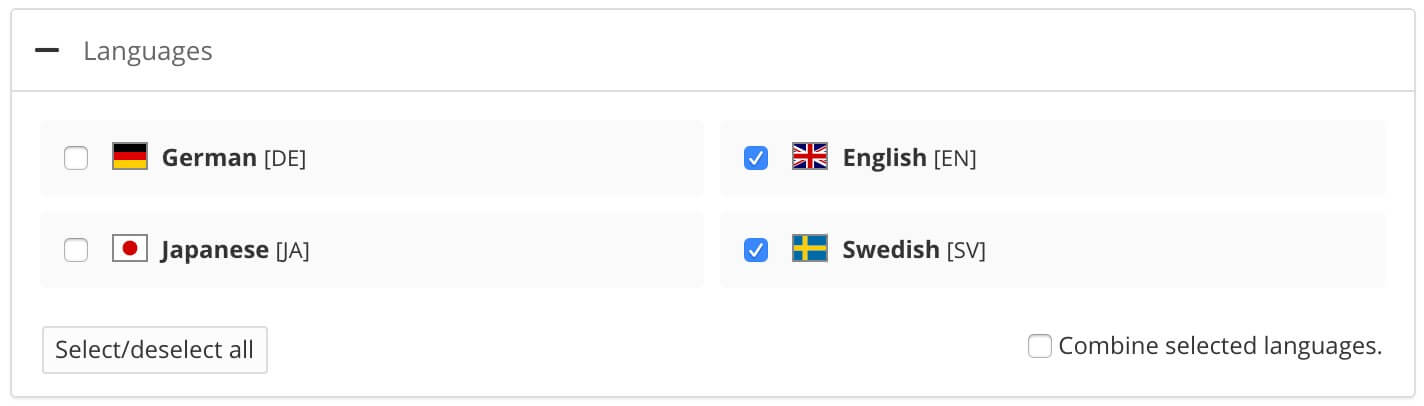
Select the languages to be published.
Note
If no translations are available, only the Source Language will show. If you have multiple languages translated and approved, you can select which ones to include. Paligo will publish each language as a separate output.
For PDF output you can publish them as one multilingual publication, check the Combine selected languages box.
Important
If Paligo is going to create new navigational topics, you must include the source language of your Salesforce Knowledge instance in the Languages.
For example, let's say your Salesforce Knowledge instance uses Spanish as its primary language. When you publish from Paligo, you must include Spanish, otherwise Paligo will be unable to create any new navigational topics.
Select Edit in the Profiling attributes section to apply Filtering / Profiling (Optional).
If you do not want to apply a filter, leave the field blank.
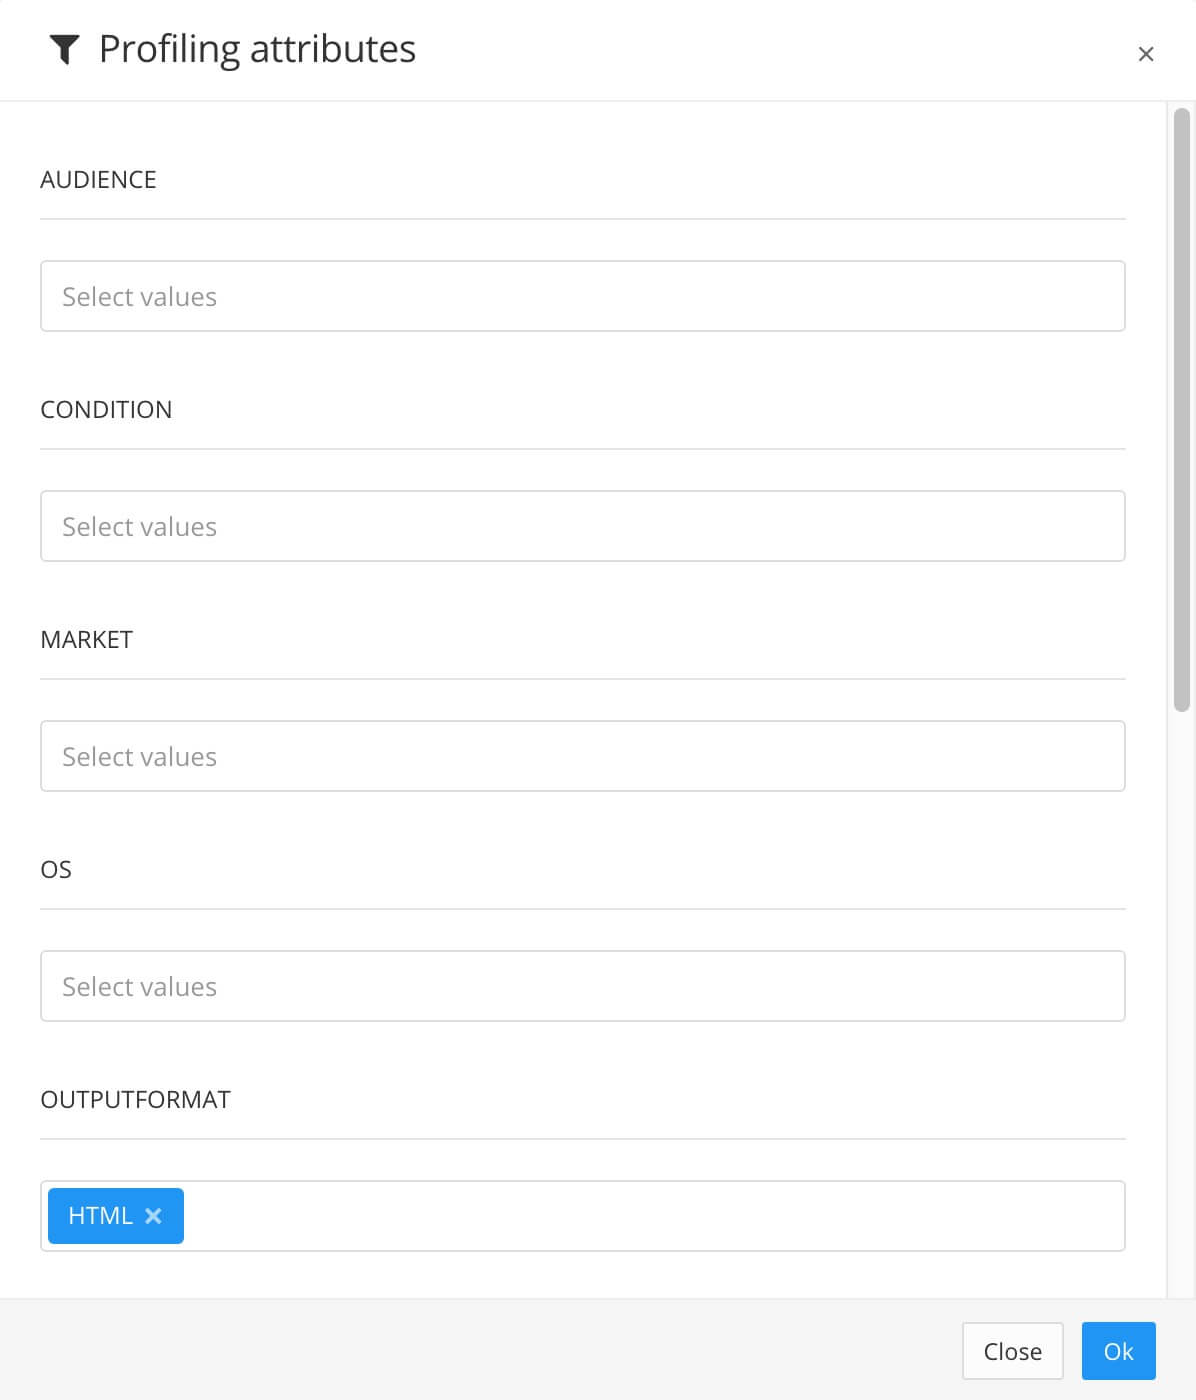
Select OK to add your chosen profiling attribute(s).

Select Edit in the Variables section to apply Variables (Optional).
If you do not want to apply a variable, leave the field blank.
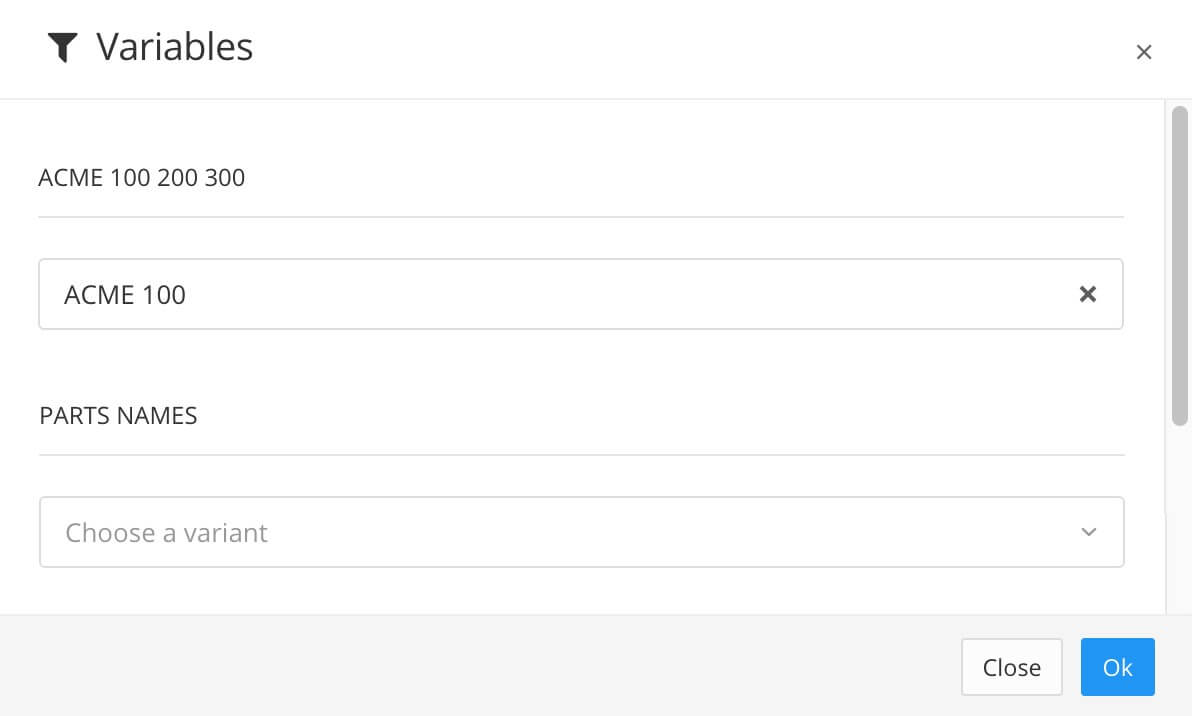
Select OK to add the selected variables.

Use the Upload output section to upload a zip file of the content to a repository, see Integrations.
Use the Output filename section to control the filename.
By default, Paligo will use the filename syntax that is defined in the System Settings.
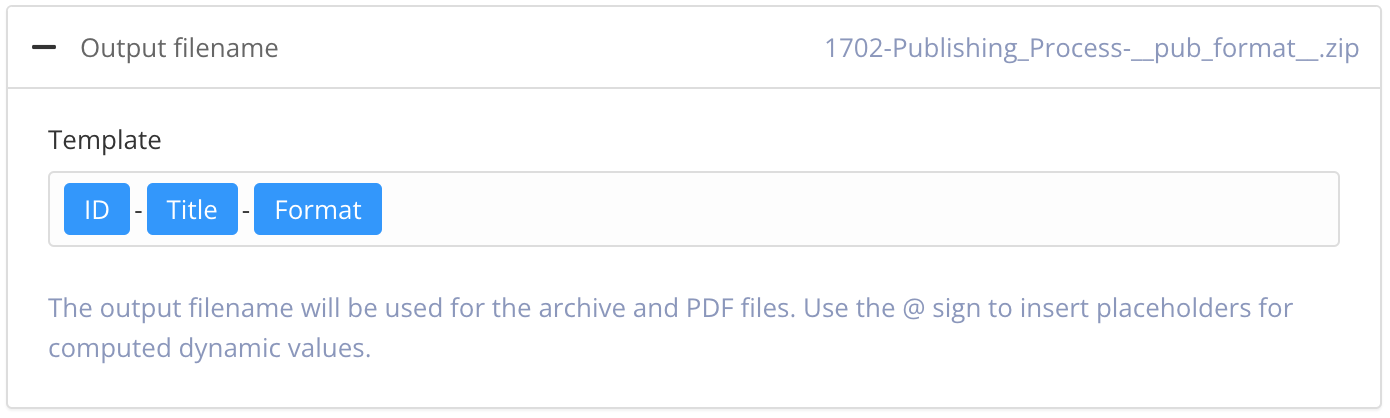
To change the information included in the filename, enter your preferred format in the publishing settings. Default is:
ID-Title-Format.You can use:
ID - The ID of the document.
Title - The title of the publication or topic that you are publishing.
Format - The name of the output format, for example, PDF or HTML5.
Edit date - The date that the publication or topic was last edited.
Branch label - The text from the branch label for the publication or topic. This only applies if your content has been branched and it has a branch label. For details, see Add or Edit Branch Labels.
Unique value - A random string of characters, generated by Paligo, that is added to the filename to make it unique. This can stop the file from being overwritten by later publishes of the same document.
Tip
If you type @ into the field, Paligo displays a list of the available values and you can select from the list. To remove a value, click in it and use the delete key or backspace key to remove all of its characters.
Note
The filename shown in the top-right corner is a preview of the filename that Paligo will use when you publish.
Set the Optional Parameters (leave unchecked if you do not want these features):
Save the output in Paligo - Check the box to save the zip file that Paligo creates when you publish. The zip file will be available from the Resource View and you can download it from the Saved Outputs tab. Clear the box if you don't want Paligo to store the zip file.
Notify me - Check this box if you want Paligo to send you an email when the publication is ready. This is useful if you have very large publications that can take a longer time to process and publish.
Make debug build - Check this box if you want Paligo to include a log file and link report. If there is an issue with your content, Paligo support may ask you to enable this feature so that they can use the log files to investigate.
Select the Preflight tab.
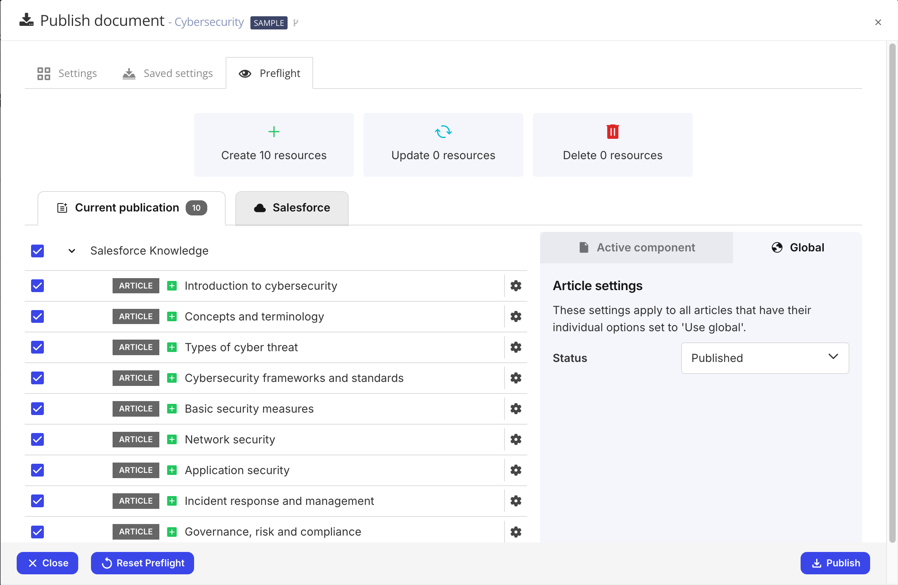
Use Salesforce Preflight to:
Preview the content mapping
Choose which articles or navigational topics are going to be published
Set the status of articles
Remotely delete articles and navigational topics that already exist in your Salesforce Knowledge instance.
For instructions on using Preflight, see Salesforce Preflight for Nested Layouts or Salesforce Preflight for Knowledge Layouts.
Publish to Salesforce Knowledge.
You can start the publishing process by selecting Publish document on the Settings tab or Publish on the Preflight tab.
When the publishing is done, go to your Salesforce Knowledge account and check the results.
Note
If Salesforce displays an error relating to the article size, and your article is 130 KB or less, it is likely due to size limits that are set in Salesforce. Please refer to Salesforce's documentation for details on how to change the limits.
Paligo can publish topics of up to 130 KB and content is "pushed" into a single field in Salesforce.
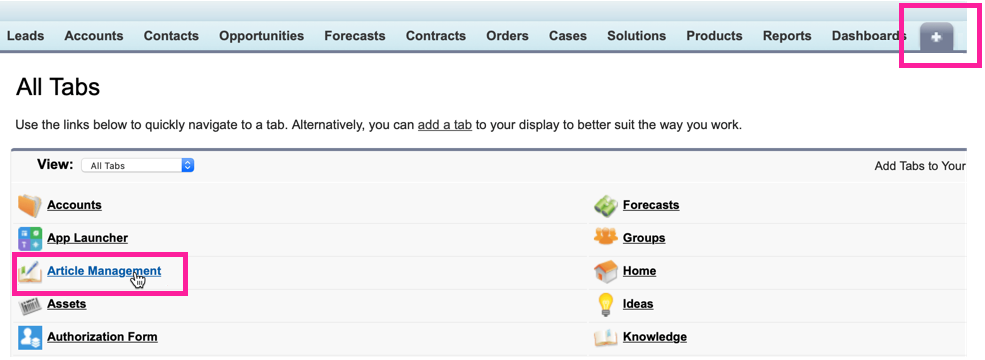
Tip
It is often easiest to manage articles in the Salesforce Classic mode. You can find the published articles by selecting to view all tabs (the plus sign at the top-right), and then select Article Management.
 |