Add or Edit Branch Labels
When you create a branch, Paligo adds a branch symbol and a number to the publication or topic automatically. But it is also a good idea to add a label, so that it is easier to understand the difference between branches. For example, you could add a label for the product version, a release date, or to show the content is part of an update.
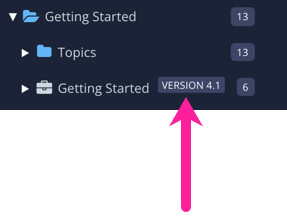
The label is shown next to the publication or topic name in the Content Manager, Dashboard, Resource View and other displays where the name is included.
When you create a branch for a publication, the create branch dialog has a Label field where you can create a label (see Create a Topic Branch) and Create a Publication Branch).
 |
To add or edit an existing label:
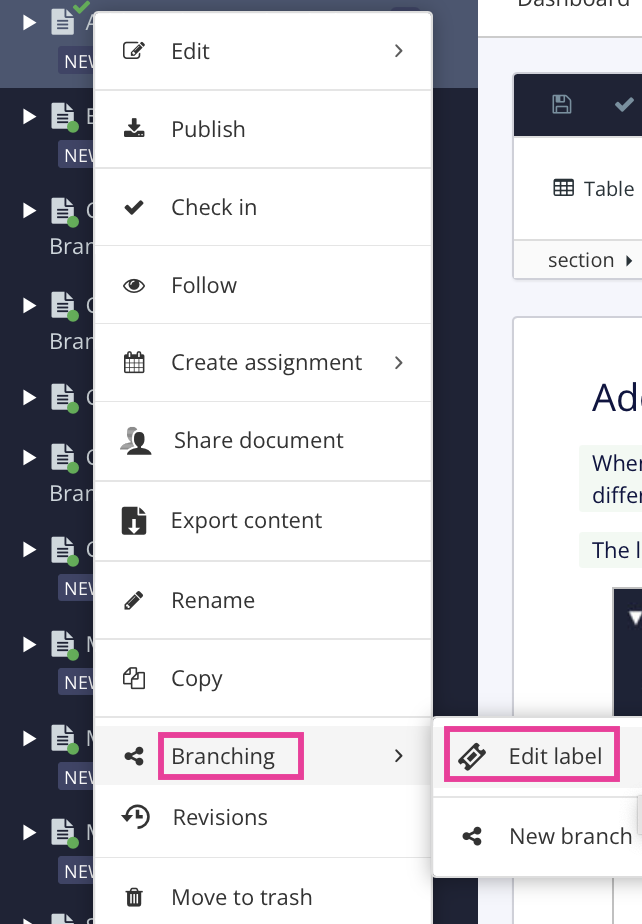
Select the Dotted Menu (...) for the topic, component or publication in Content Manager.

Select Branching and choose Edit Label.

Enter the text for the label or change existing text.

Select the checkmark to save label.
