Create a Publication Branch
With branching, you can create a copy of a publication that you can use independently or merge back into the original at a later date. This can be useful if you:
Need to work on updating a publication while still having the original version available for publishing
Need a series of publications that are similar, but with some differences. For example, user guides for different versions of the same software or different models of the same product.
To create a branch of a publication:
Locate the publication in the Content Manager.

Select its dotted menu ( ... ) and choose Branching and New Branch.

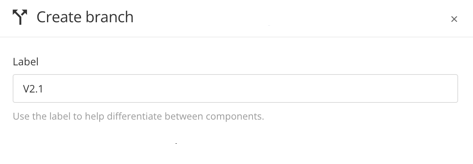
Enter a branch Label. This label will appear next to the name and makes it easier to identify different branches of the same content. [Optional, but recommended].
Tip
You can add branch labels afterwards as well, see Add or Edit Branch Labels
Set the Auto-branching for Publications.

Clear the box if either of these apply:
Your publication does not contain subpublications
Your publication does contain subpublications, but you want them to be reused rather than branched.
If the subpublications are reused, any changes that are made to the topics in the subpublication will appear in the original version and the branched version. For example, if you delete a topic from the original subpublication, it will also be deleted from the subpublication in your new branch.
Check the box to automatically create branches for any subpublications in your publication.
Paligo will create new branches for the subpublications. Any changes you make to the original subpublication will not affect your branched subpublication. Similarly, changes made to your branched subpublication will not affect the original version.
Set the Auto-branching for Topics.

Clear the box to reuse the parent branch's topics. Paligo will not create new topics in your new branch, and this applies to topics at all levels, including in subpublications.
Any changes you make to the topics will apply wherever those topics are reused.
Check the box to automatically create branches for the topics in your new branch.
Paligo will create new branches for all topics in your new branch, including those inside subpublications. Any changes you make to the regular content in these topics will not affect the original topics.
*regular content means any content that is not reused. Branched topics keep the reused content, images, and variables from the original version. If you edit those, the changes will apply wherever the reused content is used.
Important
Auto-branching of topics is designed for particular scenarios, and in most cases, we recommend that you leave it disabled (clear checkbox). This is because auto-branching can result in unnecessary branches of topics where reused topics would be more appropriate.
Select Create.
Paligo creates a branched version of your publication. It is shown next to the parent version of the publication in the Content Manager.
To find out more about how Paligo creates new versions of some content but reuses others, see What Happens When You Create a Branch?.