Create a Topic Branch from a Fork
One way to create a branch of a topic is to create the branch from a publication's fork. This is different to branching directly from a topic, as Paligo will create a branch of the topic and also update the publication at the same time.
Typically, branching from a fork is better suited to projects where the branched topic will only be used in one publication. For example, if you have one publication for your documentation and you use branches to add updates rather than make changes to the original topics. By branching from the fork of a topic, the publication is automatically set to use the branched version of a topic rather than the original. There's less need to manage your publication's structure.
Note
If you have multiple publications that need to use the same branched topic, it is usually better to branch directly from the topic.
To create a topic branch from inside a publication:
Find the publication in the Content Manager and expand it to see the included topics.
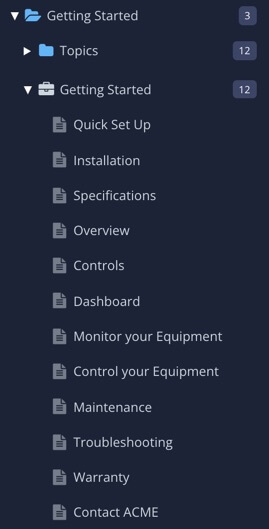
The topics you see listed as children of the publication are actually links. They are references from the publication to the topics that it contains. We call these references forks.
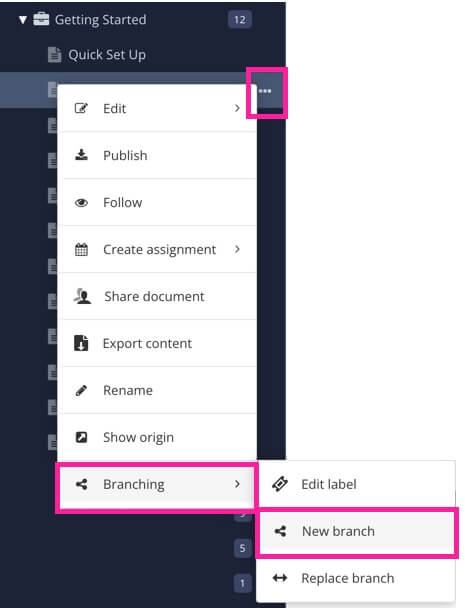
Select the dotted menu ( ... ) for the fork that represents the topic you want to branch. Select Branching and then New branch.
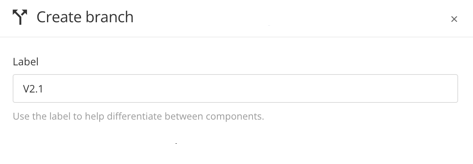
Enter a branch Label. This label will appear next to the name and makes it easier to identify different branches of the same content. [Optional, but recommended].
Tip
You can add branch labels afterwards as well, see Add or Edit Branch Labels
To control where Paligo stores the new branched content, check the Select location for new branch box. You can then browse to the folder you want Paligo to use.

If you leave Select location for new branch unchecked, Paligo will add the branched content to the same folder as the parent version of the content.
Choose whether you want to Open new branch in editor. Check the box for yes or leave it clear for no.
Select Create.
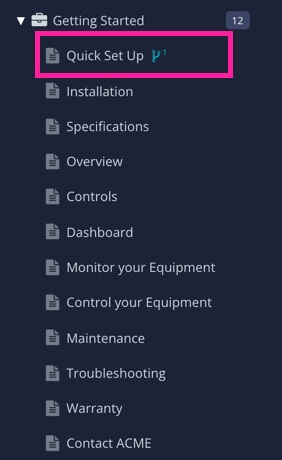
Paligo creates a new branch of the topic and stores it in the same folder as the original topic, by default. It also updates the publication structure.
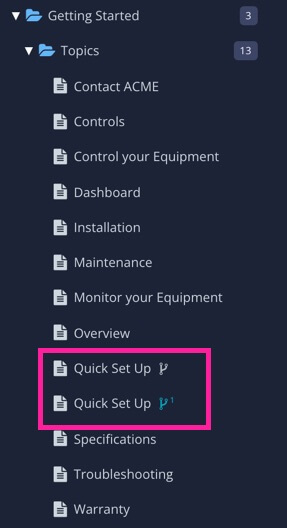
Left image: Paligo updates the publication to use the branched topic. Right image: Paligo stores the branched topic in the same folder as the original topic.
The new branch uses new, separate versions of any regular content but keeps any reused content in place. This means that when you edit the branched version:
Changes you make to regular content will not apply to the same content in the original version.
Changes you make to reused content will also apply wherever that content is used, including in the original version.
Tip
To find out more, see What Happens When You Create a Branch?.
Note
There are alternative ways to create a branch of a topic. Depending on your requirements, you can:
Get Paligo to create a branch for every topic in a publication automatically, seeCreate a Publication Branch.
Create a topic branch directly from the topic. This is completely independent of any publications, see Create a Topic Branch.