Salesforce Knowledge Integration
Discover how you can use Paligo to author content and then publish it directly to Salesforce Knowledge.
You can use the powerful authoring features of Paligo to create your content and then publish it directly to Salesforce Knowledge. Depending on which Salesforce Layout you use for publishing, Paligo can publish to articles only or a mix of "Navigational Topics" and articles.
To publish from Paligo to Salesforce Knowledge:
Preparations for Salesforce Integration and check that you have the correct plans, features, and licenses.
Make sure you understand the differences between the two types of Salesforce Layout:
Salesforce Knowledge Layout, see Mapping with a Salesforce Knowledge Layout
Salesforce Nested Layout, see Mapping with a Salesforce Nested Layout
Decide whether you are going to create your own Salesforce Layout or use a built-in one.
For details, see Create a Salesforce Layout.
If you create a custom Salesforce Nested Layout, you can Edit a Salesforce Layout to control the mapping and change other publishing settings.
Use a Salesforce Layout to Publish to Salesforce Knowledge.
Note
If you are using a Salesforce Nested Layout, you can use Salesforce Preflight for Nested Layouts to preview the publication, choose what is published, set the status, and remotely delete content.
Paligo will then publish your content directly to Salesforce Knowledge. It will also download the HTML as a package in your browser.
Paligo can only connect to Salesforce Knowledge if certain things are in place in your Salesforce instance. Here, we summarize what you need to set up. We have included links to the official Salesforce documentation where you can find detailed instructions.
Make sure you are on the appropriate plans for Paligo and Salesforce:
Paligo - You need to be on the Enterprise plan.
Salesforce - You need to be on a plan that supports:
Salesforce Knowledge in the Lightning Experience.
API access.
Make sure you have the appropriate Salesforce Experience Cloud licenses.
Enable these features:
Salesforce Knowledge in the Lightning Experience.
Create an Experience Cloud Site
Important
We recommend that you create a separate site for the content that you will publish from Paligo.
If you have content from Paligo and content created locally in Salesforce on the same site, it can result in mapping errors.
[Optional] Set up Data Categories. We recommend that you set up Data Categories as they allow you to organize your articles. For details, see the official Salesforce documentation.
You can only set up Data Categories in Salesforce. But once they are in place, you can choose which Data Categories to use from the publishing settings in Paligo.
Set up the Salesforce Digital Experience and choose a theme. The Digital Experience is the presentation part of Salesforce Knowledge, where your audience is presented with your articles.
Typically, Paligo users choose the Help Center theme in Salesforce Knowledge, see Prebuilt Experience Builder Themes.
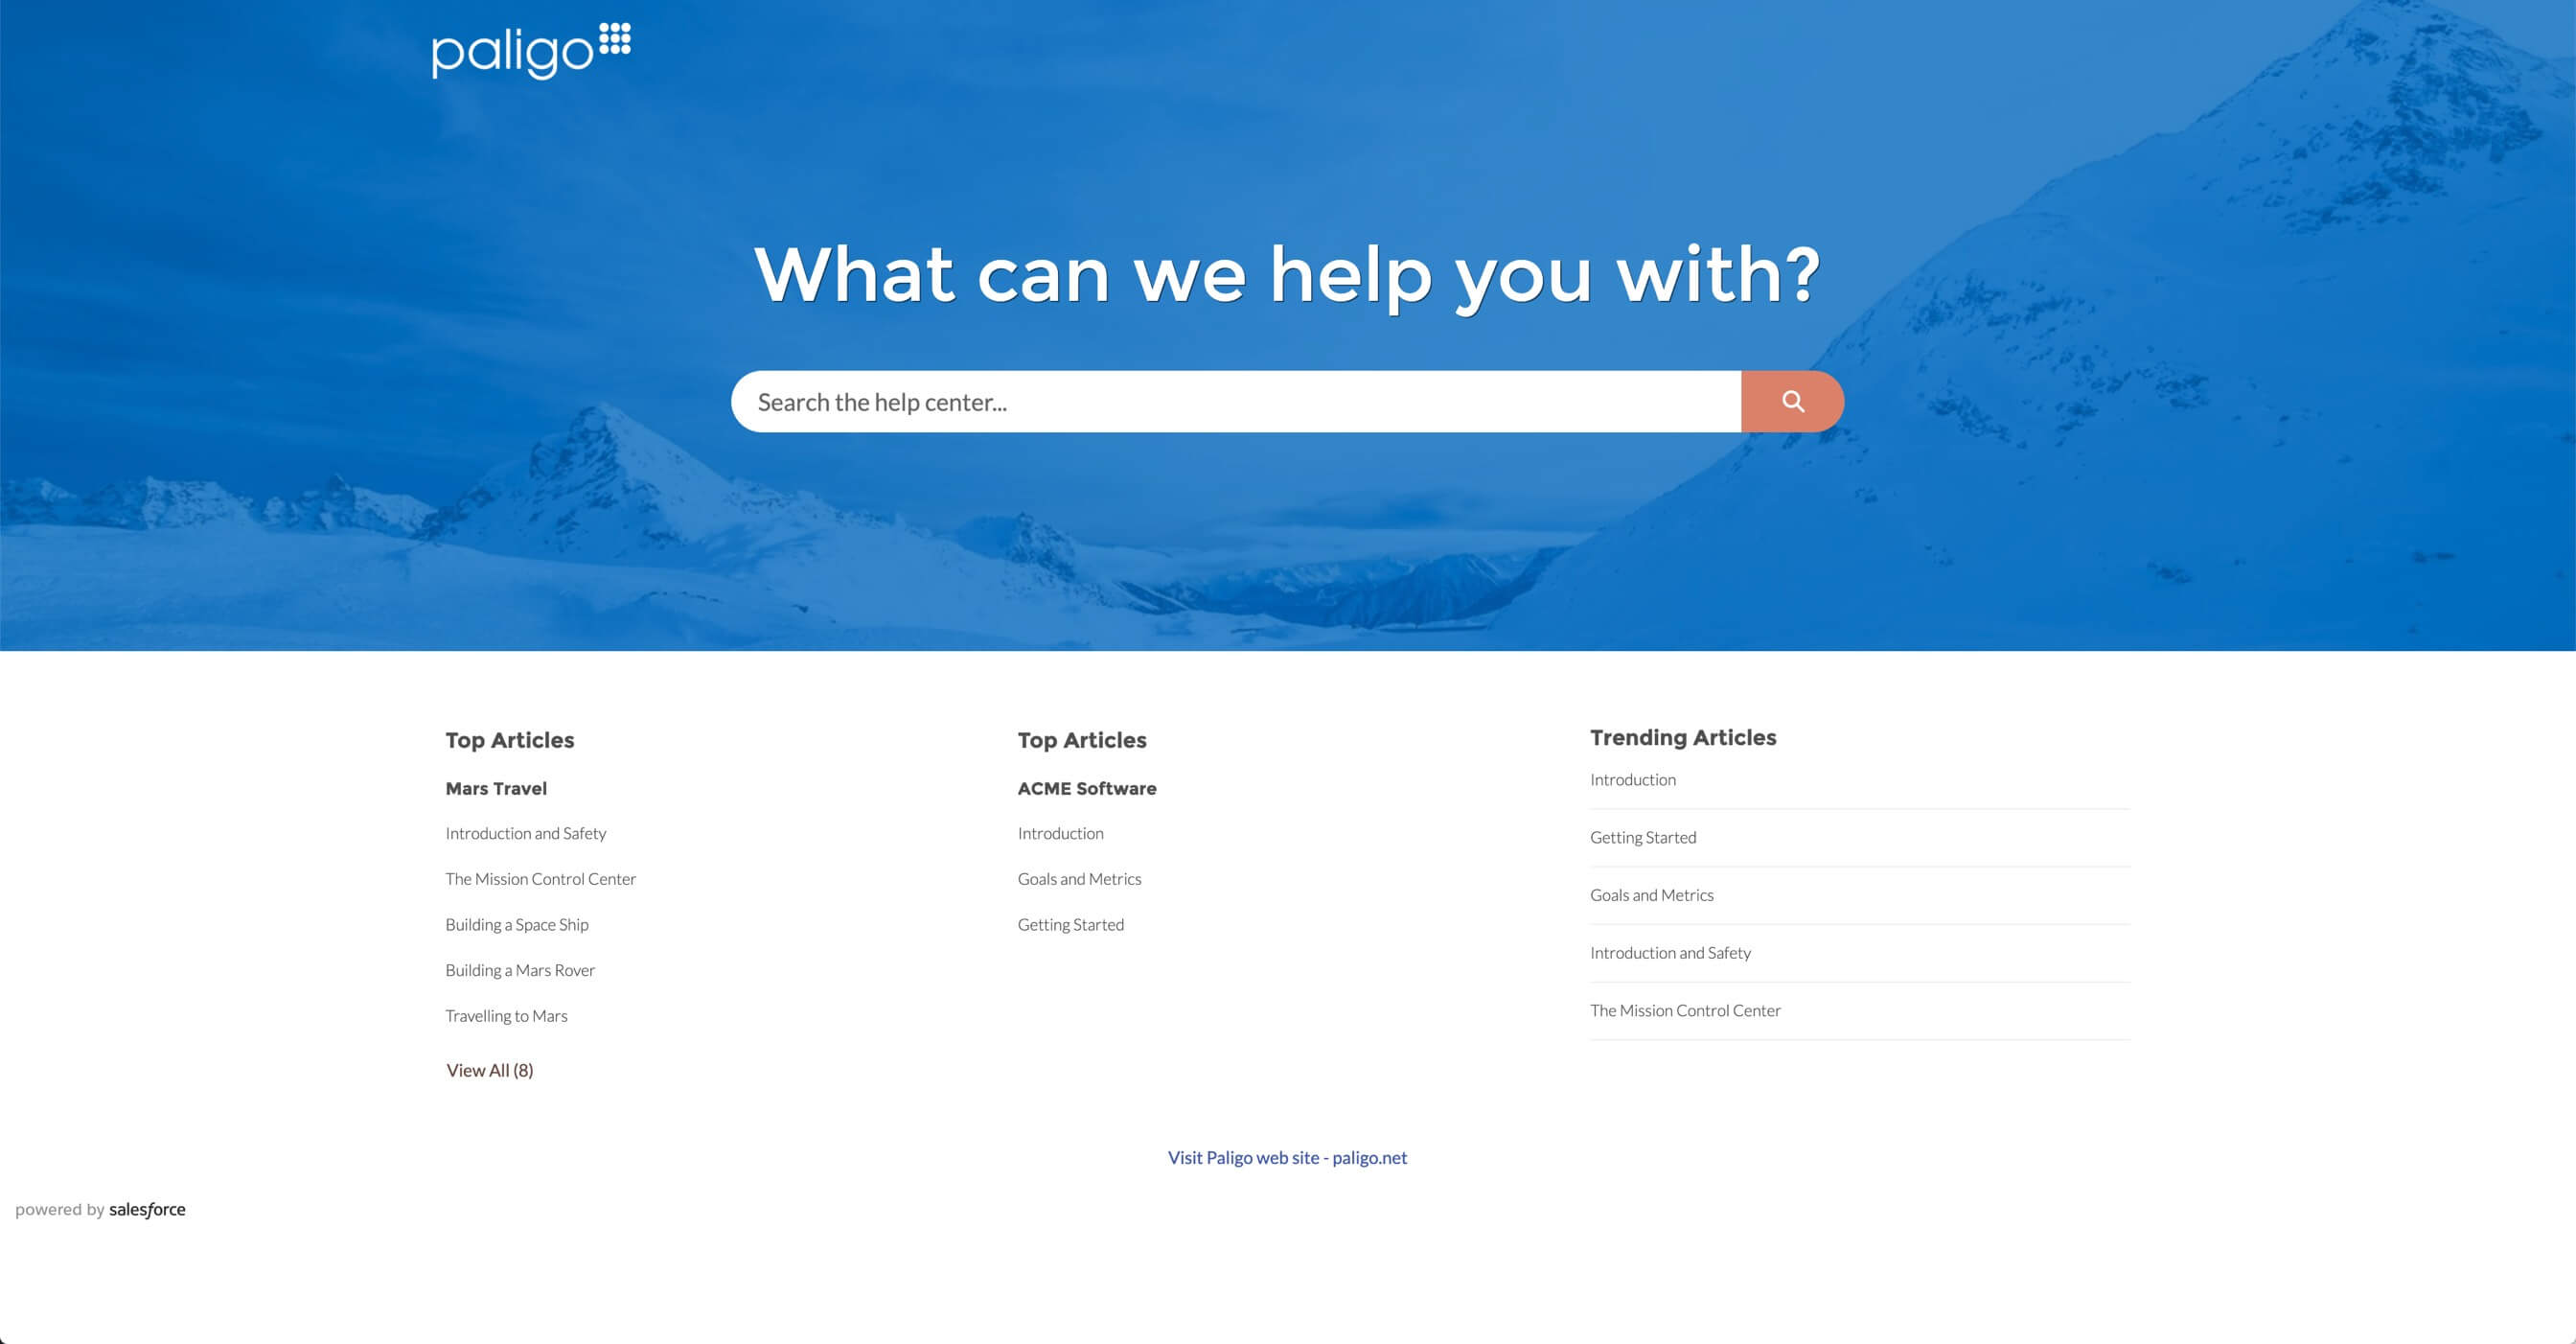
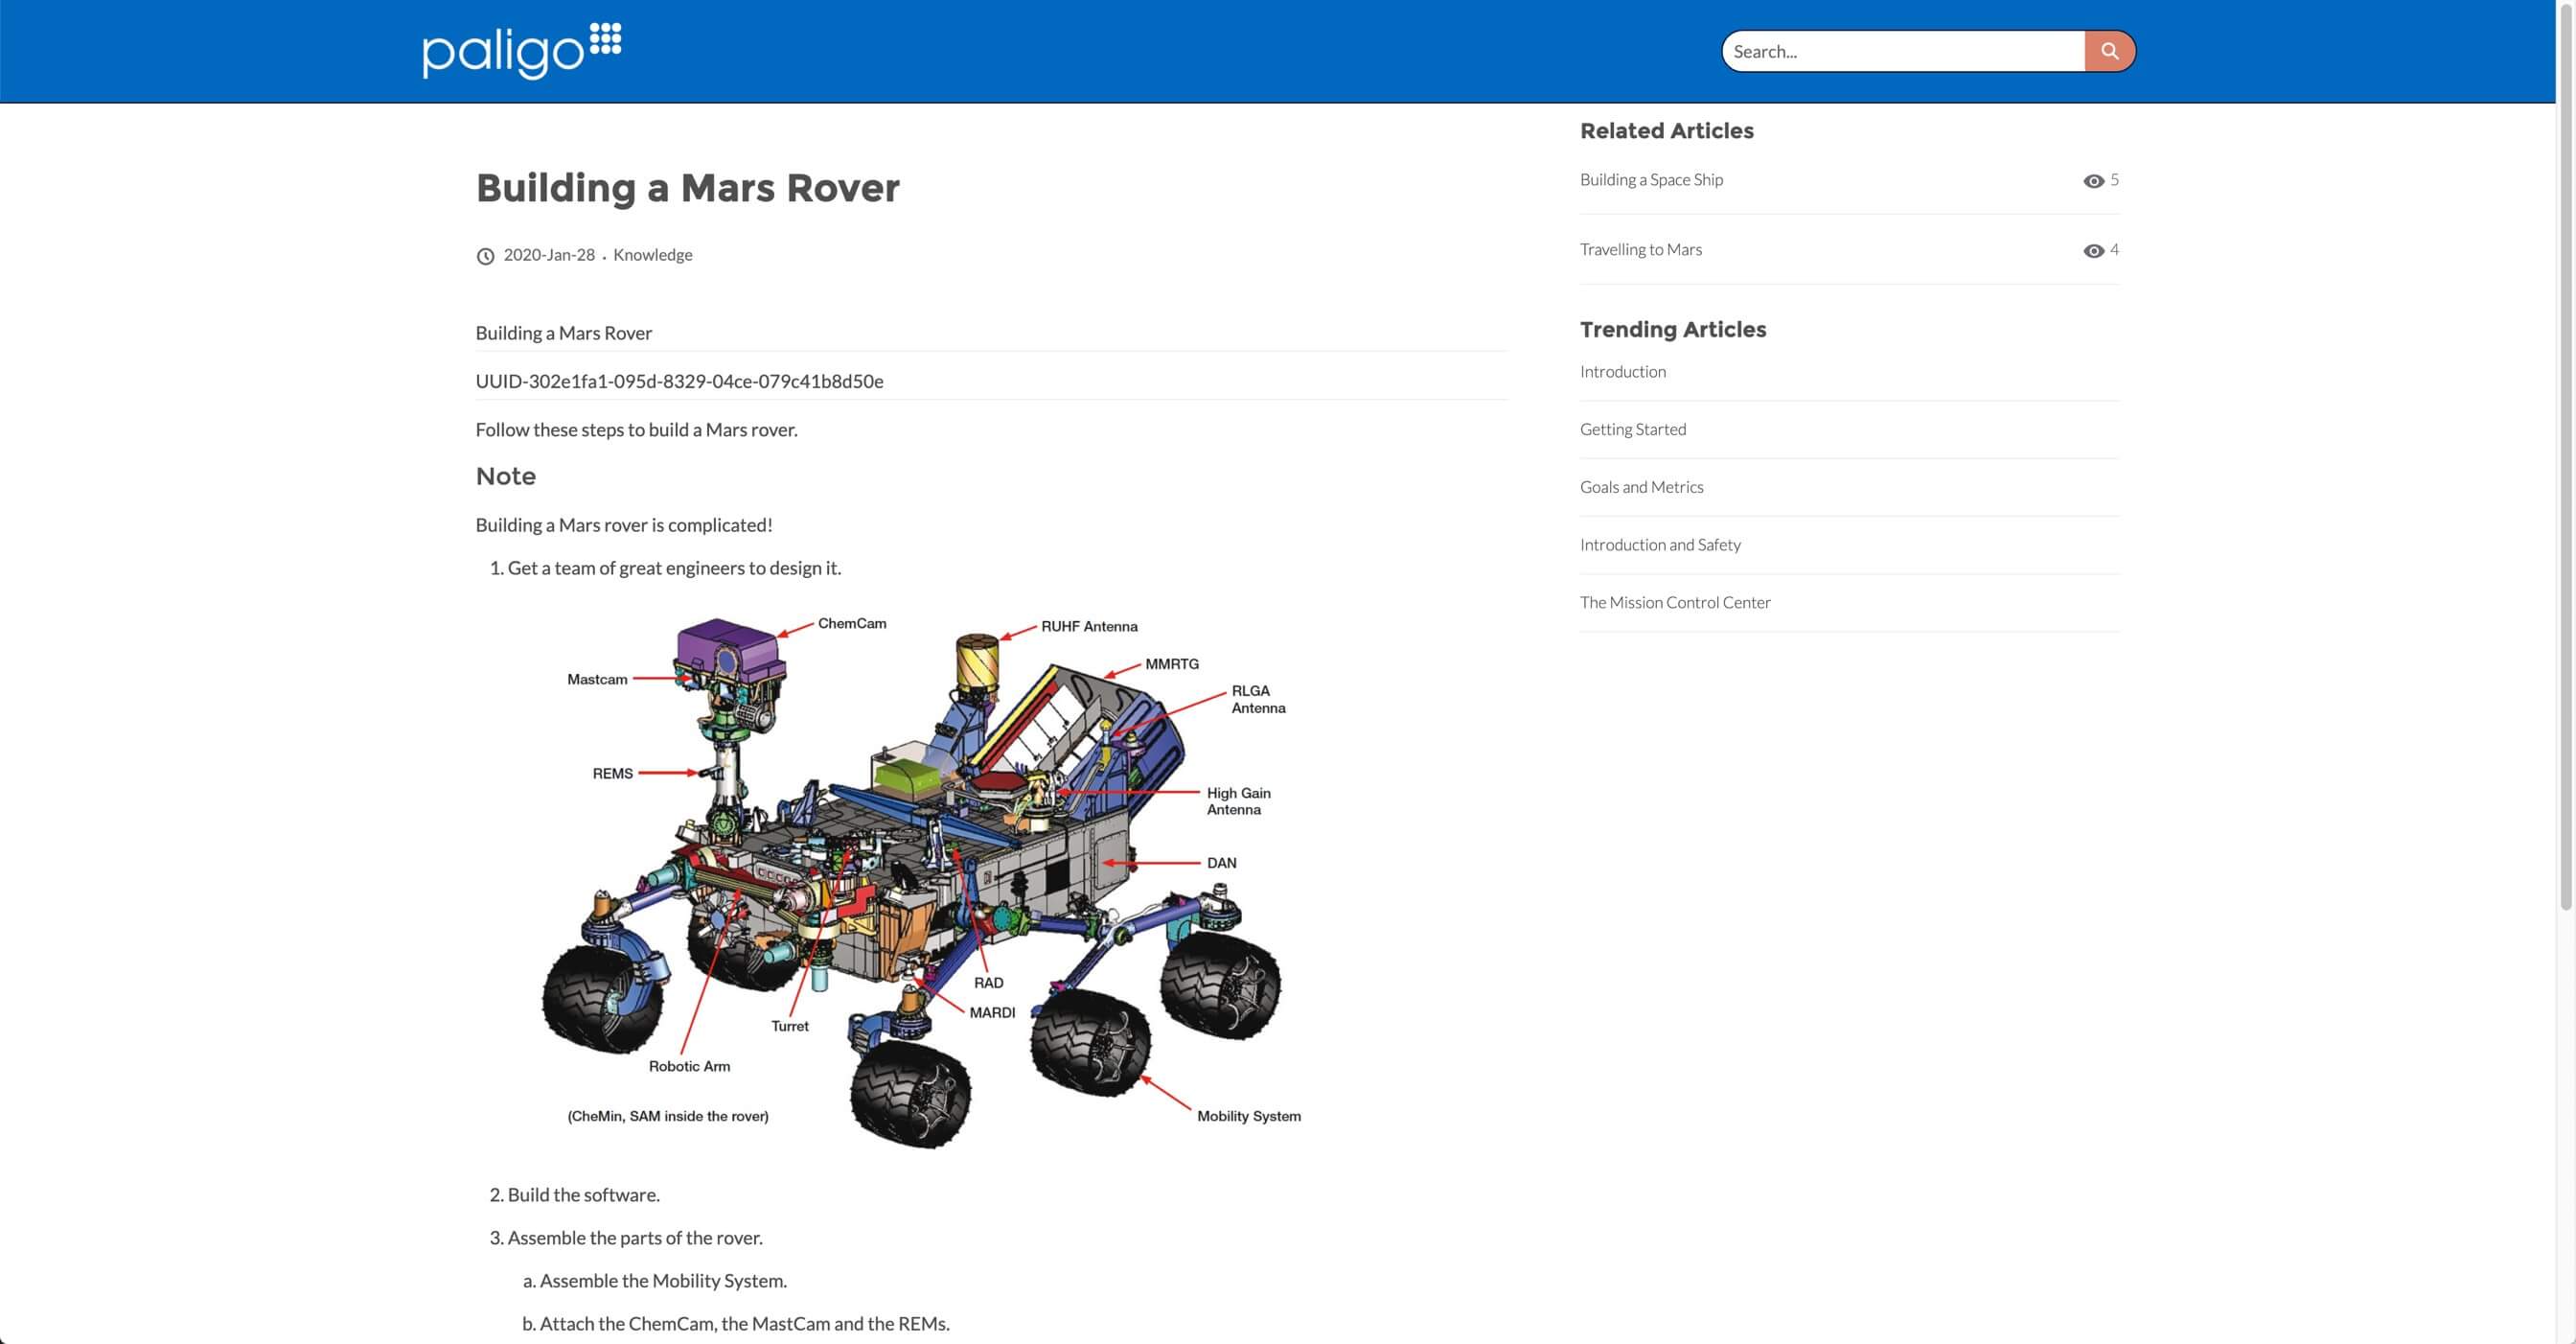
Example of Salesforce Digital Experience using Help Center theme.
To publish to multiple languages, make sure you have enabled those languages in Salesforce Knowledge.
From Setup, enter "Translate" in the Quick Find box.
Select Translation Language Settings.
Select Add.
Add the language(s) and translators.
Select Save.
For details, refer to the official Salesforce documentation.
[Optional]. We recommend that you set up a generic user in Salesforce Knowledge for the Paligo integration. This user will be available even if people leave your organization.
Now that you have prepared your Salesforce Knowledge instance, you can proceed to the next step: Connect Paligo to Salesforce Knowledge.