Create a Translation Assignment
Translation assignments are useful when you want to create a translation job that will be allocated to a particular user and will be trackable from the Paligo dashboard.
To create a new translation assignment:
Select the
foldercontaining the content in Content Manager.
If the content is not in a folder, select the top-level folder Documents.

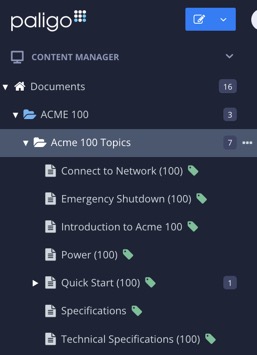
This will open the Resource View.
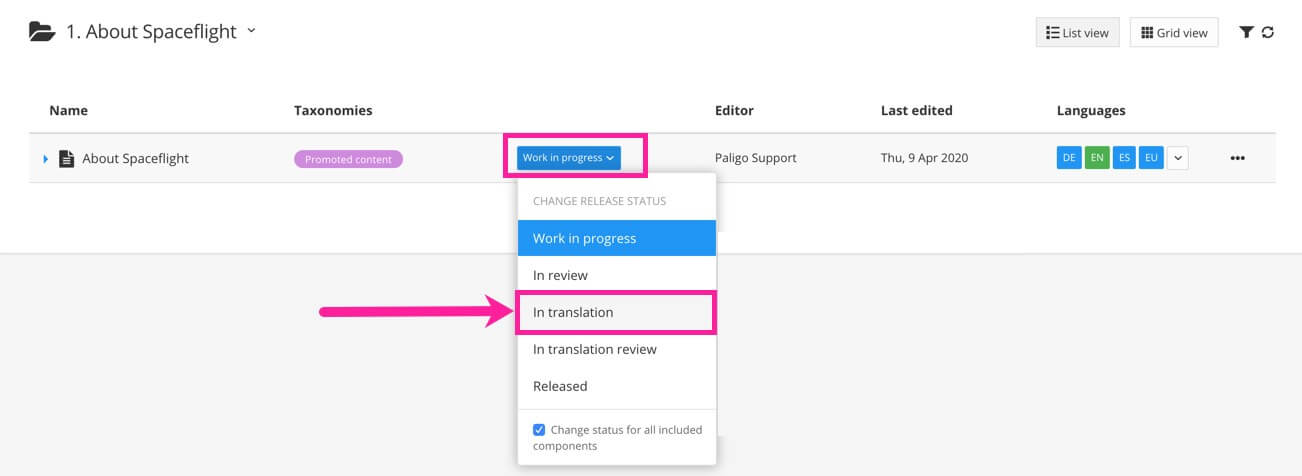
Use the status button to set the content state to In translation.
Select the dotted menu (...) for the publication or topic in the Content Manager and choose Create assignment.
Tip
Alternatively, you use the dotted menu ( ... ) for the publication or topic in the Resource View to Create Assignment.
Select an Assignment type:
 Review is for when you want somebody to proofread the content and add comments.
 Contribution is when you want a colleague to add or improve content.
 Translation to create translation jobs and assign them to internal translators.
 Translation review to review the translations and accept or reject them.
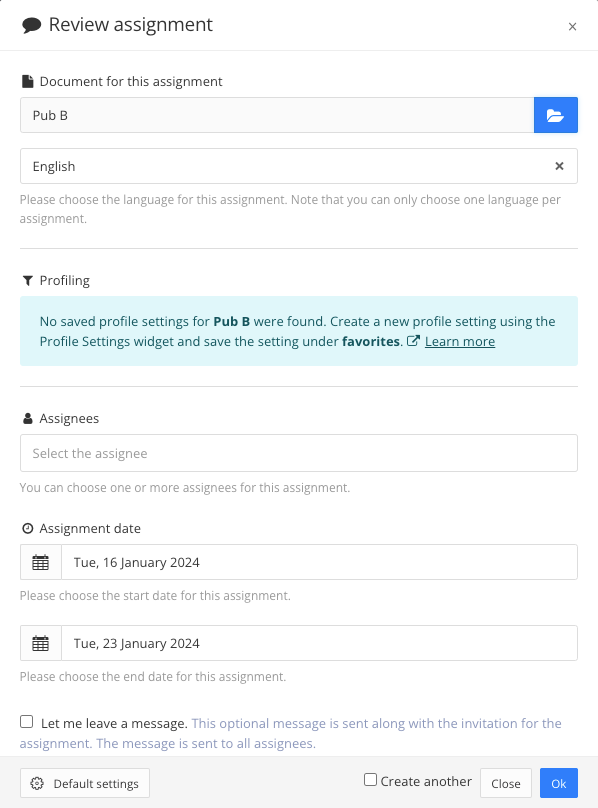
The assignment dialog changes depending on selected assignment type.
Select the content that you want the assignee(s) to work on.

If the assignment is generated from the content's dotted menu (...), the content is automatically chosen for the assignment. But you can choose different content if you prefer.
Select a language for the assignment. You can only choose one language per assignment.
Note
For Translation Assignments, choose the language that you want the translator to provide.
Suggestions settings is to control what can be done in a contribution assignment:
The checkbox Suggest only:
Check the box to restrict the contributors to making suggestions.
Clear the box and check Edit and Suggest box to be able to edit the content.
The checkbox Edit and Suggest:
Check the box to allow contributors to Switch Between the Views to edit and suggest changes.
Clear the box and check Suggest only to restrict the contributor from editing the content.
Apply a favorite profile to the publication or topic.

Note
You only see options here if you have set up favorite profile settings for the document.
In the Assignees section, select one or more users or user groups (or a combination of both) to work on this assignment.

For user groups, the assignment is allocated to every group member of the selected user group(s).
In the Assignment date section, use the calendars to set the Start date and End date.

Check the box Let me leave a message if you want to enter a message to the assignee(s). A field appears and you can enter your message.
Clear the box if you don't want to add a message.
Select the Default Settings button (in the lower left corner) to check the Assignment Settings.

Select OK to save any changes to the Default Settings. Close the dialog with the
 icon in the upper-right corner.
Select OK to create the assignment.
The assignee will receive an email with a link that takes them to the content and the assignment will also show in the Assignments Panel.
As the assignment creator, you will also receive an email to confirm that the assignment has started and been finished. You can Track Assignments via the Dashboard and Track Assignments via the Planner.