User Groups
What are user groups in Paligo and what benefits do they provide?
With user groups, you can organize your Paligo users into teams, departments or any other kind of collective that you need. If you Create a User Group you can:
-
Allocate permissions to all members of a user group. Way more effective than allocating permissions to each user individually. Permissions can be set on folders and components in Paligo and determines whether a user or user group can edit content or only view it.
-
Allocate assignments to one or multiple user groups, individual users, or a combination of both, see Create Assignments. This provides a flexible proofreading and you can choose whether:
-
Everyone in the user group has to respond
-
Individual members of the user group can respond
If some members are too busy or unavailable, other members can work on the assignment instead. There is no need for you to re-assign it to individual team members.
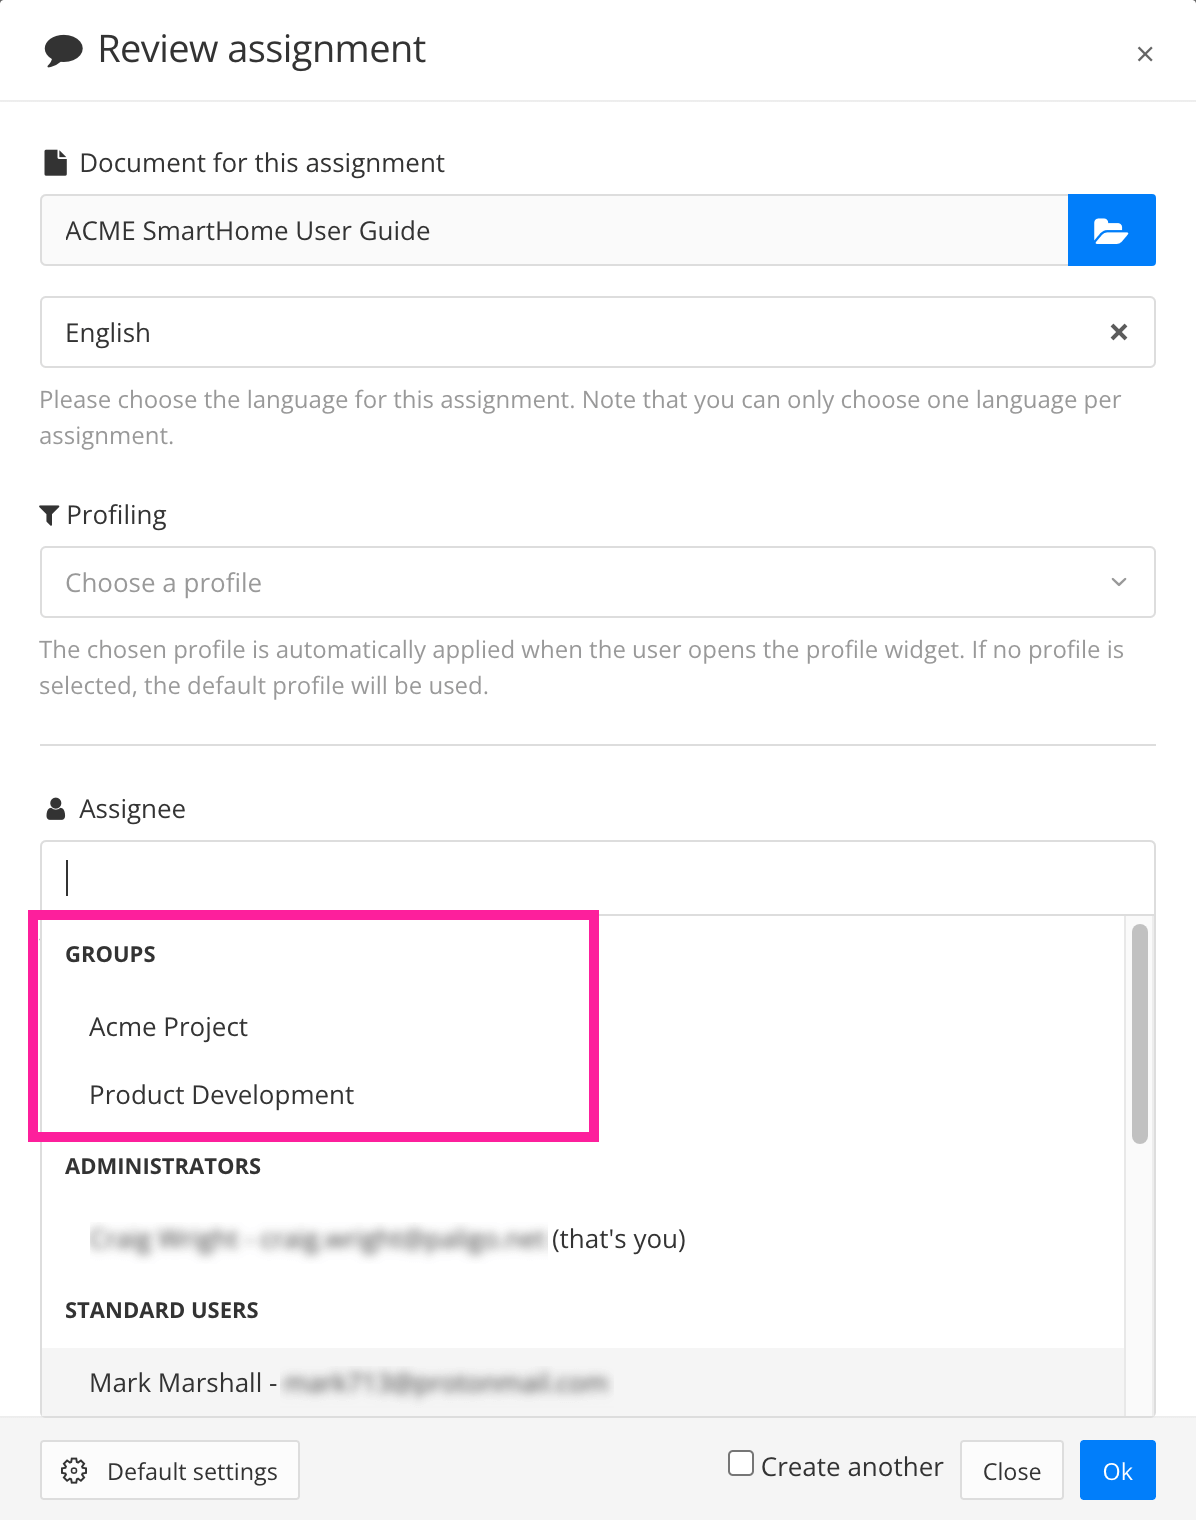
Available user groups are shown in the assignee section.
Note
There are two types of assignments that do not apply to user groups:
These can only be sent to a single assignee.
-
The following instruction shows how to create a user group.
-
Select the avatar in the top-right corner.
-
Select Settings from the menu.
-
Select Groups tab.
-
Select Create.
Paligo displays the Create group dialog.
-
Enter a Name and Description for the user group. The name is required but the description is optional.
-
Select Group type with the checkboxes:
-
Assignment group - When you (or other users) create assignments, you will be able to choose the group as an assignee. The assignment will be allocated to each member of the group. This is a quicker and more convenient way of allocating an assignment to several people at once.
-
Permission group - Use to create a collection of users for use with the Permissions feature. When you set permissions on folders or components (such as topics and publications), you will be able to grant the permissions to the group. This is a quicker and more convenient way of allocating edit permissions to several people at once.
Note
You must check at least one of the boxes. It is possible to check both boxes if the group is both types.
-
-
Select the Users that will belong to this user group.
Either enter a
user name
oremail address
to get Paligo to find the matching person OR select the field and choose the users from the list. -
Select Save.
The following instruction show how to add users to an existing user group.
-
Select the avatar in the top-right corner.
-
Select Settings from the menu.
-
Select Groups tab.
-
Select Edit for the user group that you want to change.
-
Select the Users that will belong to this user group.
Either enter a user name or email address to get Paligo to find the matching person OR select the field and choose the users from the list.
-
Select Save.
The following instruction show how to remove one or more users from a user group.
-
Select the avatar in the top-right corner.
-
Select Settings from the menu.
-
Select Groups tab.
-
Select Edit for the user group that you want to change.
-
Select the X to remove a user from the user group.
Each user in the group has an X shown to the right of their name.
-
Select Save.
The following instruction shows how to remove a user group that you no longer need. Deleting the user group, only removes the user group from Paligo. It does not remove the users that were in the group.
-
Select the avatar in the top-right corner.
-
Select Settings from the menu.
-
Select Groups tab.
-
Select Edit for the user group that you want to change.
-
Select Delete in the lower left corner.
-
Select Confirm to remove the user group.