Create a User Group
How to create or add a user group in Paligo
The following instruction shows how to create a user group.
Sign in to Paligo using a user account that has administrator permissions.
Select the avatar in the top-right corner.

Select Settings from the menu.

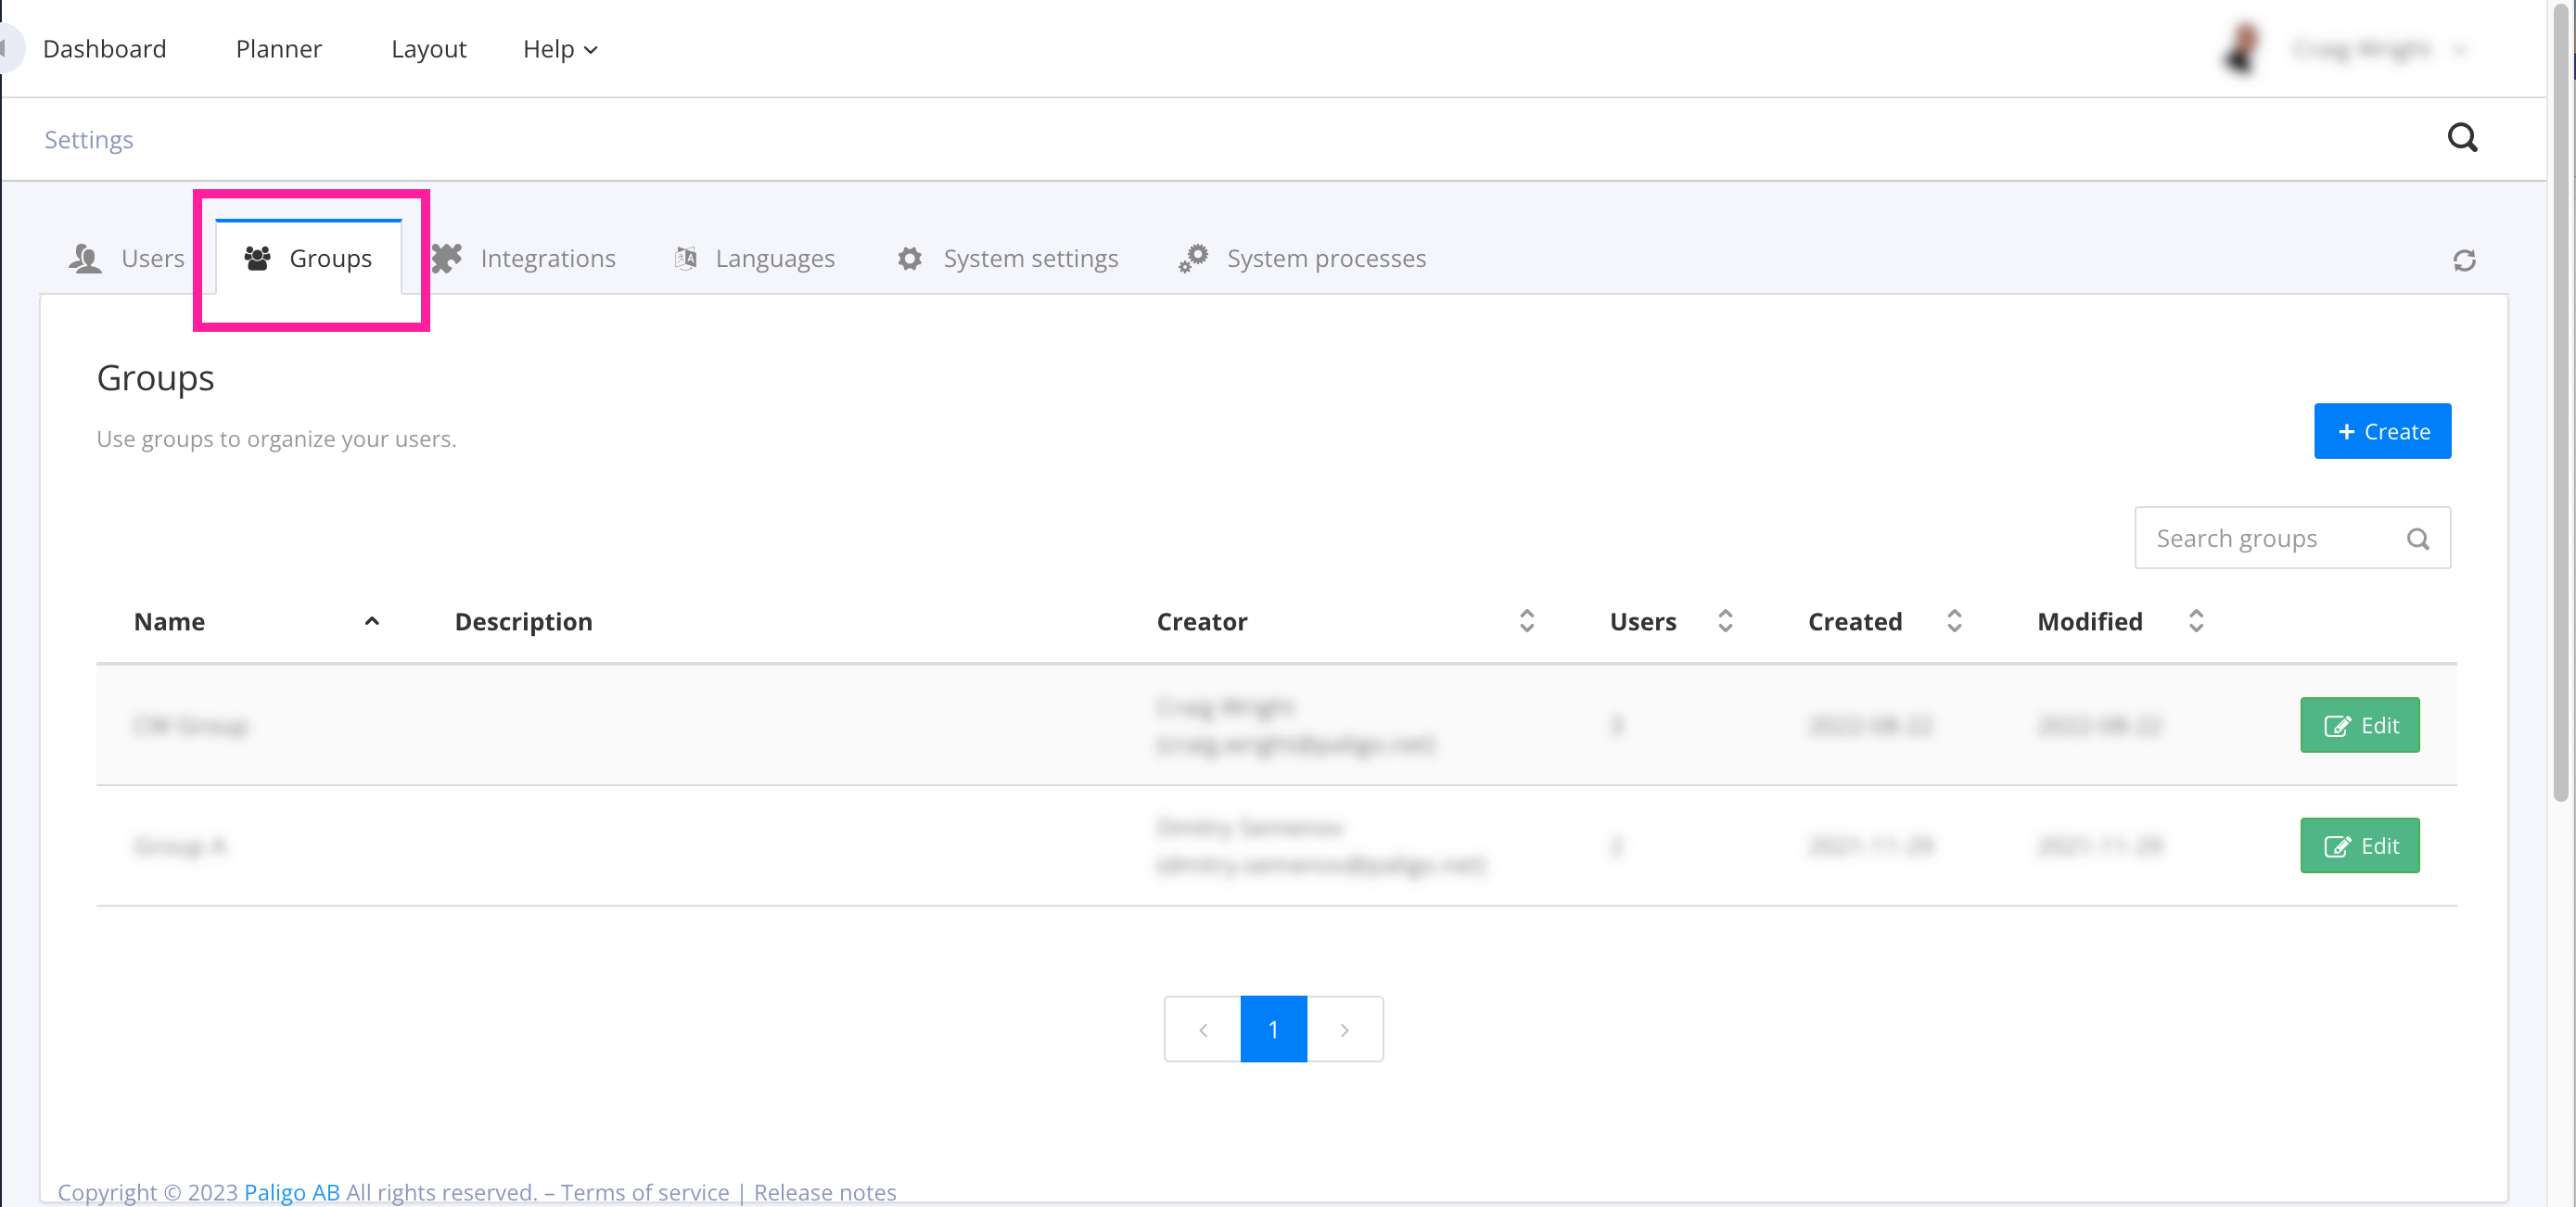
Select Groups tab.

Select Create.

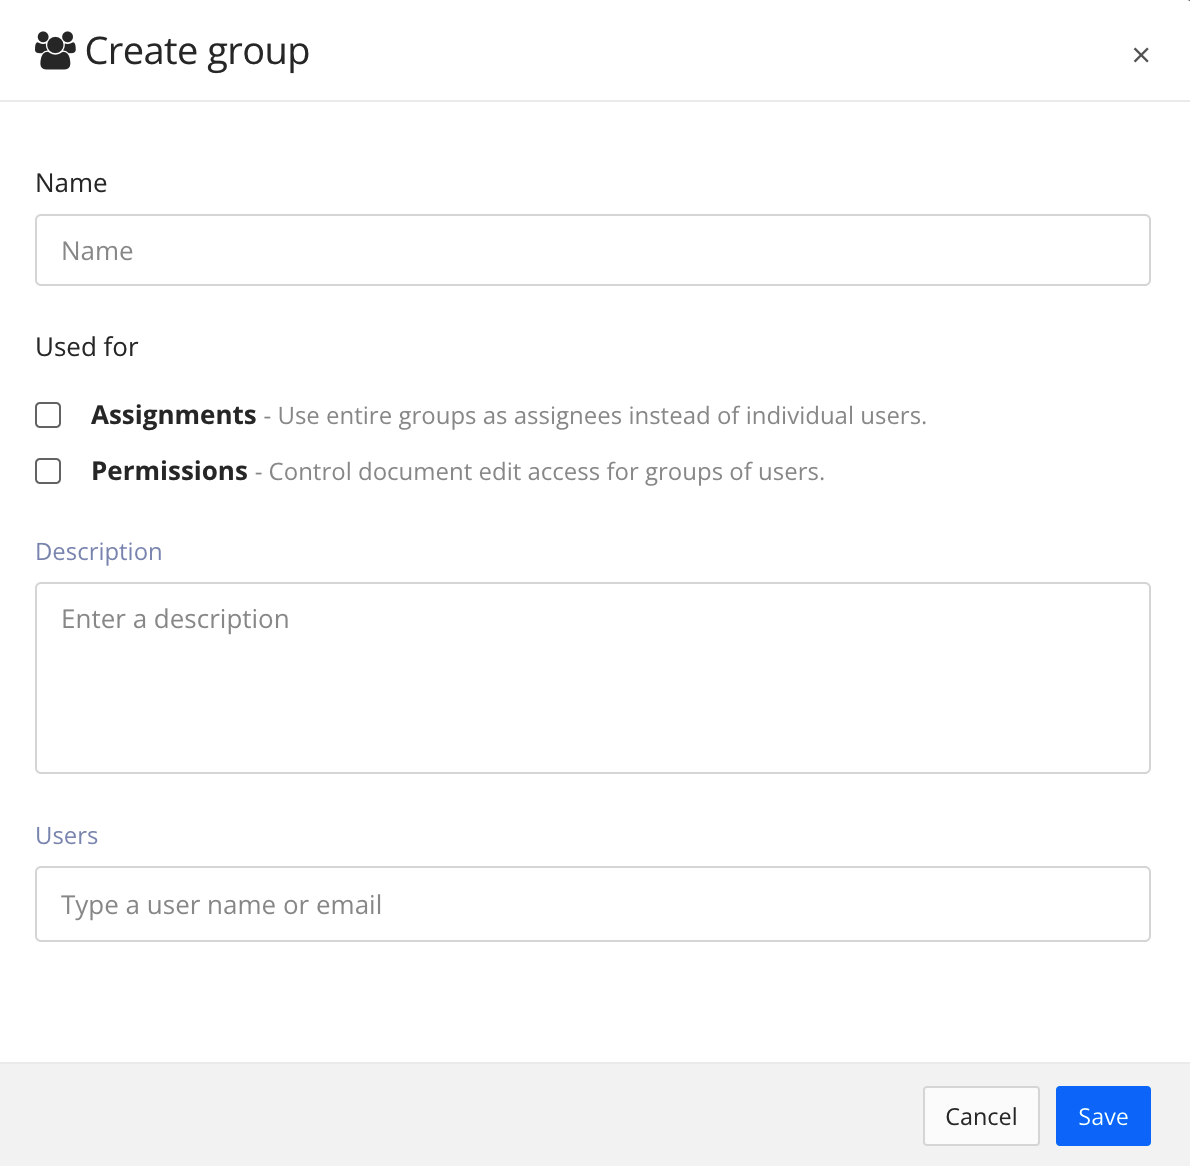
Paligo displays the Create group dialog.
Enter a Name and Description for the user group. The name is required but the description is optional.
Select Group type with the checkboxes:
Assignment group - When you (or other users) create assignments, you will be able to choose the group as an assignee. The assignment will be allocated to each member of the group. This is a quicker and more convenient way of allocating an assignment to several people at once.
Permission group - Use to create a collection of users for use with the Permissions feature. When you set permissions on folders or components (such as topics and publications), you will be able to grant the permissions to the group. This is a quicker and more convenient way of allocating edit permissions to several people at once.
Note
You must check at least one of the boxes. It is possible to check both boxes if the group is both types.
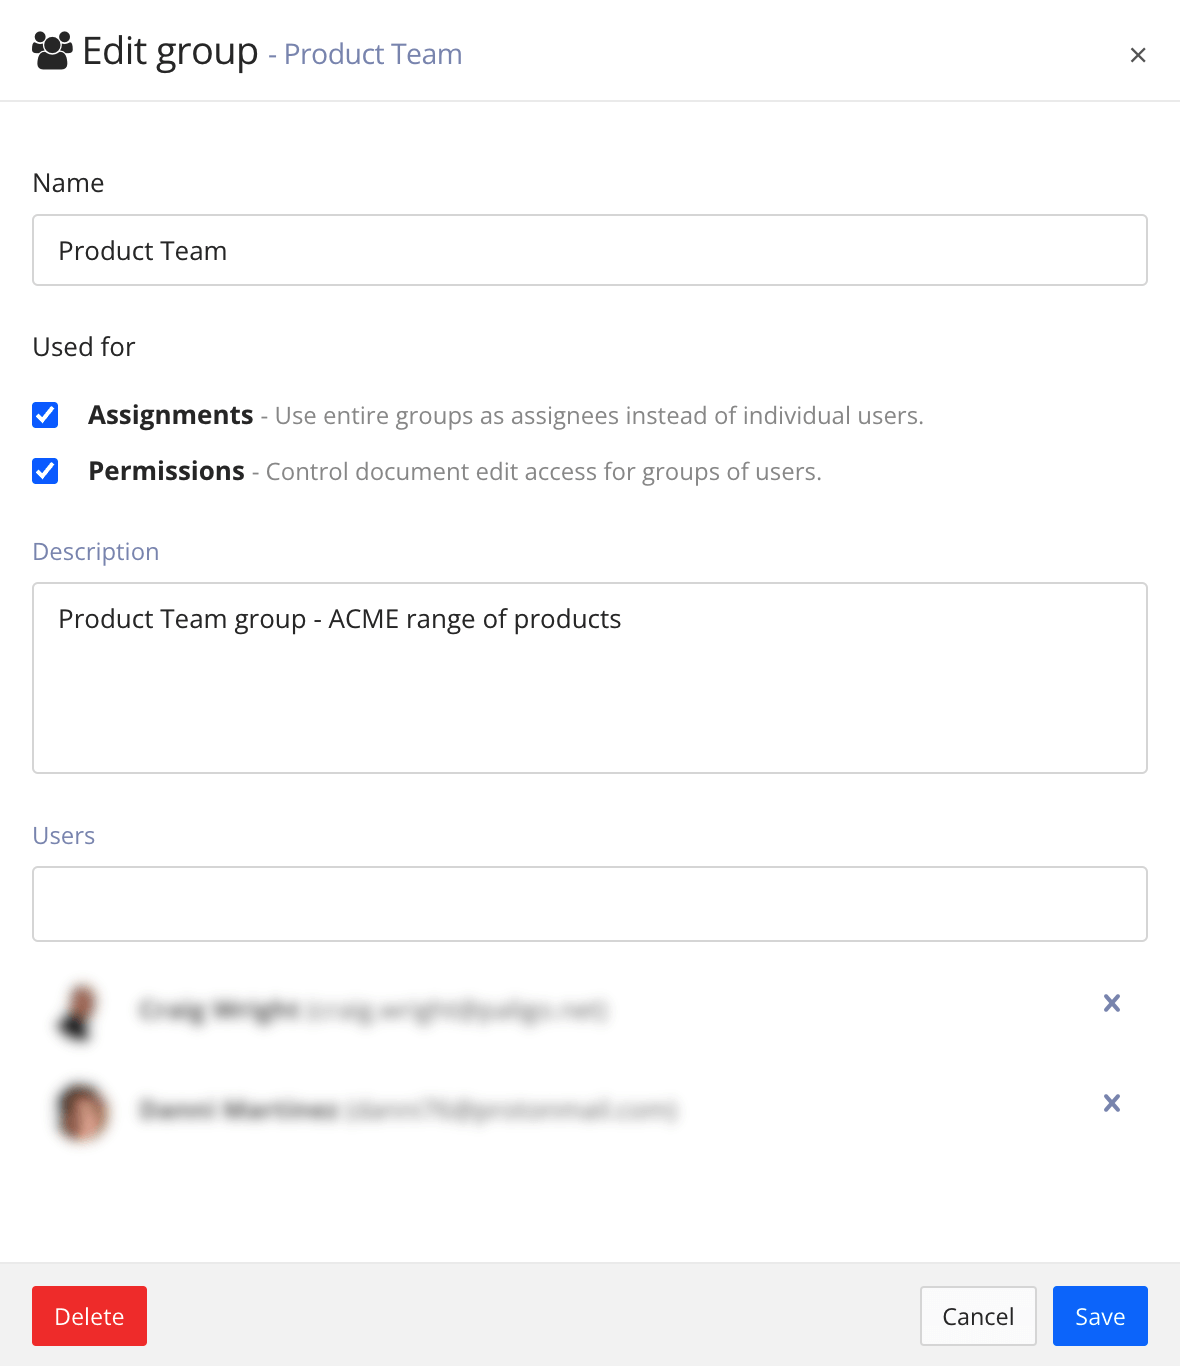
Select the Users that will belong to this user group.
Either enter a
user nameoremail addressto get Paligo to find the matching person OR select the field and choose the users from the list.
Select Save.