Add Users
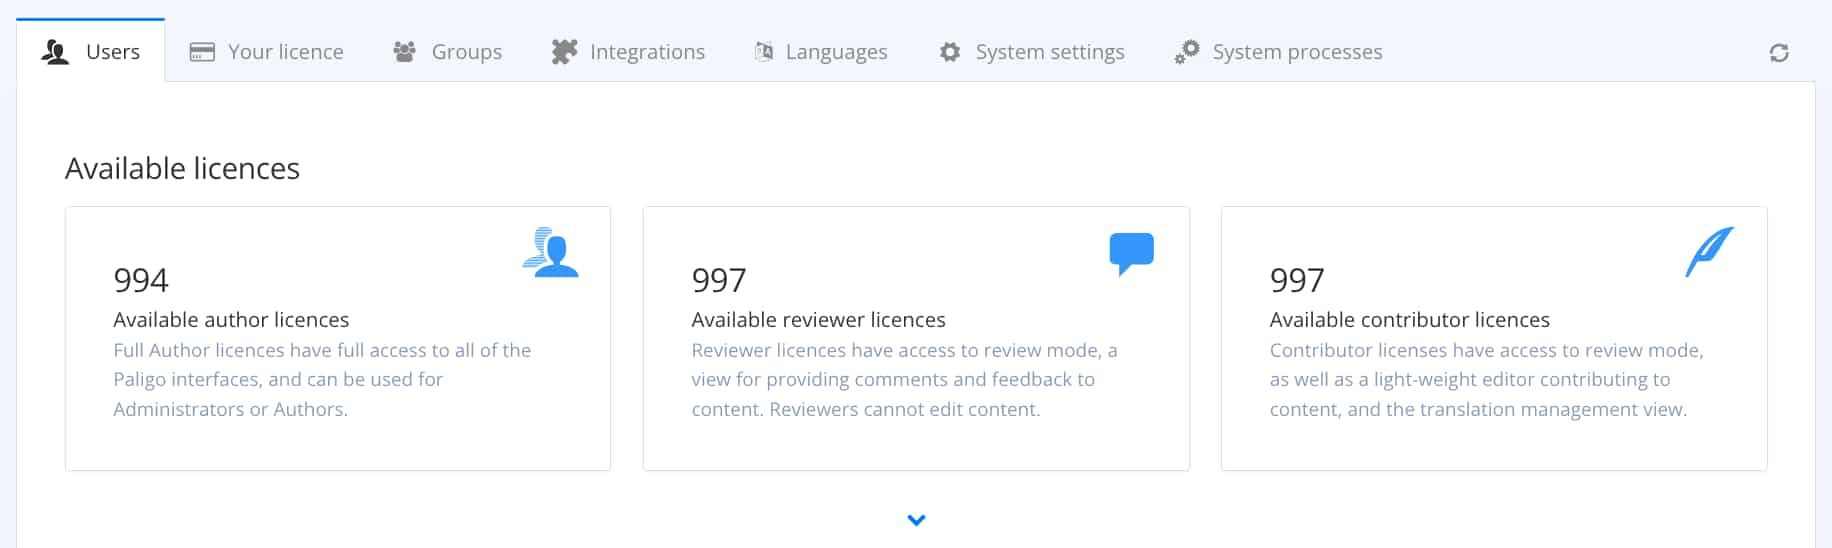
At the top of the Users tab, available licenses are shown for each license type. Make sure that you have enough licenses to create more user accounts. If not, see ???. If you are still in trial, you will be able to add teammates without adding licenses.
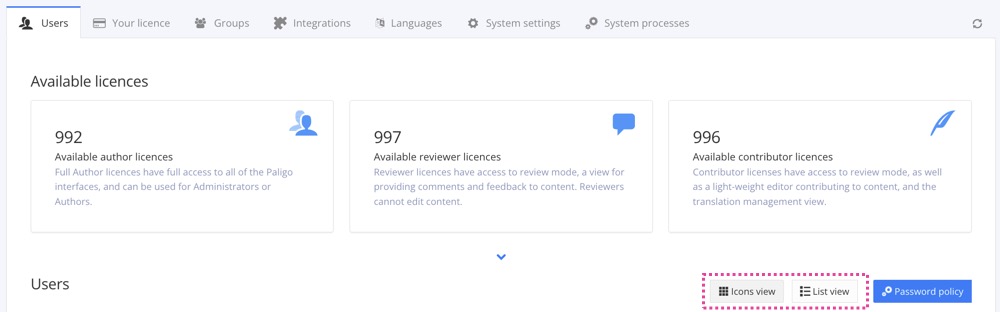 |
Switch view with the buttons.
You have the possibility to view the existing user accounts in a list or as icons. Below the license types, you find the buttons to switch view. The existing users are by default, grouped by user type, but in the List View, you can sort the columns alphabetically. Each group has different access permissions, see User Types.

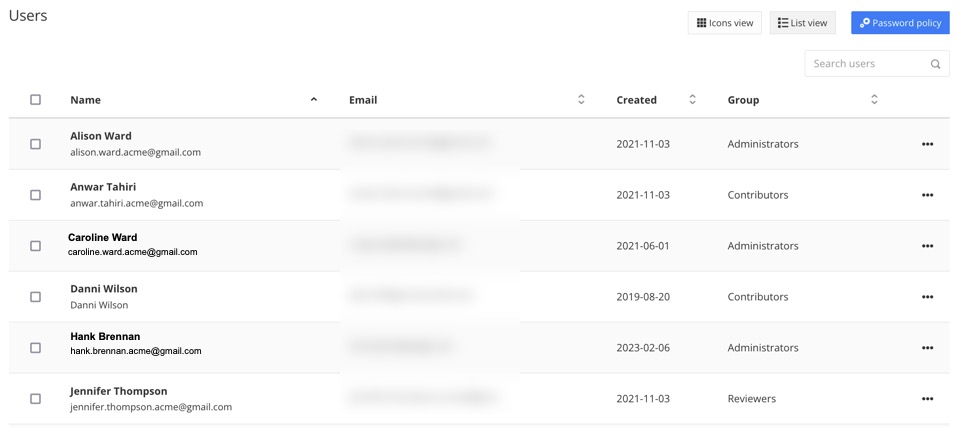
To the left - The Icons View show available licenses with a plus icon. If you select it you add a new user. To the right - The columns can be sorted alphabetically in the List View.
Note
The Settings page has an Icons View (as shown in the image above) and a List View. In List View, the user accounts are shown in a list rather than as user widgets.
To add a new user account in the List View:
Sign in to Paligo using a user account that has administrator permissions.
Select the avatar in the top-right corner.

Select Settings from the menu.

Select the Users tab.

Scroll down to the bottom of the page and select Create.

Select an image file to be the personal avatar. Optional
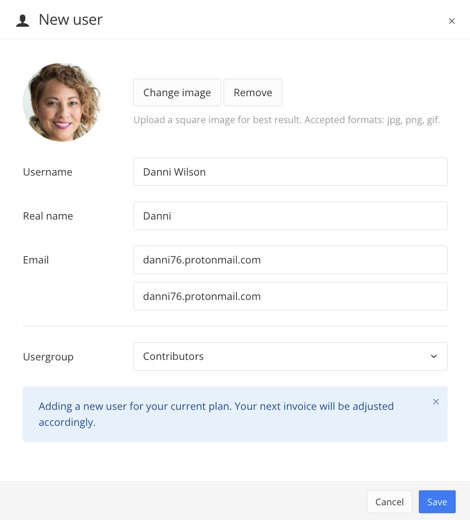
The New user dialog.
Enter a unique User name to be used during login along with a password.
Tip
To make it easy to remember, you can use the email address as the user name.
Enter a Real name that will be displayed together with the personal avatar in Paligo.
Enter the Email address that Paligo will use to notify the user.
Caution
Once the new user account is saved, an email will immediately be sent out from Paligo, to prompt the user to log in and change the password.
For this reason, do not change the user name and email address, before the user has logged in for the first time.
Select Usergroup from the menu.
Select Save.
Note
The user will get a link with a temporary password by email. For security reasons, the temporary password will only provide access to a "Choose new password" display. The user must enter a new password and confirm it in order to log in to Paligo.
New user accounts are grayed out until the user logs in for the first time.