Taxonomies Workflow
There are many ways to use taxonomies, but the general workflow for setting them up is the same.
Tip
For information on setting up taxonomies for these features, see:
Make sure you are familiar with Working in Taxonomy Manager.
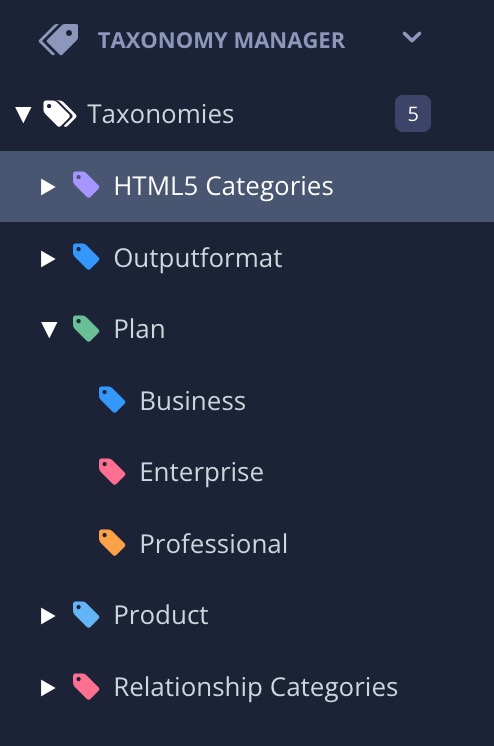
This is where you define the structure of the taxonomy tags and how they relate to each other.
Tip
You may want to Set Colors for Taxonomy Tags as a visual aid for recognizing the different taxonomy hierarchies.
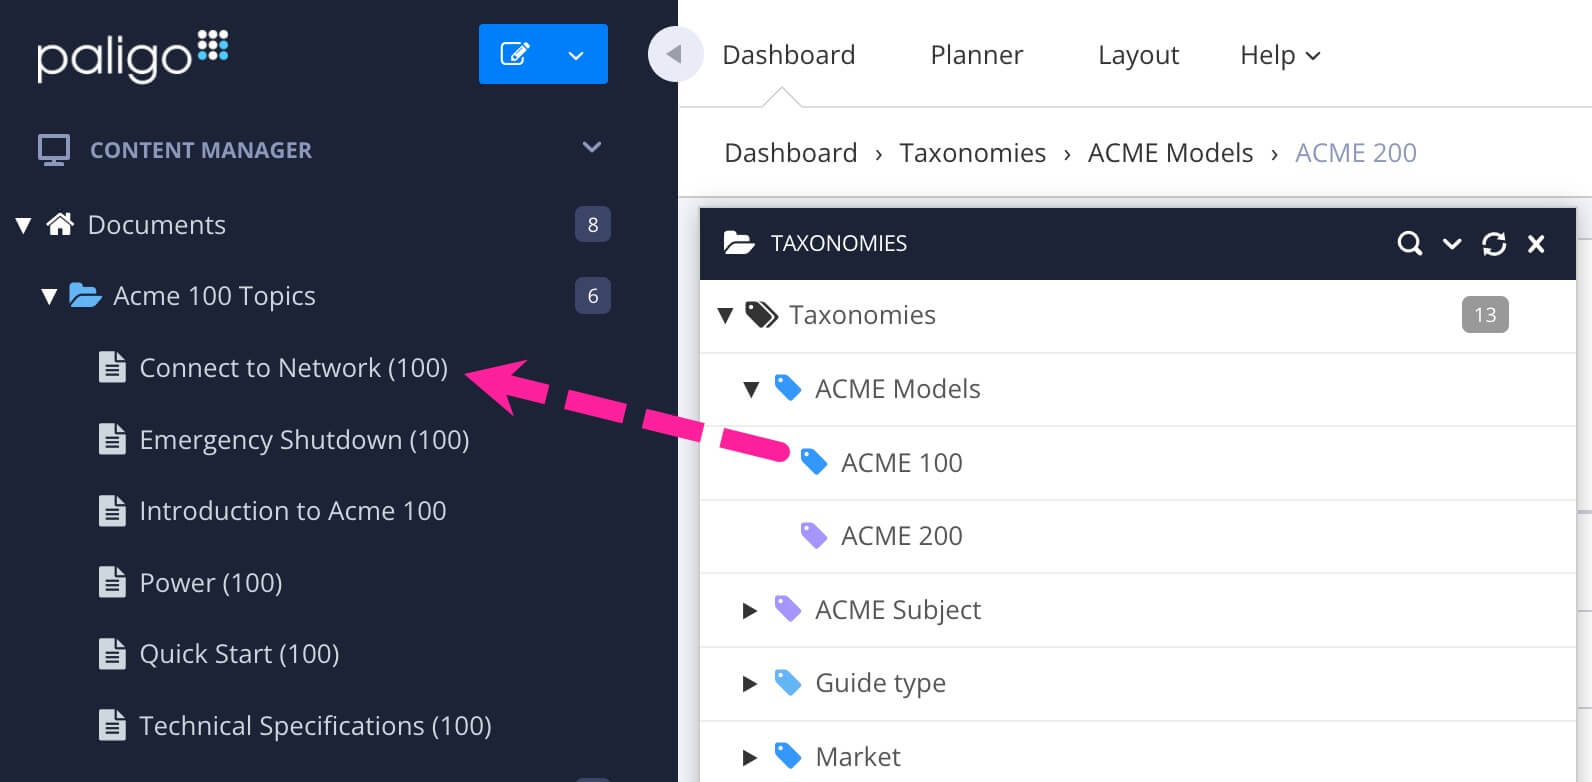
Associate your taxonomy tags with the appropriate publications, topics, and images.
This is where you make connections between your taxonomy tags and your content. For example, you could have an "Acme 100" tag for a product name and you would then associate that tag with all of the topics that are about the "Acme 100" product.
Define the appropriate settings in the Layout that you use for publishing.
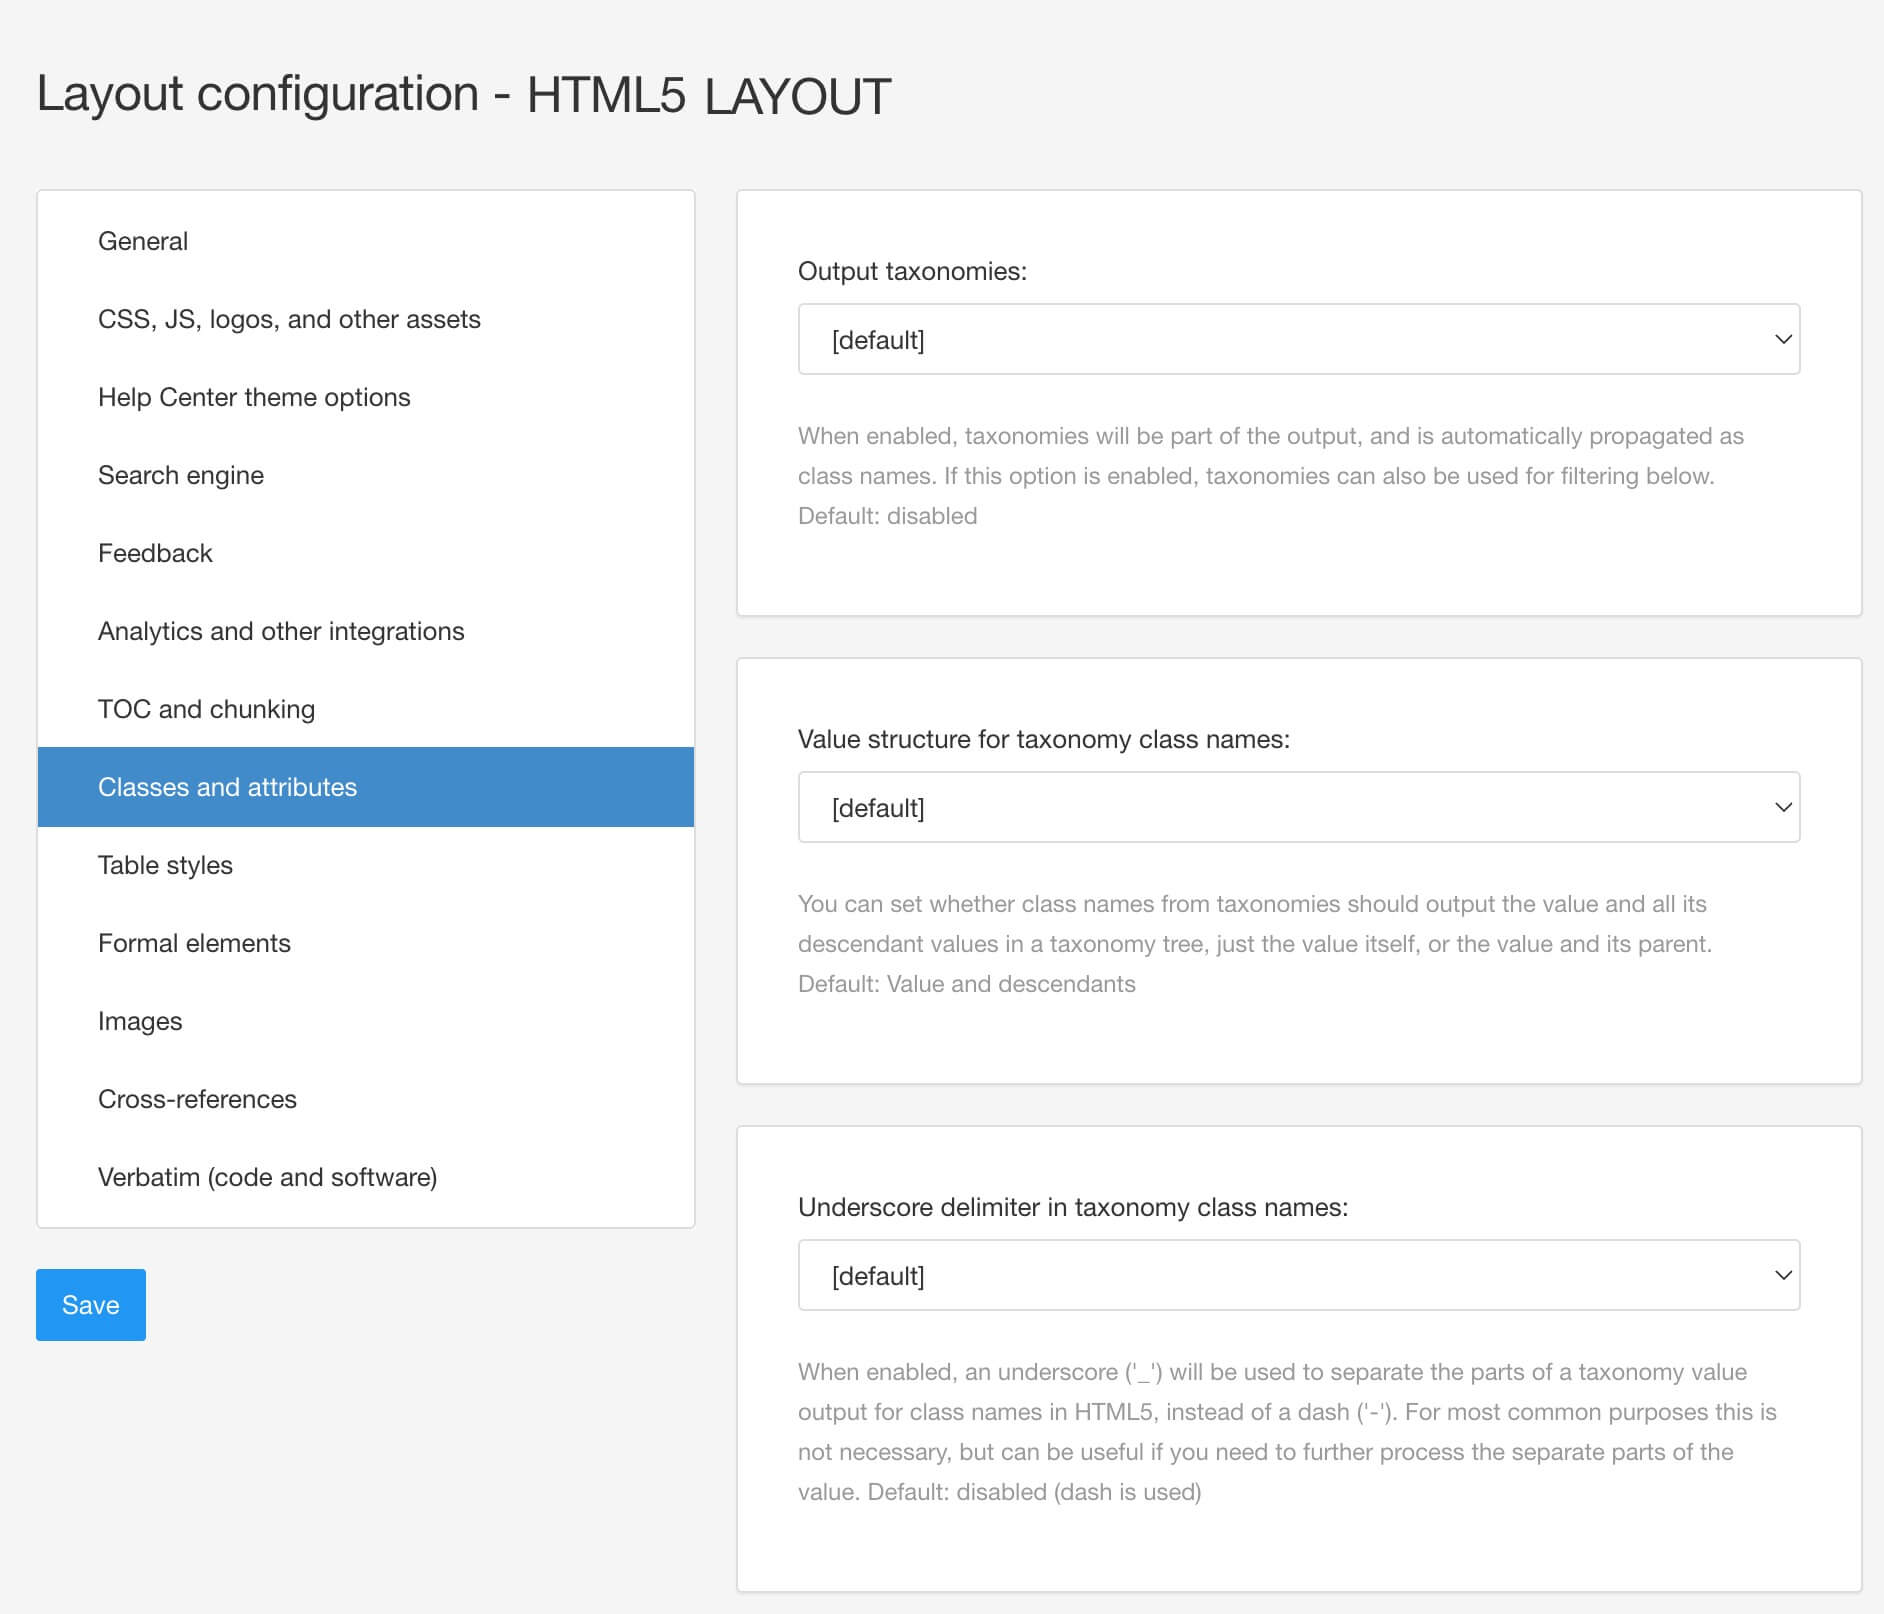
This step only applies if you are using taxonomies for features in the output that you publish, such as taxonomy filters and top-navigation.
Publish your content.
When you have created your taxonomy hierarchy, associated the taxonomy tags with your content, and set up the layout, it is time to publish, see Publish Content.
Note
If you are using taxonomies to categorize your content, Paligo authors can use them to Search with Taxonomy Tags.