Create Taxonomy Tags
Creating a taxonomy is very much like creating a nested folder structure. Before you begin, we recommend that you plan the taxonomy structure so that you know what tag you are going to use as the "parent" and how you are going to name the "child" tags. You can give taxonomy tags a color to make it easier to identify different types of taxonomies, see Set Colors for Taxonomy Tags. We recommend that you:
Create a "parent tag" for each purpose - If you are going to use taxonomies for multiple different reasons, create a different parent tag for each purpose. For example, you could create one parent tag for "filtering", another parent tag for "relationships" and a third for categorizing by "product name". Then create the subordinate tags (child tags) that you need for each purpose. This is important for distinguishing between the different uses for taxonomies.
Consider where taxonomies can be used - You can apply a taxonomy to a topic, a publication or an image. They cannot be applied to individual block elements, such as paragraphs.
Use recognizable names - Give the tags names that are easy for people to understand, even if they are unfamiliar with your content. When naming child tags, consider the name tags in other parts of the taxonomy hierarchy. If you duplicate the tag names, it can be confusing for Paligo authors.
Repeated tag names can also be a problem if you set Paligo to output the taxonomy tags as class names in HTML outputs. This is because it would result in classes sharing the same name too, meaning CSS styling would apply to all styles with a matching name. To avoid this, use the Value structure for taxonomy class names setting on the HTML5 Layout. There, you can set the class to include the parent tag's name as well, see Use Taxonomies as HTML Classes.
Tip
It's also possible to:
Create taxonomy tags via API. See the API documentation for information on the endpoints.
Get your taxonomy values output as class values in HTML5 output if you enable this in the Layout Settings for a HTML5 layout that you have created.
To create taxonomies:
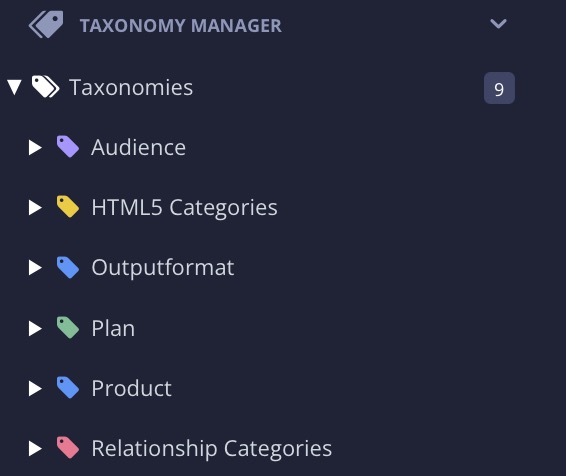
Select the Taxonomy Manager in the Content Manager to open the structure.

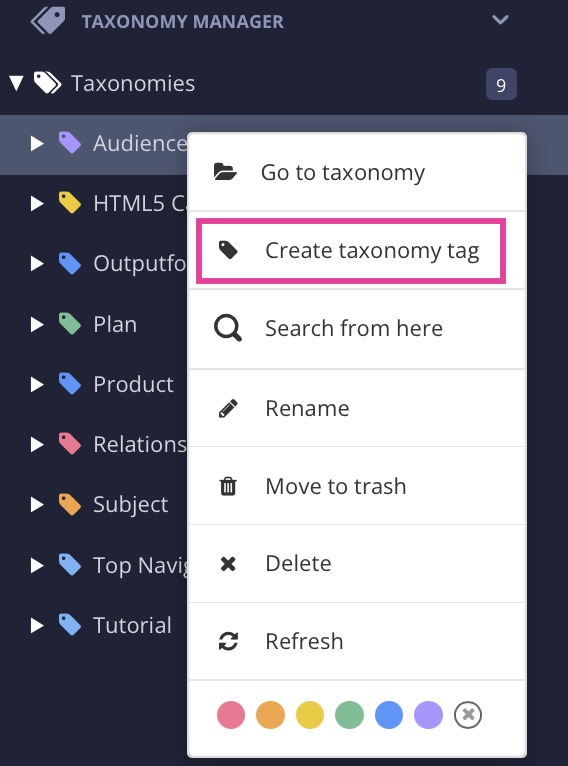
Select the the Dotted menu (...) for:
 the Taxonomies to create a Parent tag for a new hierarchy.
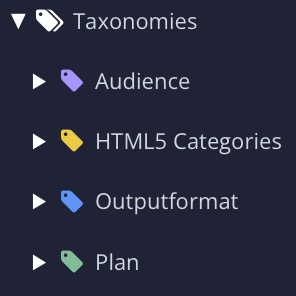
 an existing tag to create a Child tag.
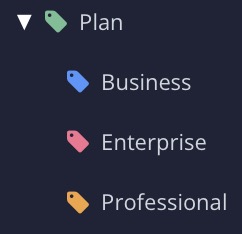
Note
You can use the Taxonomy Floating Content Panel instead of the Taxonomy Manager if you prefer.
Select Create taxonomy tag.
Enter a tag name and confirm it.

Repeat this process until you have created all of the parent and child taxonomy tags you need.
Tip
By coloring the tags it can be easier to differentiate the taxonomies, see Set Colors for Taxonomy Tags
Note
When the taxonomy tags are created, you can Apply Taxonomy Tags to Content to content. Just drag and drop tags, from the Taxonomy Manager, to the component you want to tag. The action is confirmed with a pop-up message: Link was successfully created!
You can select multiple taxonomies at once and drag to a component, to tag it with multiple tags at once. You can also do the other way around, by selecting multiple components and drag them to a taxonomy tag.