Use Taxonomies as HTML Classes
You can use taxonomies to give custom class names to topics and images in your HTML output. These can be styled and manipulated to meet your own requirements with CSS and JavaScript.
When you publish, Paligo will turn the taxonomy tag name into a class name in the HTML or HTML5 output like this:
For a topic, the class name appears in the <
section> element in the HTML.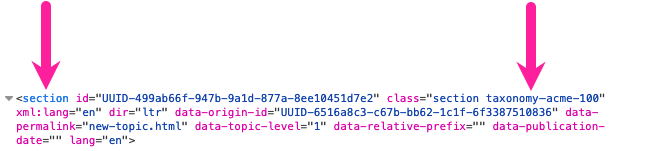
For example, let's say you add a taxonomy tag called "acme 100" to a topic and then publish to HTML. Inside the section element is class="section taxonomy-acme-100". Note that the exact class name depends on what is chose for the Value structure for taxonomy class names.
For an image, the class name appears in the <
div class="mediaobject"> container for the image.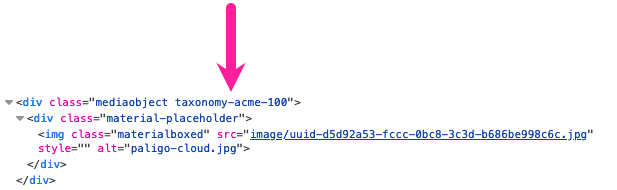
For example, if you added a taxonomy tag called "acme 100" to an image, in the HTML output, the image would be inside a div container. The div container has the class name "mediaobject taxonomy-acme-100". Note that the exact class name depends on what is chose for the Value structure for taxonomy class names.
Note
The HTML and HTML5 layouts have settings for controlling the format of the class name and separator characters.
To set Paligo to include the taxonomies as classes in HTML:
Create Taxonomy Tags that have the names of the classes you want in the HTML output.
Apply Taxonomy Tags to Content to the topics and images that need to have the class names in HTML output.
Select Layout in the top menu.

Paligo displays a list of Layouts. The list is empty if there are no custom Layouts in your Paligo instance.
Select the Layout you want to update or Create a Layout.
Tip
You can copy the URL of the Layout Editor and paste it into a new tab in your browser. This can be useful if you frequently switch between your Paligo content and the Layout settings.
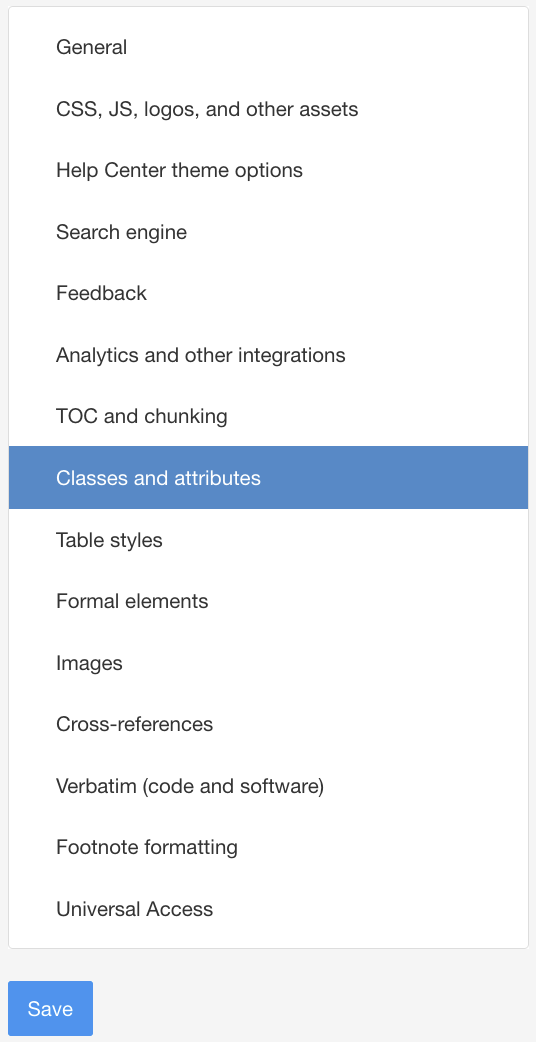
Select Classes and attributes in the sidebar.
Set Output Taxonomies to Enable.
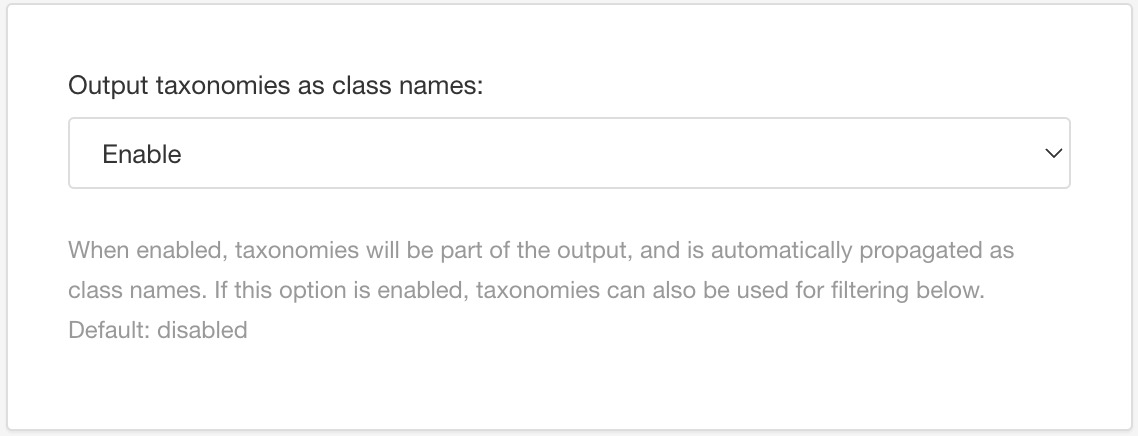
Use Value structure for taxonomy class names to control the naming of the class in the HTML.
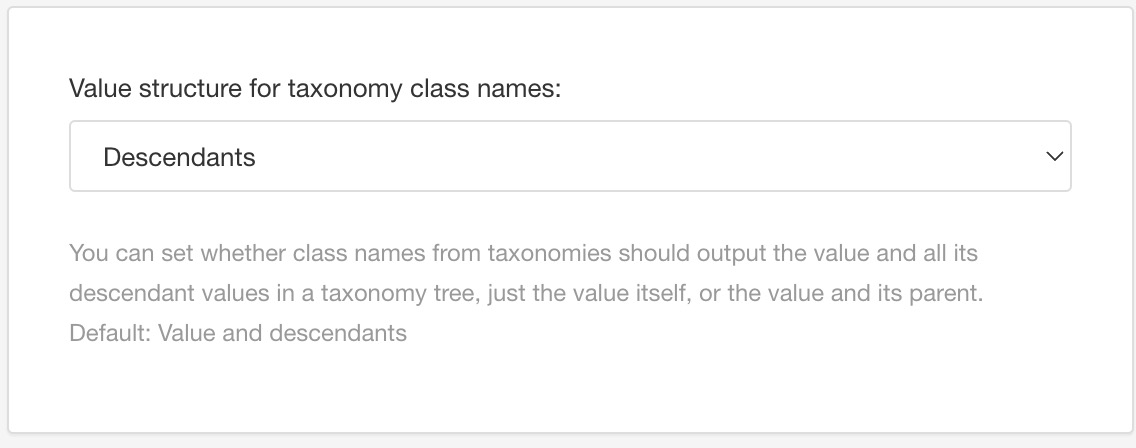
Choose from the options below (see the example at the end of this section for a sample of the classes these options create). In these descriptions, "self" means the tag that is in the topic, typically a child tag. The "self" is the current node.
Descendants - The class name includes the taxonomy name of the "self" and any of its descendant tags.
Exact Value - The class name includes the path from the root taxonomy to the "self".
Parent - The class name includes the path from the root taxonomy to the "self" and also from the root to the immediate parent of the "self" tag.
Ancestors - The class name includes the path of taxonomies from the root to "self" and also from the root to all parents of the "self" tag.
Default - To inherit the value of this setting from the base layout. The base layout is either one of the built-in layouts included in Paligo, or is one of your custom layouts, see Layout Relationships - Base, New, Duplicate.
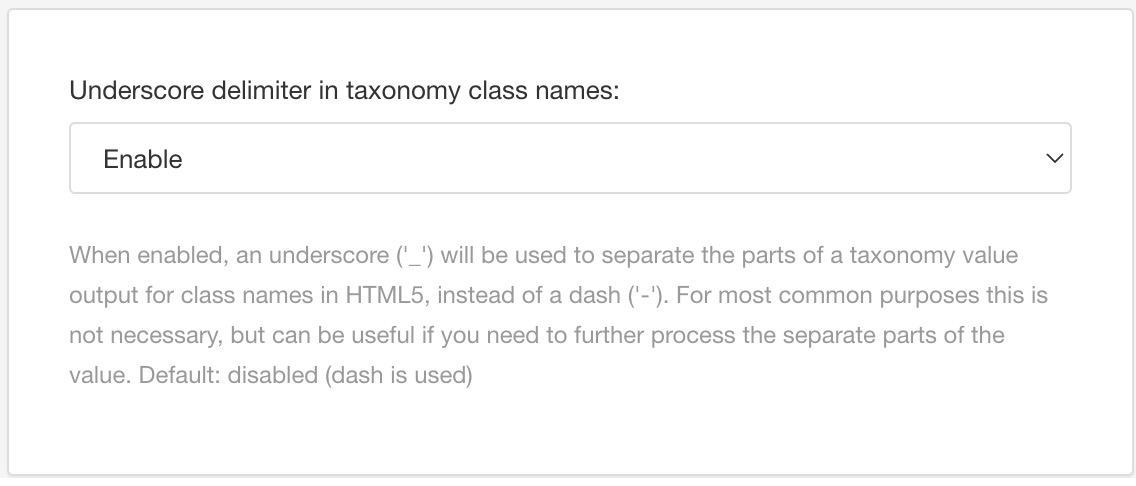
Use the Underscore delimiter in taxonomy class names setting to choose whether a dash or an underscore is used to separate the parts of a taxonomy reference in a class name. By default, class names use a dash as a separator.
Enable to use an underscore as a separator
Disable to use a dash as a separator
Default to inherit this setting from the base layout.
Select Save.
When you publish to HTML using the layout, Paligo will add class names to the HTML output. The class names are based on the name of your taxonomy tags and will use the syntax you chose in the layout.
Let's say you have a taxonomy hierarchy like this:
Taxonomies
Product Models
Acme 100
Acme 100a
Acme 100x
Acme 200
Acme 300
You apply the model tags to various different topics. You then set up an HTML5 Help Center layout so that it has these settings in place:
Output taxonomies - Enable
Underscore delimiter in taxonomy class names - Disable
You decide to experiment and publish the content four times, once for each different Value structure for taxonomy class names setting (in the Layout). The following table shows the class names that are generated for each of the different settings (Exact Value, Parent, Descendant, and Ancestor):
Topic Tag | Exact Value Class Name | Parent Class Name | Descendant Class Name | Ancestor Class Name |
|---|---|---|---|---|
Acme 100 | section taxonomy-product-models-acme-100 | section taxonomy-product-models-product-models taxonomy-product-models-acme-100 | section taxonomy-product-models-acme-100 taxonomy-product-models-acme-100a taxonomy-product-models-acme-100x | section taxonomy-product-models-product-models taxonomy-product-models-acme-100 |
Acme 100a | section taxonomy-product-models-acme-100a | section taxonomy-product-models-acme-100 taxonomy-product-models-acme-100a | section taxonomy-product-models-acme-100a taxonomy-product-models-acme-100x | section taxonomy-product-models-product-models taxonomy-product-models-acme-100 taxonomy-product-models-acme-100a |
Acme 100x | section taxonomy-product-models-acme-100x | section taxonomy-product-models-acme-100a taxonomy-product-models-acme-100x | section taxonomy-product-models-acme-100x | section taxonomy-product-models-product-models taxonomy-product-models-acme-100 taxonomy-product-models-acme-100a taxonomy-product-models-acme-100x |
Acme 200 | section taxonomy-product-models-acme-200 | section taxonomy-product-models-product-models taxonomy-product-models-acme-200 | section taxonomy-product-models-acme-200 | section taxonomy-product-models-product-models taxonomy-product-models-acme-200 |
Acme 300 | section taxonomy-product-models-acme-300 | section taxonomy-product-models-product-models taxonomy-product-models-acme-300 | section taxonomy-product-models-acme-300 | section taxonomy-product-models-product-models taxonomy-product-models-acme-300 |
The class names vary, depending on the chosen setting.
With the class in place, you can use it in your CSS and JavaScript files to apply styles or other functionality. You can upload the CSS and JS to your layout and republish to apply the styles and script during the publishing process (see Style with CSS and Upload Customized JavaScript).