Style with JavaScript
Paligo HTML5 outputs use JavaScript (JS) to provide various features and you can also upload your own JavaScript. With JavaScript, you can add behavior to the webpage.
You can use JavaScript to change your HTML output after they have been published. For example, you can use JavaScript to change the icons that are shown for the categories on the help center portal page.
Note
Only one custom Javascript file can be uploaded per layout. If a layout already has a custom. JS file attached and you want to add more Javascript functionality, it is recommended you add the additional code to the end of the existing JS file in the layout.
Tip
There are many online tools for validating JavaScript, such as https://beautifytools.com/javascript-validator.php.
To add a custom JavaScript file to a layout:
Select Layout in the top menu.

Paligo displays a list of Layouts. The list is empty if there are no custom Layouts in your Paligo instance.
Select the Layout you want to update or Create a Layout.
Tip
You can copy the URL of the Layout Editor and paste it into a new tab in your browser. This can be useful if you frequently switch between your Paligo content and the Layout settings.
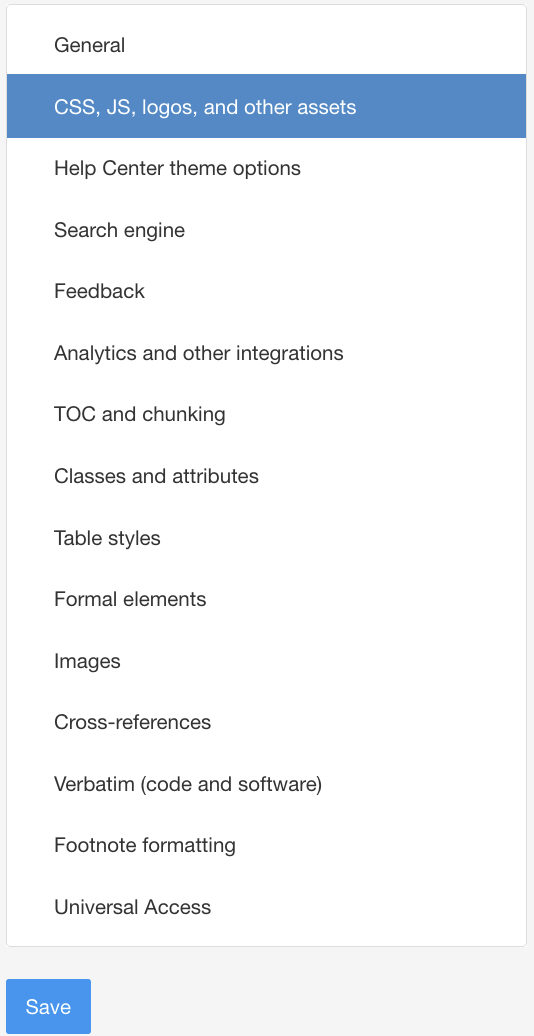
Select CSS, JS, logos and other assets in the sidebar.
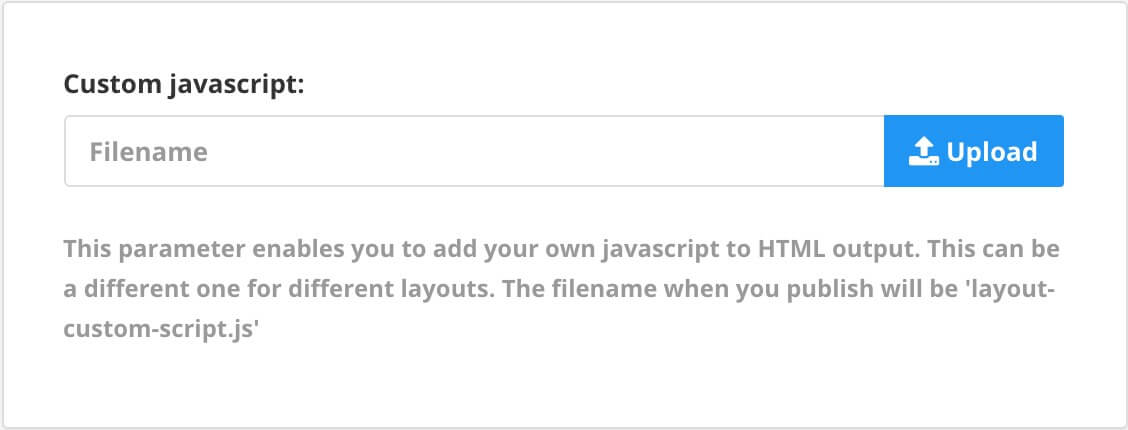
Select Upload in the Custom Javascript section.
Drag your custom JavaScript file from your computer's file system onto the file upload dialog.
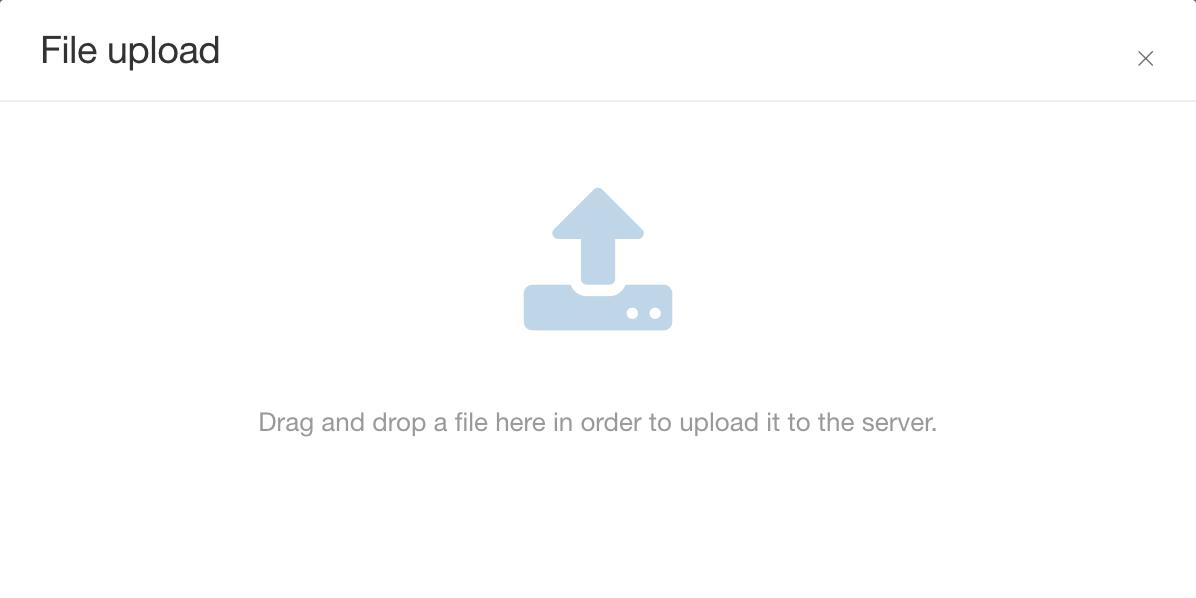
Paligo uploads the JavaScript file to the Paligo server.
Note
You should only upload validated JavaScript files that have the
.jsfile extension.Select Save.
When you use this layout to publish content, the JavaScript will be included in the output. When an end-user opens the help, their browser will run the JavaScript and apply the customizations.
Note that in the published output, your JavaScript is renamed to layout-custom-script.js
Paligo HTML5 outputs use JavaScript (JS) to provide various features and you can also upload your own JavaScript.
To use JavaScript, your HTML files have to reference them. Paligo applies the references automatically and by default they appear in the <head> element of your HTML files. If you prefer, you can set Paligo to add the JavaScript references near the bottom, just before the closing </body> element.
Recommended is to have JavaScript references at the end of your pages is better for SEO (Search Engine Optimization), as it means the pages will load quicker. But for some scripts, it may be a requirement to reference them in the <head> element.
To control where Paligo inserts the JavaScript references:
Select Layout in the top menu.
Paligo displays a list of Layouts. The list is empty if there are no custom Layouts in your Paligo instance.
Select the Layout you want to update or Create a Layout.
Tip
You can copy the URL of the Layout Editor and paste it into a new tab in your browser. This can be useful if you frequently switch between your Paligo content and the Layout settings.
Select CSS, JS, logos and other assets in the sidebar.
Set Place scripts at the end of the body tag to either:
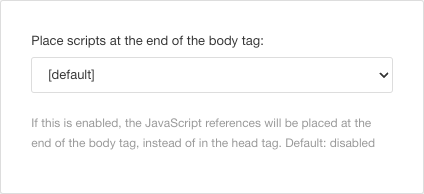
Enable - To set Paligo to place JavaScript references near the end of the HTML in each page, before the closing
</body>element. Recommended for SEO.Disable - To set Paligo to place JavaScript references near the top of the HTML in each page, in the
<head>element. DefaultDefault - To inherit the setting from the base layout. If the base layout is a "built-in" layout provided by Paligo, the inherited setting is Disable. If the base layout is a different layout, it could be Enable or Disable, depending on what is set in the other layout.
Select Save.
When you publish, Paligo will apply your choice to the output.
If your HTML5 output uses custom JavaScript (JS), it is because a .js file was uploaded to your Layout. To get your output to go back to having the default behavior, remove the .js file.
Tip
If you have the .js file stored on your web server, it is a good idea to keep it in a different directory. That way, it is still available if you decide you want your help center to go back to using the custom behavior.
To remove a JavaScript file from a layout:
Select Layout in the top menu.
Paligo displays a list of Layouts. The list is empty if there are no custom Layouts in your Paligo instance.
Select the Layout you want to update or Create a Layout.
Tip
You can copy the URL of the Layout Editor and paste it into a new tab in your browser. This can be useful if you frequently switch between your Paligo content and the Layout settings.
Select CSS, JS, logos and other assets in the sidebar.
Delete the reference in the Custom Javascript field.
Select Save.
When you publish with this Layout, your custom JavaScript file will not be used by the output. (The file will not be in the output).