- Paligo Documentation
- Publish
- HTML and HTML5 Styling
- HTML Metadata
HTML Metadata
Learn how to add HTML meta tags to your Paligo content.
For HTML outputs, you can add HTML meta tags to your topics. The meta tags are extra information about each topic and they are included in the code of each published HTML page. They are not visible on a published HTML page, but you can see them if you view the source HTML. They are often used by search engines for search engine optimization (SEO) and analytics. For example, the meta description may be used to add information about a topic below its link in search engine results.
Note
If you add the same meta tag to every topic in your publication, you may need to use Separator and Terminator for HTML Meta Tags. This only applies if the value for the name or content in the metadata contains a colon or semi-colon.
For search engine optimization (SEO), it is good practice to add a description to each topic's metadata. When your topic appears in a search engine result, the search engine may use the description to provide more information about the page. The description usually appears below the page link in search results, but we cannot guarantee that the search engines will use it.
To add an HTML meta description, use the info, abstract, and para elements, so that they are in a structural hierarchy like this:
<info>
    <abstract>
              <para>Your description</para>
    </abstract>
</info>
We recommend that you add the info, abstract, and para immediately after the title in your topics.
Select the topic or component in the Content Manager to open it in the Editor.
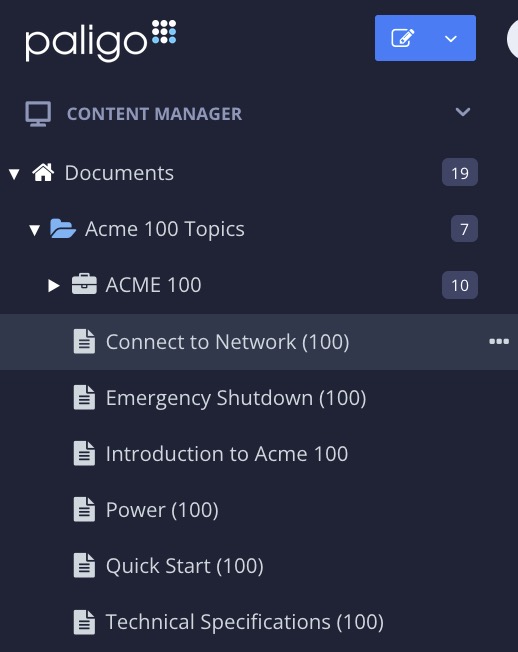
Alternatively, you can Create a Topic and edit that.
Select a valid position for the info element, for example, immediately after the title but before the first paragraph.
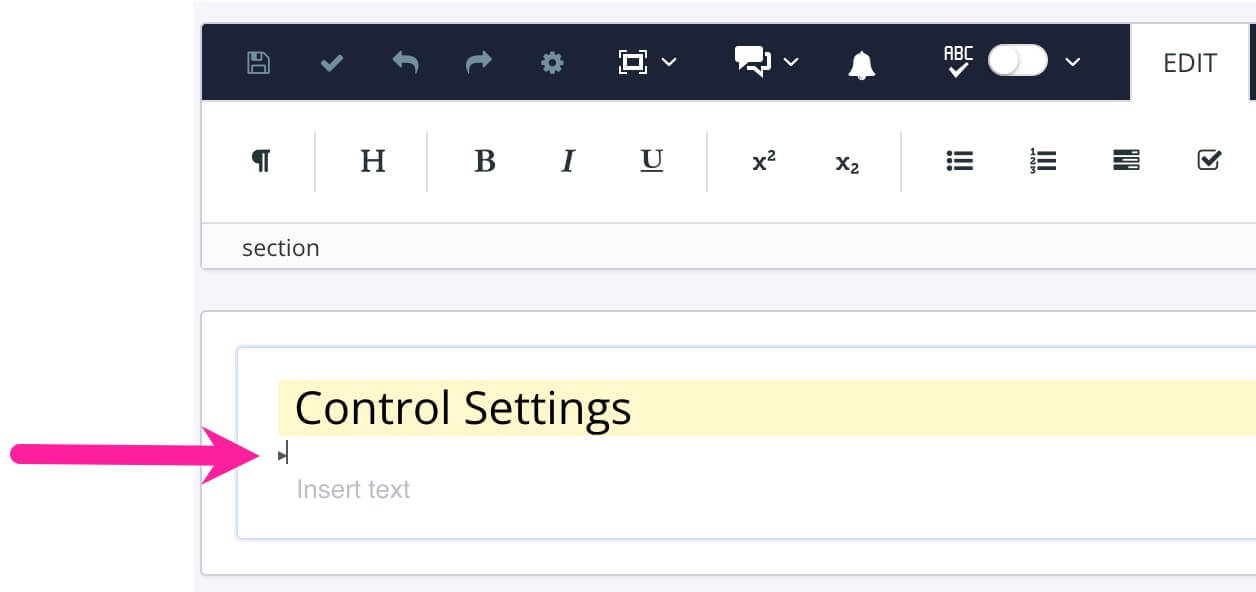
Press Alt + Enter ⏎ (Windows) or Command ⌘ + Enter ⏎ (Mac) to display the Element Context Menu.
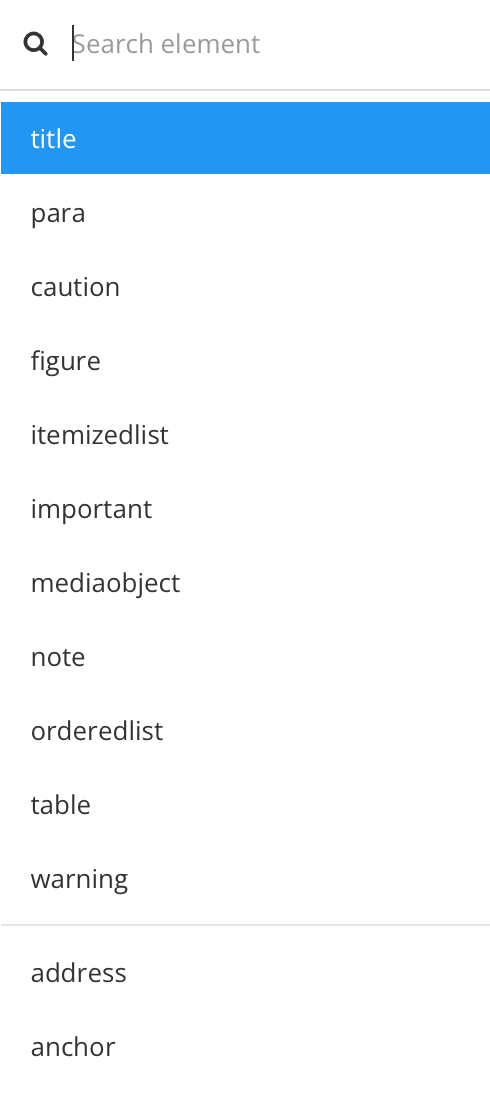
To access the element context menu, press Alt and Enter (Windows) or Option ⌥ and Enter (Mac).
Note
If you already have an
infoelement, you can add an abstract inside that. For example, you may already have aninfoelement to contain keywords. In which case, you can add theabstractandparaelements inside the sameinfoelement, before or after thekeywordset.Enter
infoand select it.Note
If you already have an
infoelement, you can add an abstract inside that. For example, you may already have aninfoelement to contain keywords. In which case, you can add theabstractandparaelements inside the sameinfoelement, before or after thekeywordset.Use the Element Context Menu to add the
abstractelement inside the info element.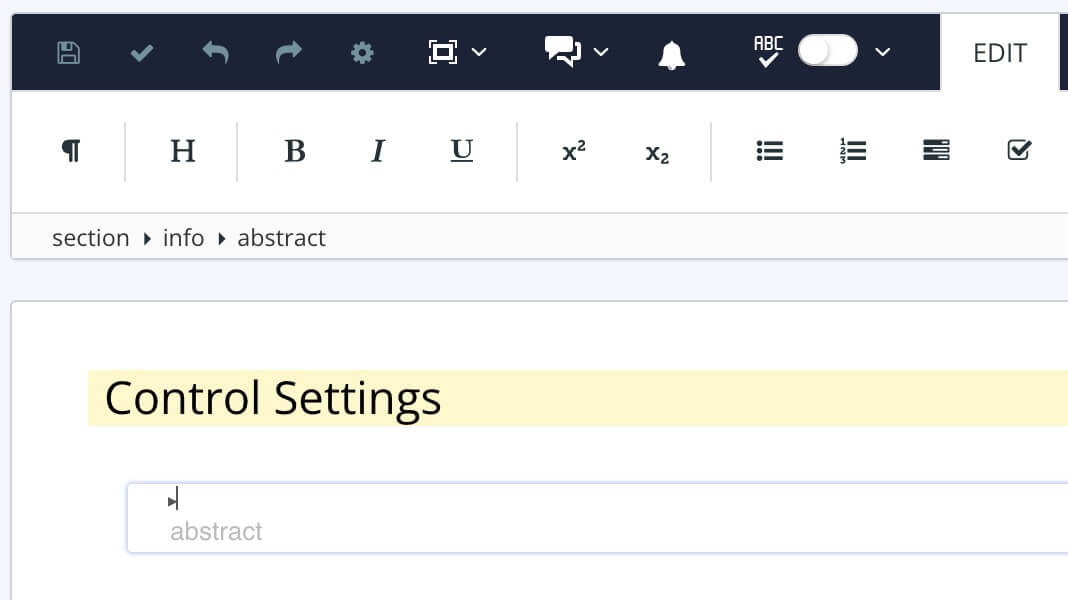
Use the Element Context Menu to add
paraelement inside the abstract element.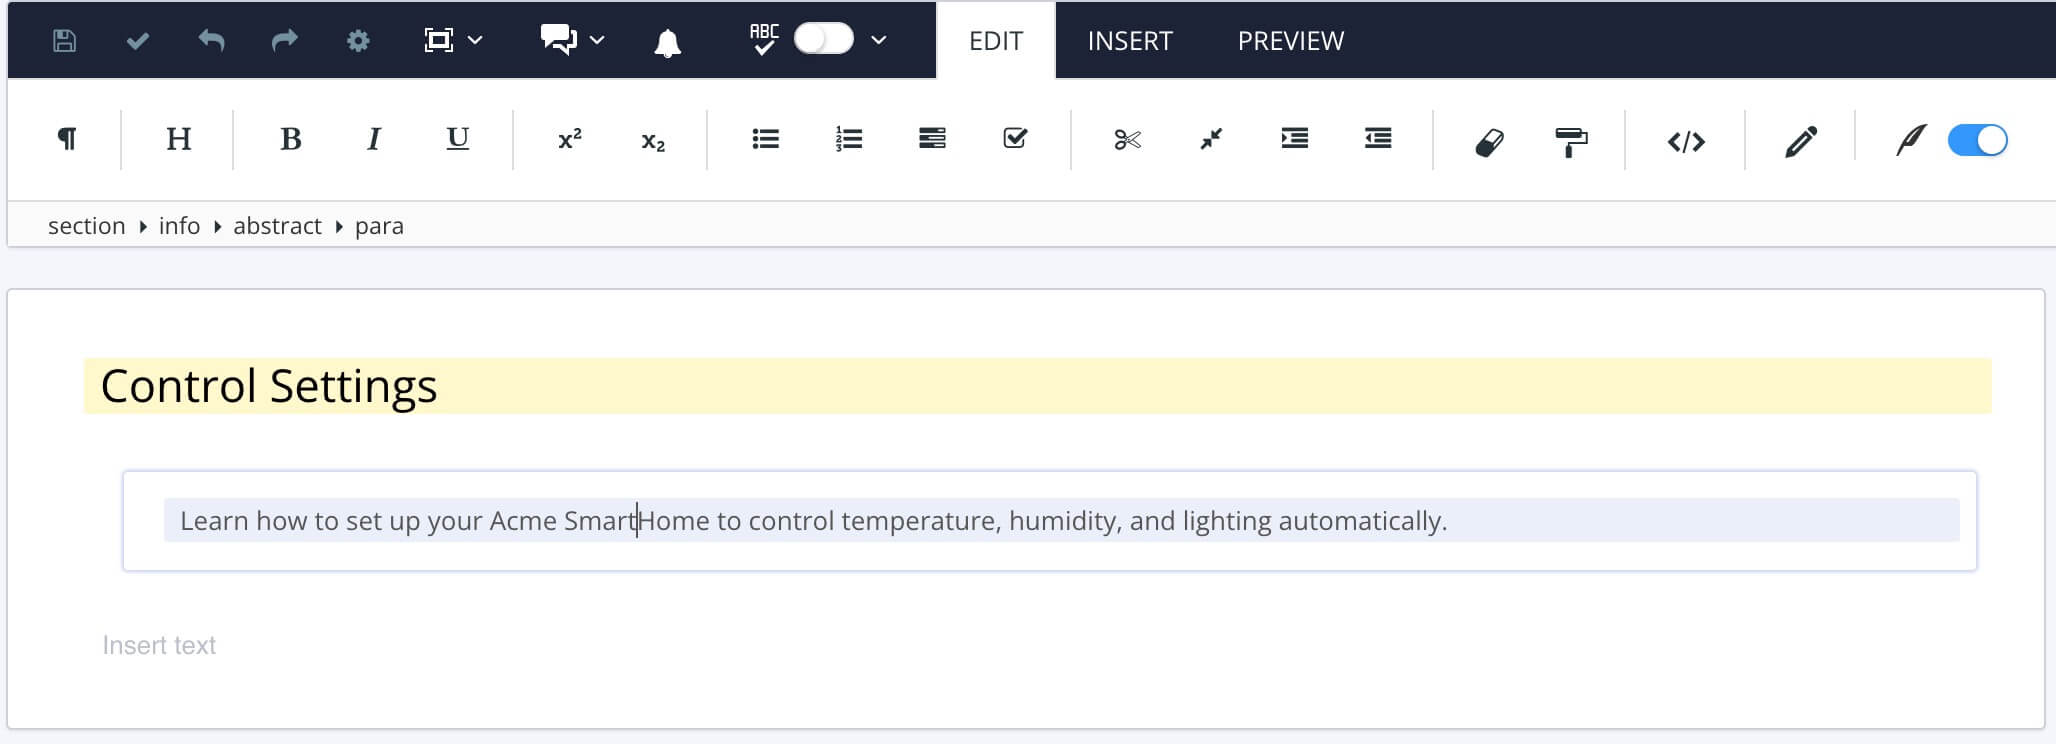
Enter the description for the topic in the paragraph.
Note
Be aware that search engines have recommendations for the description length. For example, ideally, Google descriptions should be between 50 and 150 characters.
Add the rest of the topic's content after the
infoelement.Select Save.

By default, the abstract will be visible in your HTML output. But you can use CSS to hide it from readers but still make it available to search engines.
The CSS to use is:
.abstract {
    display:none;
}
You can either add that to your existing CSS file or you can use a CSS editor to create a new one. If you create a new CSS file, you will also need to add any other CSS that you want to apply to your content.
When you have the CSS file ready, Upload Customized CSS to the HTML layout and save it. When you publish with that layout, your meta descriptions will be included, but hidden from view on your web pages. To learn more about using CSS, see Style with CSS.
You can add HTML meta keywords to your topics. Google no longer uses keywords for search engine optimization (SEO), but they may still be used by other search engines or applications. If you use keywords, you should add words and phrases that are relevant to the subject matter of the topic.
To add an HTML meta keyword, use the info, keywordset, and keyword elements, so that they are in a structural hierarchy like this:
<info>
    <keywordset>
              <keyword>First keyword</keyword>
              <keyword>Second keyword</keyword>
    </keywords>
</info>
We recommend that you add the info, keywordset, and keywords immediately after the title in your topics.
Select the topic or component in the Content Manager to open it in the Editor.

Alternatively, you can Create a Topic and edit that.
Select a valid position for the info element, for example, immediately after the title but before the first paragraph.

Press Alt + Enter ⏎ (Windows) or Command ⌘ + Enter ⏎ (Mac) to display the Element Context Menu.

Enter
infoand select it.Note
If you already have an
infoelement, you can add keywords inside that. For example, you may already have aninfoelement to contain anabstractfor a meta description. In which case, you can add thekeywordsetandkeywordelements inside the sameinfoelement, before or after theabstract.Use the Element Context Menu to add the
keywordsetelement inside theinfoelement.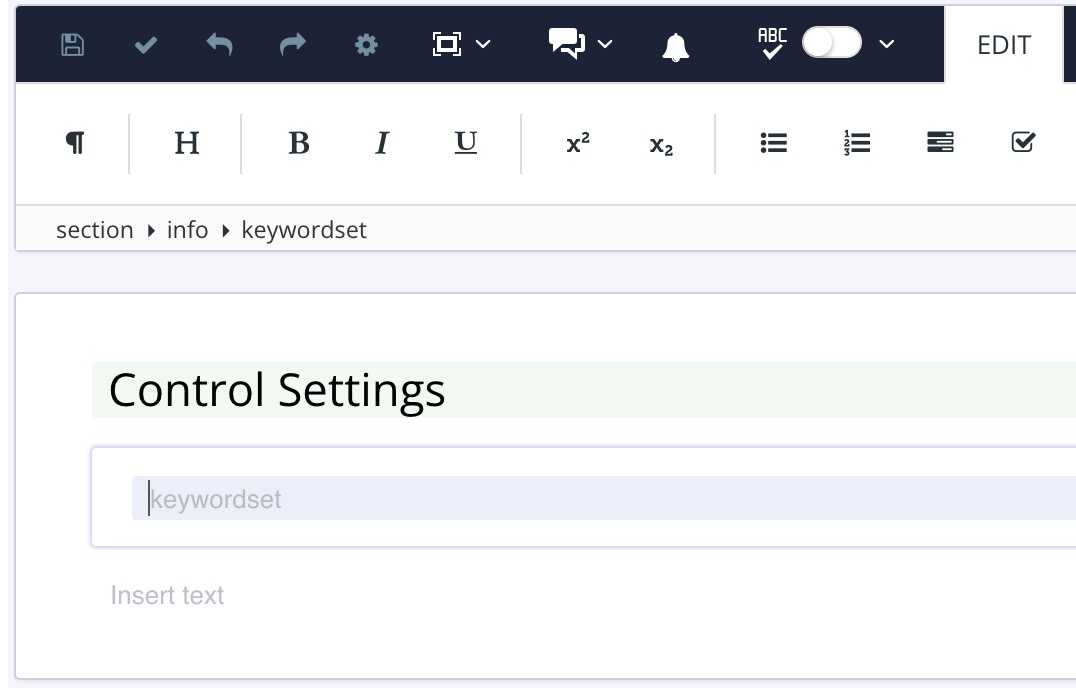
Use the Element Context Menu to add the
keywordelement inside thekeywordsetelement.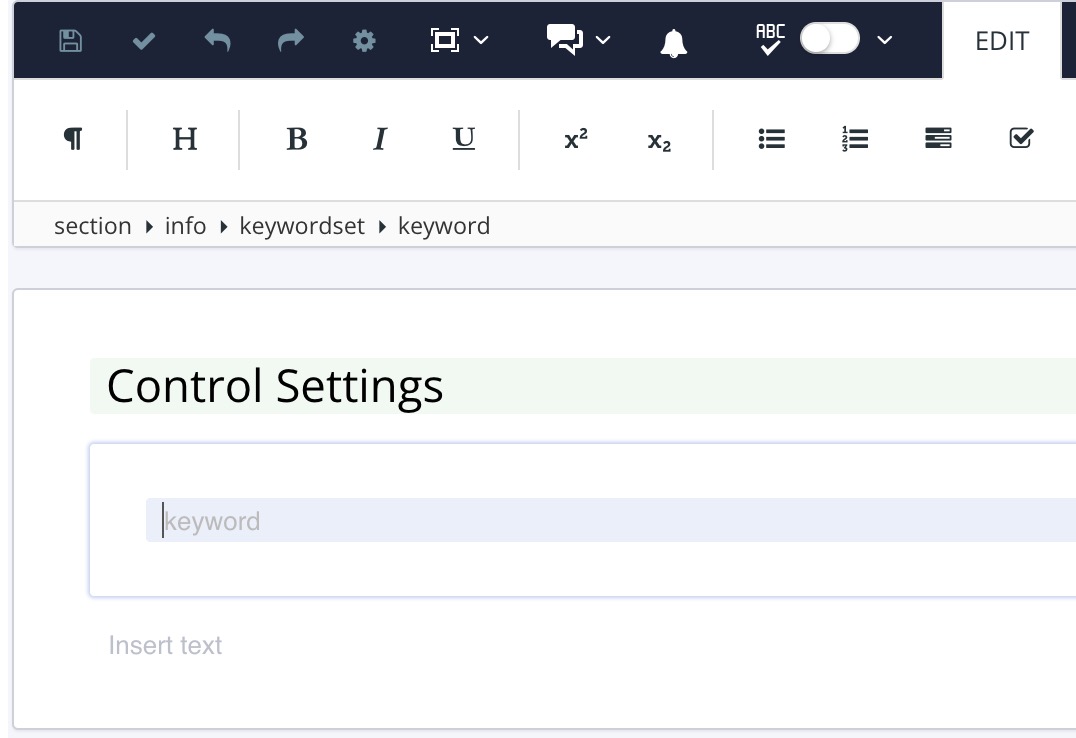
Enter the keyword or key phrase in the
keywordelement.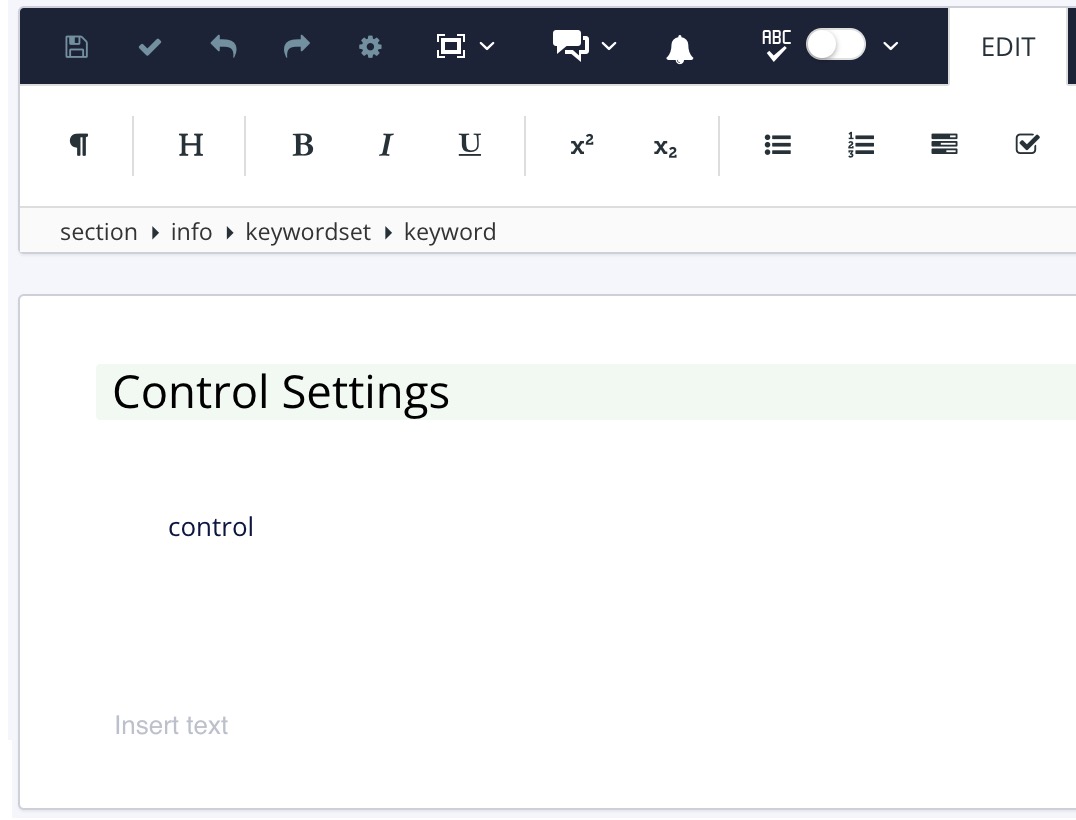
Repeat steps 5 and 6 inclusive to add more keywords as required.
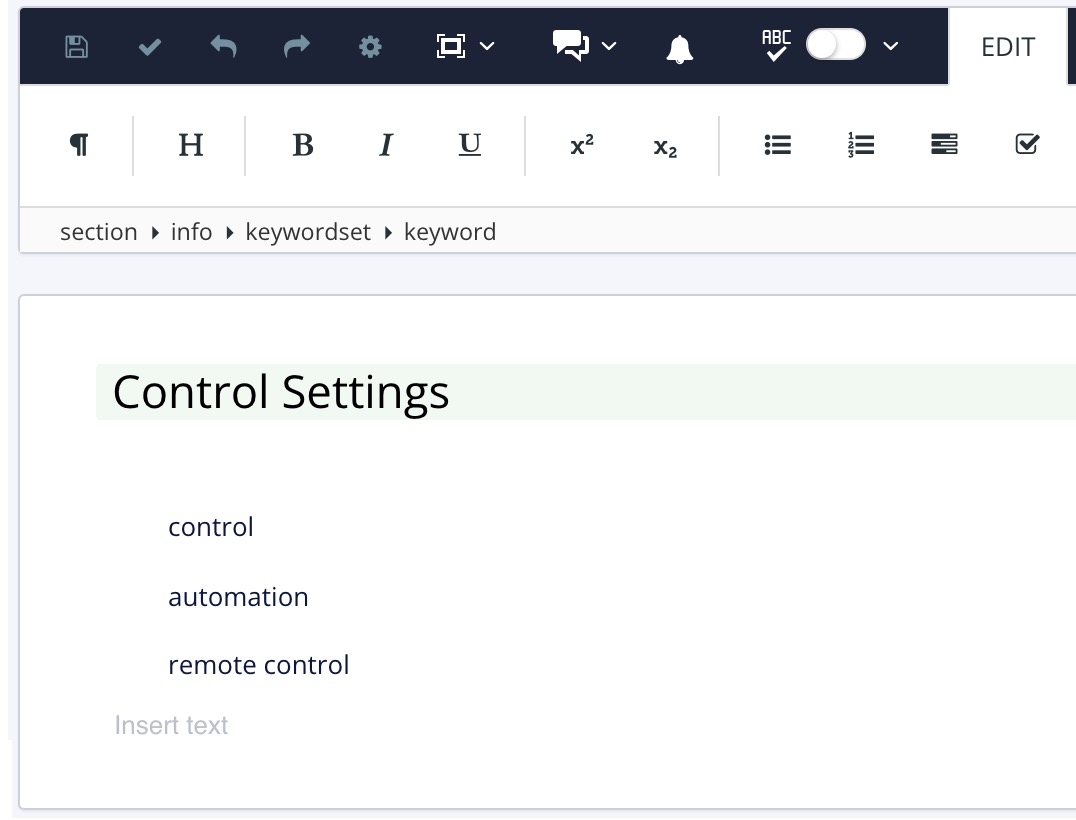
Add the rest of the topic's content after the
infoelement.Select Save.

Publish your content to HTML and use the browser's inspection tool to view the source code of the page. The keywords are added as HTML meta tags inside the <head> section of the page, for example:
<meta name="keywords" content="control, automation, remote control">
With Paligo's HTML5 layout, you can add HTML meta elements (name and content) to every page in your HTML5 output. The HTML meta tag is often used for adding metadata that is required by other applications such as search engines.
When you publish to HTML5, Paligo takes the metadata information from the HTML5 layout. It then generates the HTML5 output, and adds the metadata to every page. Each metadata name and content pair will appear as:
<meta name="name of metadata" content="value of metadata" />
If you want to add a metadata name and pair to some, but not all, of your topics, see HTML Meta Tags for Individual Topics.
Note
Paligo only supports metadata name and content pairs. It does not support other metadata attributes such as property.
To add custom metadata to all of the pages in your HTML5 output:
Select Layout in the top menu.

Paligo displays a list of Layouts. The list is empty if there are no custom Layouts in your Paligo instance.
Select the Layout you want to update or Create a Layout.
Tip
You can copy the URL of the Layout Editor and paste it into a new tab in your browser. This can be useful if you frequently switch between your Paligo content and the Layout settings.
Select General from the left menu.
In the Custom meta tags field, enter the meta tags that you want to to all of the pages in your HTML5 output. Use the following syntax:
name separator value terminator
For example:
robots:noindex, follow;
Where:
robots is the value
colon ( : ) is the separator
noindex, follow is the value
semi-colon ( ; ) is the terminator.
Another example is for location metadata, like this:
geo.position:latitude,longitude;
Note
To include a colon or semi-colon as part of the name or value, you will first need to change the separator and/or terminator characters for Paligo (see Separator and Terminator for HTML Meta Tags).
When entered correctly, the metadata will come out as a metadata name and content pair in the HTML5 output. For example:
<meta name="geo.position" content="59.334591, 18.063240" />
Select Save.
Publish your content using the layout you edited in steps 1 to 4.
Check that the meta name and content pair(s) are included in your output. Unzip the output file and open index.html in a browser. Navigate to a page that should have the meta tag and then use the browser's inspect feature to view the source code. You should see that the meta tag is included inside the
<head>element.If the meta tag is missing, check that you have used the correct syntax in the layout and that you are publishing with that layout. Also, if there is a colon or semi-colon in the name or value, make sure that you have set alternative separators and terminators.
You can add HTML name and content metadata pairs to any topic. HTML name and content pairs are often used by other applications that need to access your published content, for example, Google Analytics.
To add HTML metadata to an individual topic, use Paligo's taxonomy feature. You will need to create a "parent" taxonomy tag for the name value and then one or more "child" taxonomy tags for the content value. When you publish to HTML5, Paligo will add the HTML metadata to the topic when it processes the output. The HTML metadata will appear as:
<meta name="name of metadata" content="value of metadata" />
Note
Paligo only supports metadata name and content pairs. It does not support other metadata attributes such as property.
Note
This article explains how to add a custom metadata name and pair to one specific topic. To create an HTML meta description for a topic, see HTML Meta Description for Topics, and if you want to add a meta name and content pair to all topics at once, see HTML Meta Tags for All Topics.
To add a custom HTML metadata name and content pair to a topic:
In the Content Manager, expand the Taxonomy Manager section.
Select the options menu ( ... ) for Taxonomies and then select Create Taxonomy Tag.
Give the taxonomy tag a name. The name will be used as the value for the name part of the metadata. For example, if you enter "Monitor" as the name, the HTML metadata will use it like this:
<meta name="Monitor" content = <not defined yet!> />
The taxonomy tag you have created in this step is the "parent" taxonomy tag.

Select the options menu ( ... ) for the "parent" taxonomy tag and then select Create Taxonomy Tag. Paligo creates a new tag, and it is a "child" of the "parent" tag you created in the previous step. This hierarchy is important, as "child" tags are used for the content values in the metadata.
Give the child taxonomy tag a name. The name will be used as a value for the content part of the metadata. For example, if you enter "Temperature" as the name, Paligo will add this to the HTML metadata:
<meta name="Monitor" content="Temperature" />

Note
You need one tag for each value, so if you want the content metadata to have multiple values, create one "child" tag for each value.
Repeat steps 4 and 5 to create any additional values for the content part of the metadata. For example, you could create a "child" tag for "Humidity" and then Paligo will add this HTML metadata:
<meta name="Monitor" content="Temperature, Humidity" />
Select the options menu ( ... ) for the Taxonomies tag and then select Floating Content Panel. Paligo opens the taxonomy tag hierarchy in a "floating" dialog.
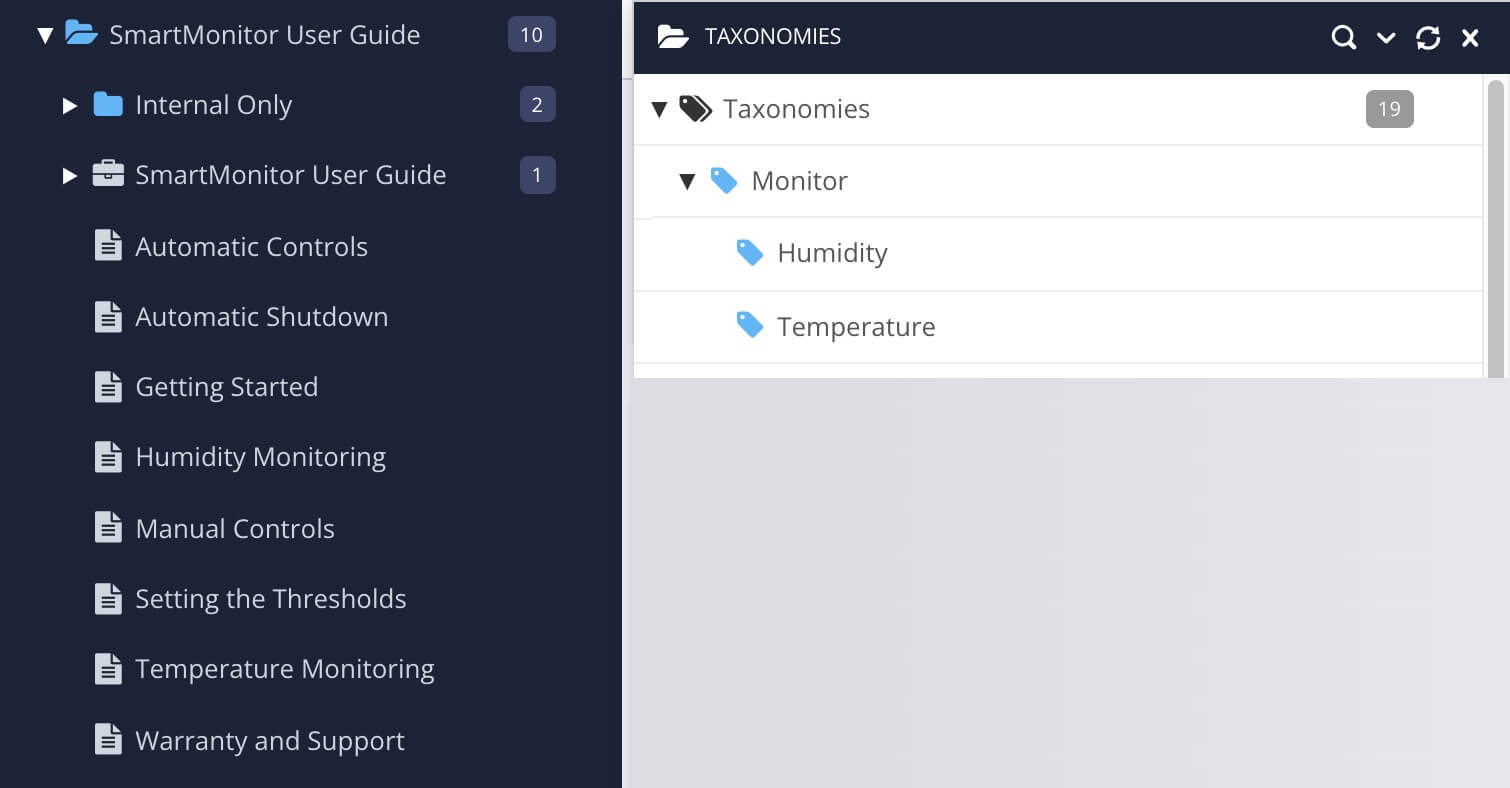
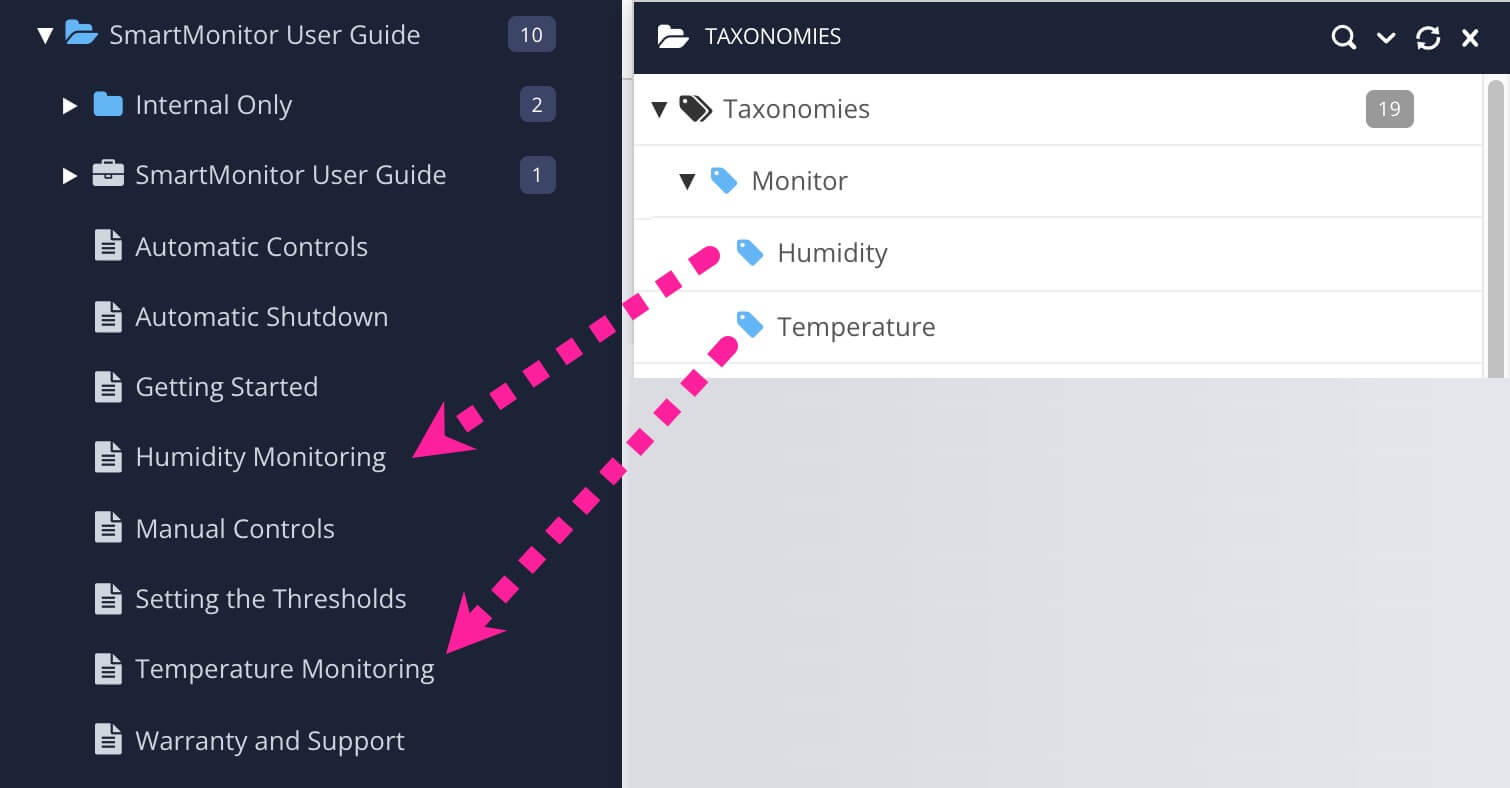
Drag and drop the "parent" and "child" tags for your name/content pair onto the topics that you want to use them.
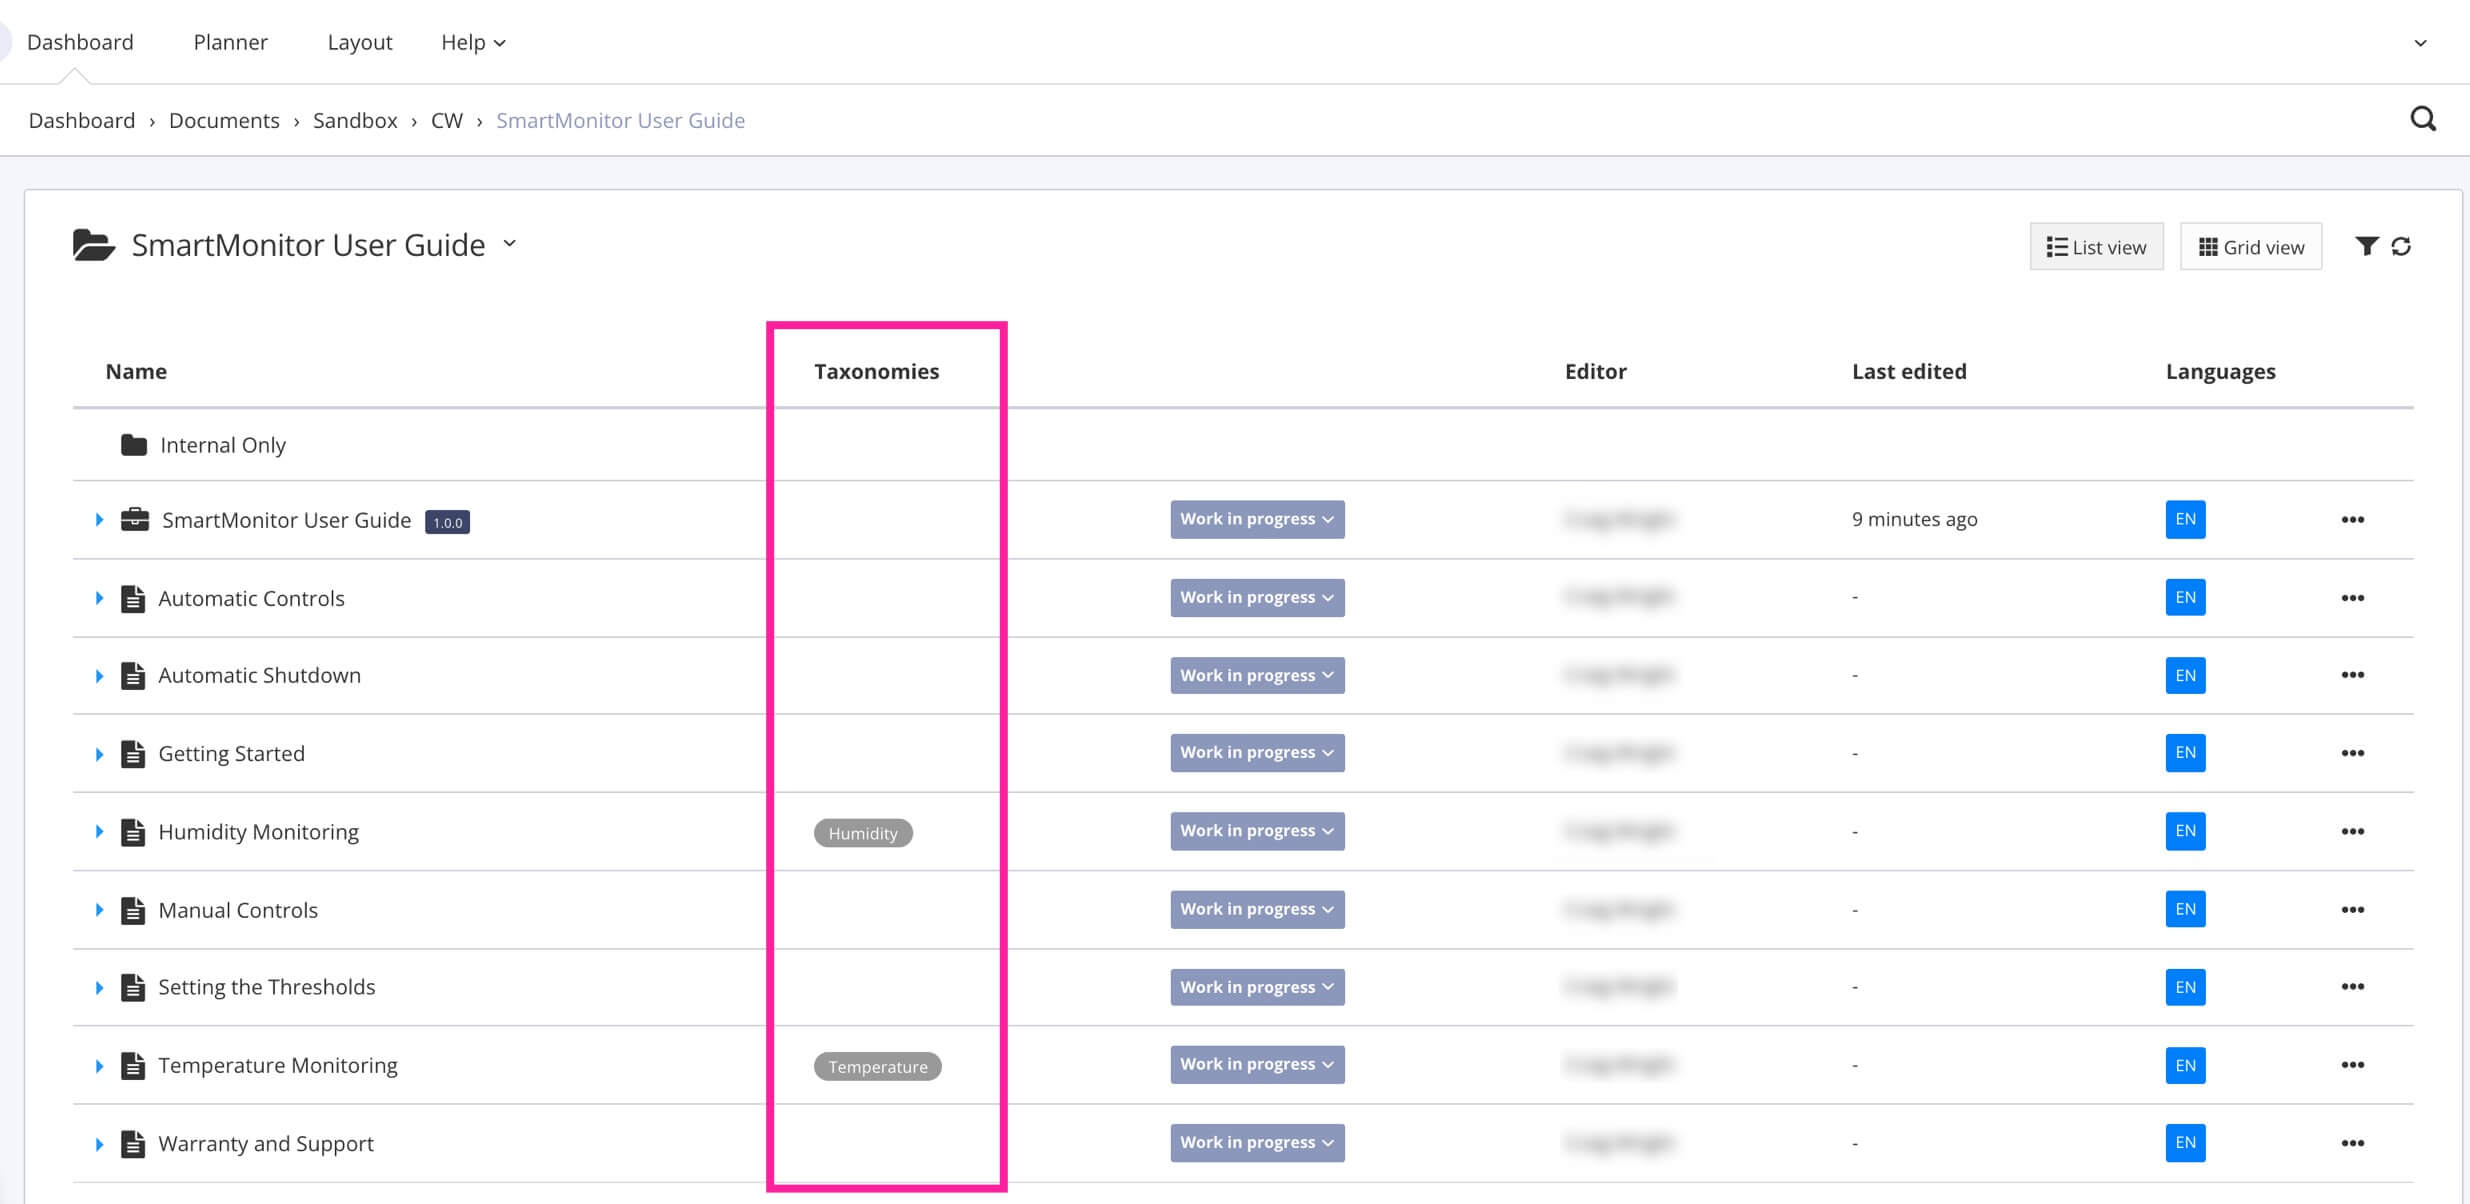
Tip
To check that the tags have been applied, select the folder that contains the topic to display Resource View. There, you can see what taxonomy tags are applied to the topics in that folder.
Publish the content using an HTML5 layout that has the following settings in place:
These are in the Classes and attributes settings:
Output taxonomies set to Enable
Value structure for taxonomy class names set to Descendants
Underscore delimiter in taxonomy class names set to Enable
Create HTML meta tags from taxonomies set to Enable.
Note
To use the HTML meta tag for Google Analytics, you will also need to set up the property id. You can find it in the layout's settings at: Analytics and other integrations > Google analytics property id (tracking id) or container id.
Check that the meta name and content pair(s) are included in your output. Unzip the output file and open index.html in a browser. Navigate to a page that should have the meta tag and then use the browser's inspect feature to view the source code. You should see that the meta tag is included inside the
<head>element.If the meta name and content is not included, check that you have all of the required layout settings in place and that you correctly applied the taxonomy tag to your topic.
By default, Paligo uses the:
Colon ( : ) character as the separator tells Paligo where the name ends and the value begins.
Semi-colon ( ; ) character as the terminator tells Paligo where the meta tag ends.
When you enter an HTML meta tag, use the following syntax name separator value terminator, for example robots:noindex, follow;.
If you need to enter a name or value that contains a colon or semi-colon, set Paligo to use a different separator or terminator character. There are settings for changing the separator and terminator characters on the HTML5 layout that you use for publishing.
Select Layout in the top menu.

Paligo displays a list of Layouts. The list is empty if there are no custom Layouts in your Paligo instance.
Select the Layout you want to update or Create a Layout.
Tip
You can copy the URL of the Layout Editor and paste it into a new tab in your browser. This can be useful if you frequently switch between your Paligo content and the Layout settings.
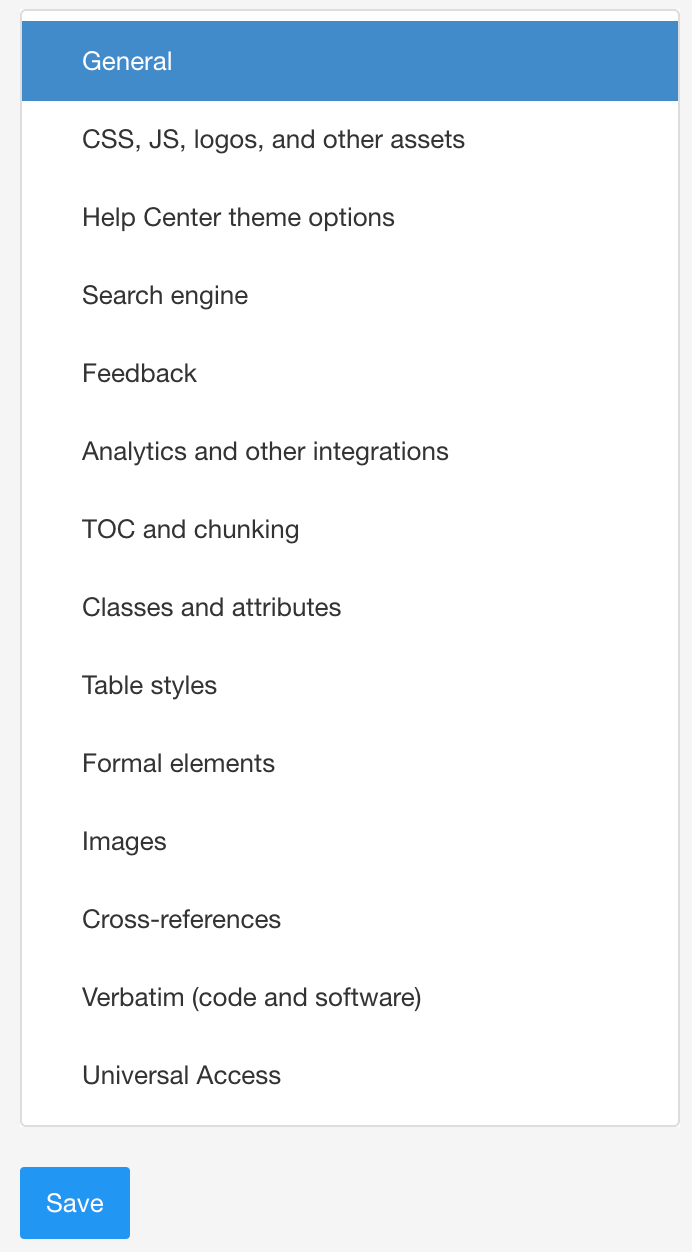
Select General in the sidebar.
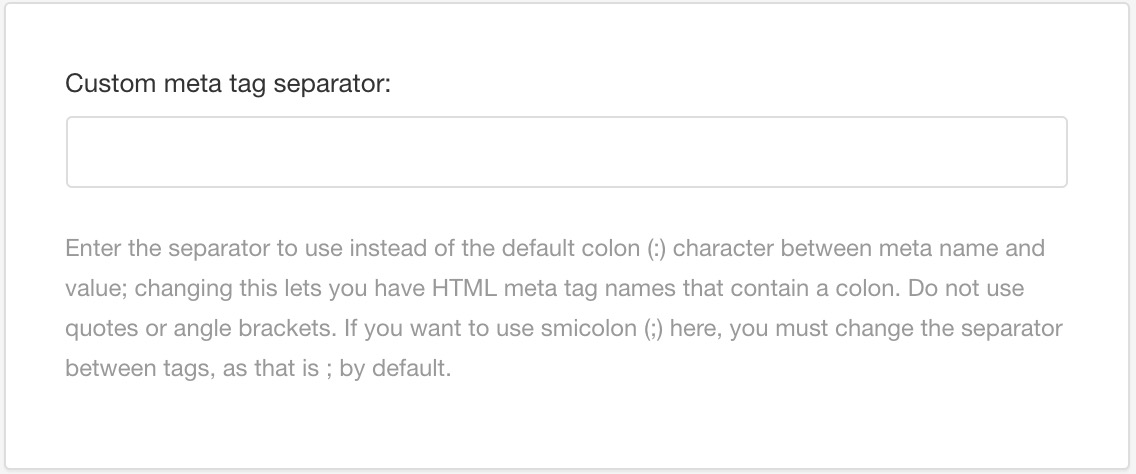
To change the separator character, enter the alternative character in the Custom meta tag separator field.
Note
Do not use quotes or angle brackets as the separator. If you use a semi-colon ( ; ), you will also need to change the Custom meta tag terminator setting, as that uses a semi-colon ( ; ) by default.
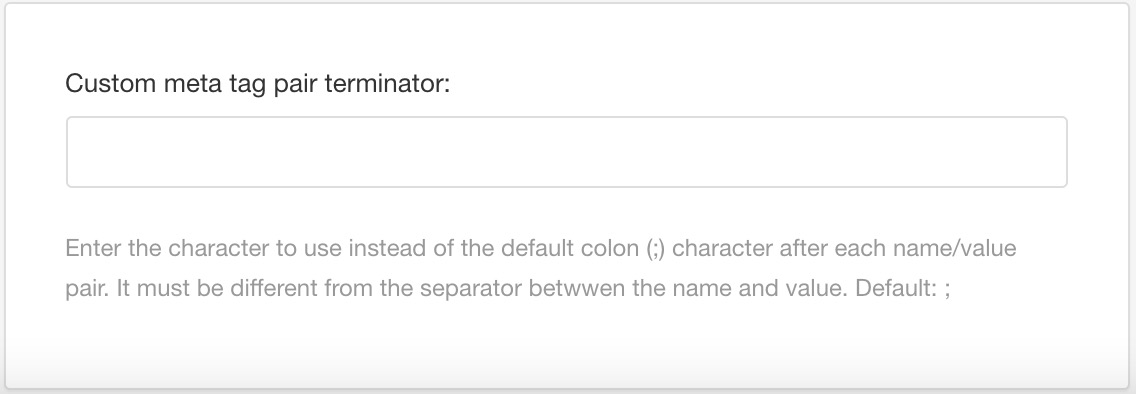
To change the terminator character, enter the alternative character in the Custom meta tag pair terminator field.
Note
The custom meta tag pair terminator character must be different to the custom meta tag separator character.
Select Save.
You can now create meta tags that use the characters you defined instead of the colon and semi-colon (see HTML Meta Tags for All Topics).