- Paligo Documentation
- Publish
- PDF Styling
- Cover Pages and Front Matter
- Cover Foreground Images
Cover Foreground Images
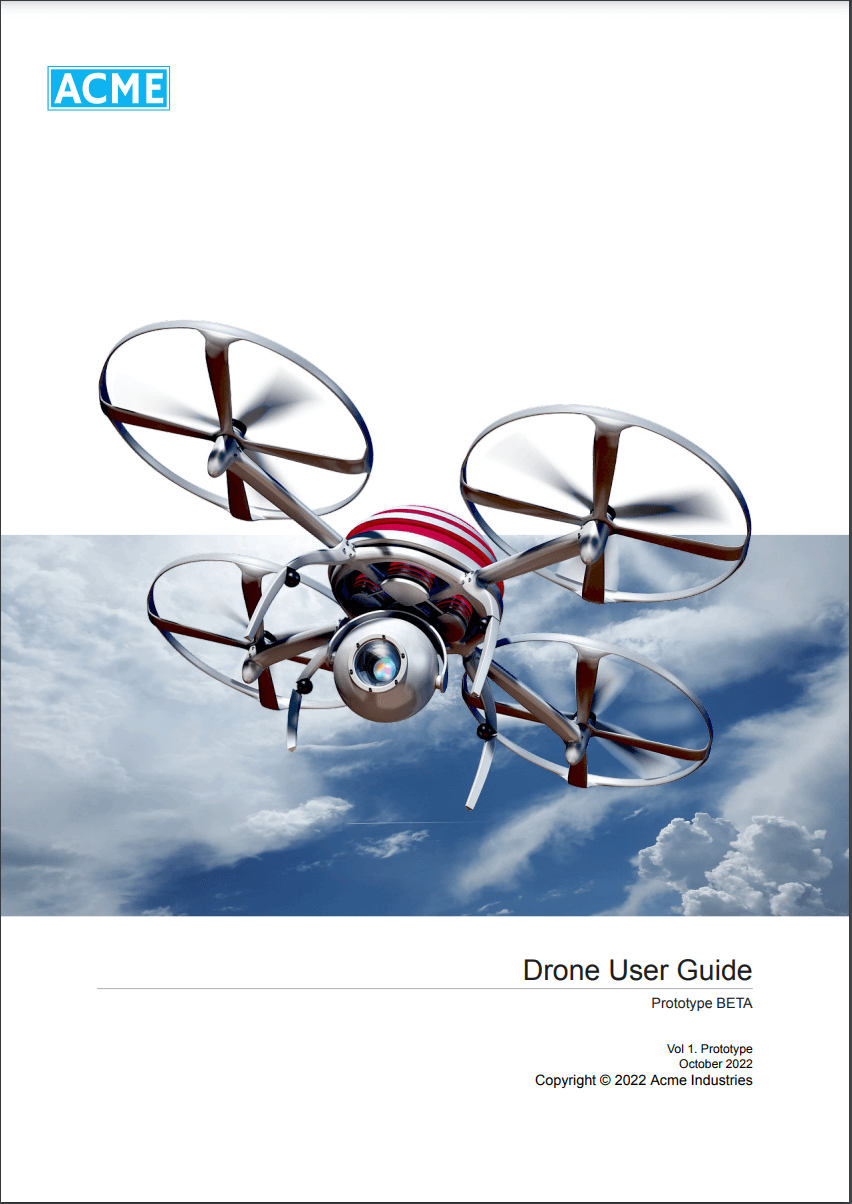
You can add foreground images to create stylish PDF covers for your documentation.
 |
There are two different types of image that you can add to the front cover:
A product image. For example, in the image above, the drone is a product image with a transparent background. The blue sky part of the image is a background image.
Images in a content box (only if your publication uses cover components).
For the product image, you can add the image:
In the publication topic
Paligo will only use the image when you publish this particular document. To learn more, see Add Image to Publication Topic.
In the PDF layout.
Paligo will use the image every time you publish with this PDF layout (unless the document also has a product image in its publication topic). To learn more, see Add Image to Multiple Publication Topics.
For images in a content box, your publication has to be set up to use cover components. You can then add images to each of the cover components and Paligo will show these in addition to any product image. So for the front cover, you could have a product image and a content box image. You could also have images on each of the other covers by adding an image in their respective cover components (see Add Content to a Cover Component).
For front covers, you can add a product image that will appear in the foreground of the cover.
Depending on your requirements, you can:
Add a product image to a Publication Topic to use it for this particular publication only, see Add Image to Publication Topic.
Add a product image to a PDF layout to use it every time you publish with that particular PDF layout, see Add Image to Multiple Publication Topics.
Note
To add an image to other covers, use Cover Components. Insert the image into a cover component and it will appear in the content box on the appropriate cover (as long as the cover components are set up correctly), see Add Content to a Cover Component.
Every Publication Topic contains the structure for a foreground image (product image) by default. If you choose an image for that structure, the image will appear on the cover page when you publish to PDF. It will take priority over any product image that is set in the PDF layout settings.
To create publications that have different product images on their front pages, you can either:
Add a product image to a Publication Topic to use it for this particular publication only.
Create a separate PDF layout for each different publication and set the product images in the layouts. Typically, it is easier to have one PDF layout to manage and then set the product images individually in each publication topic.
Tip
For more information, see Images in a Publication Topic
To add a product image to the publication topic:
Select the Dotted Menu (...) for the publication in Content Manager.
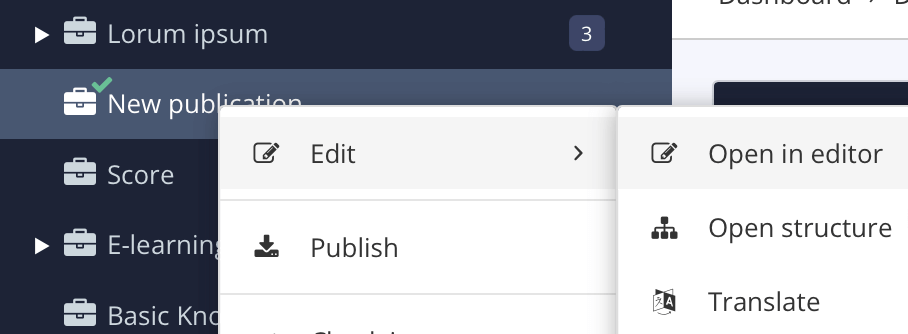
Select Edit and choose Open in editor.
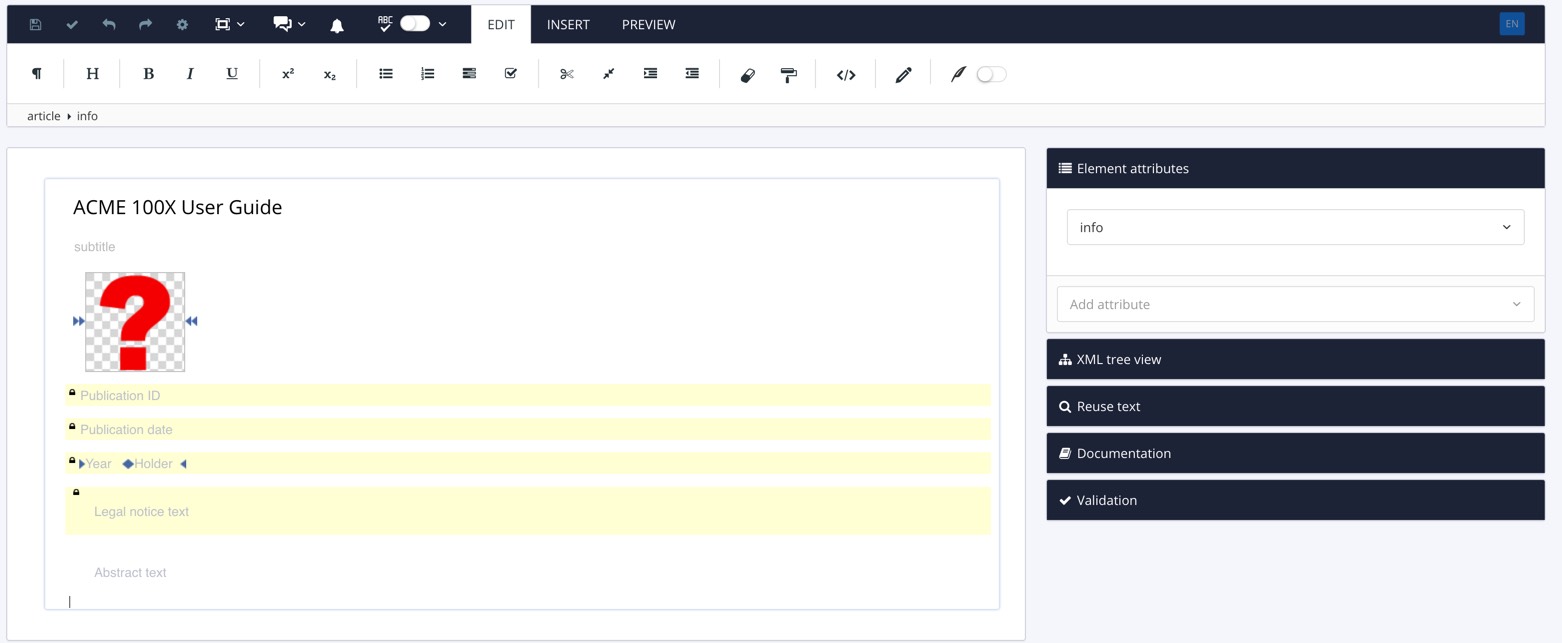
Paligo opens the publication topic.
Right-click the image placeholder and select Image browser.

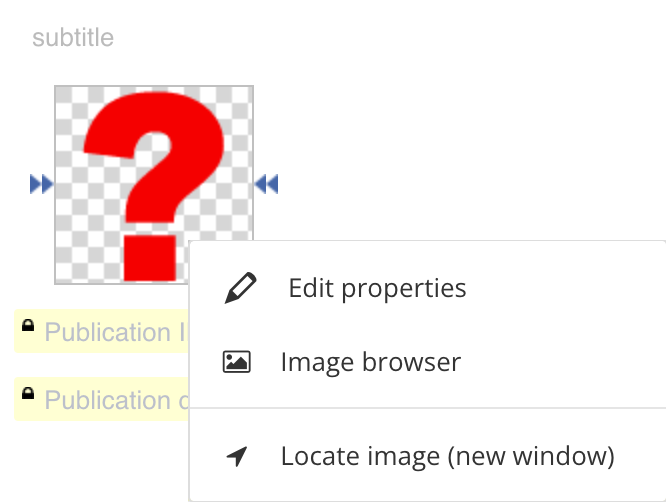
Upload a new image (1) OR choose an image from the media library (2).
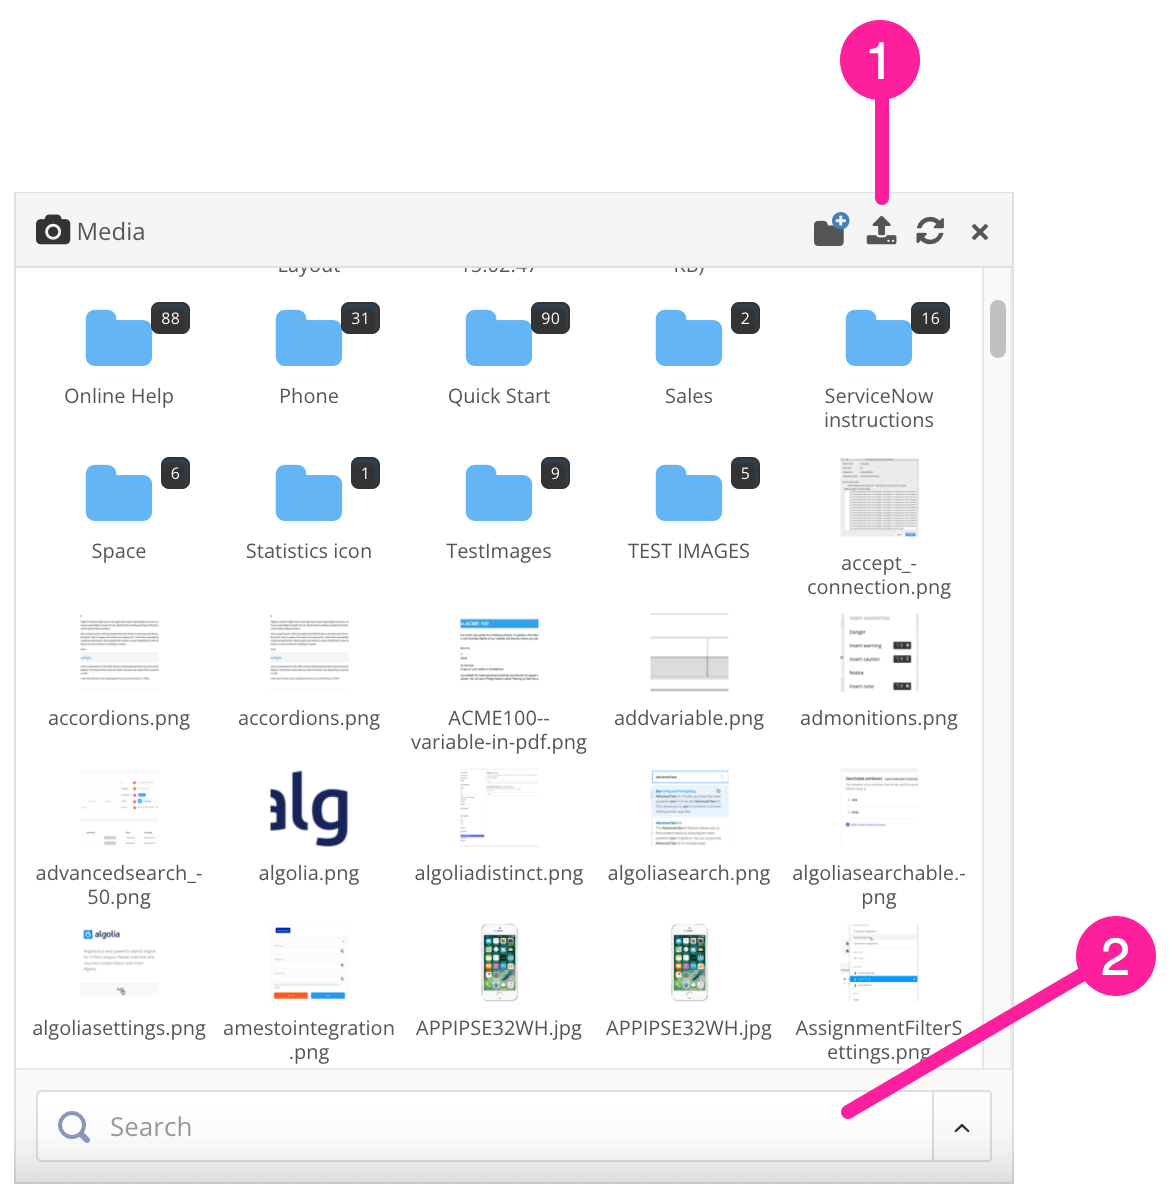
1 = Upload new image, 2 = Search in the media library
Select Save.

When you publish your content, the image you selected will be used as a product image on the front cover.
Important
By default, the publication topic contains the proper structure for a product image.
If this structure for some reason has been removed, you can add it again. But for the cover image to work when added to the publication article, the mediaobject element needs to have the role attribute added and its value set to titleimage.
To add a product image to a Publication Topic after removal of the default product image structure:
Select Insert and then Image to add an image.
In the topic, click the inserted image.
Select the
mediaobjectin the Element Structure Menu and choose Go to element.Add the
roleattribute and set its value totitleimage.
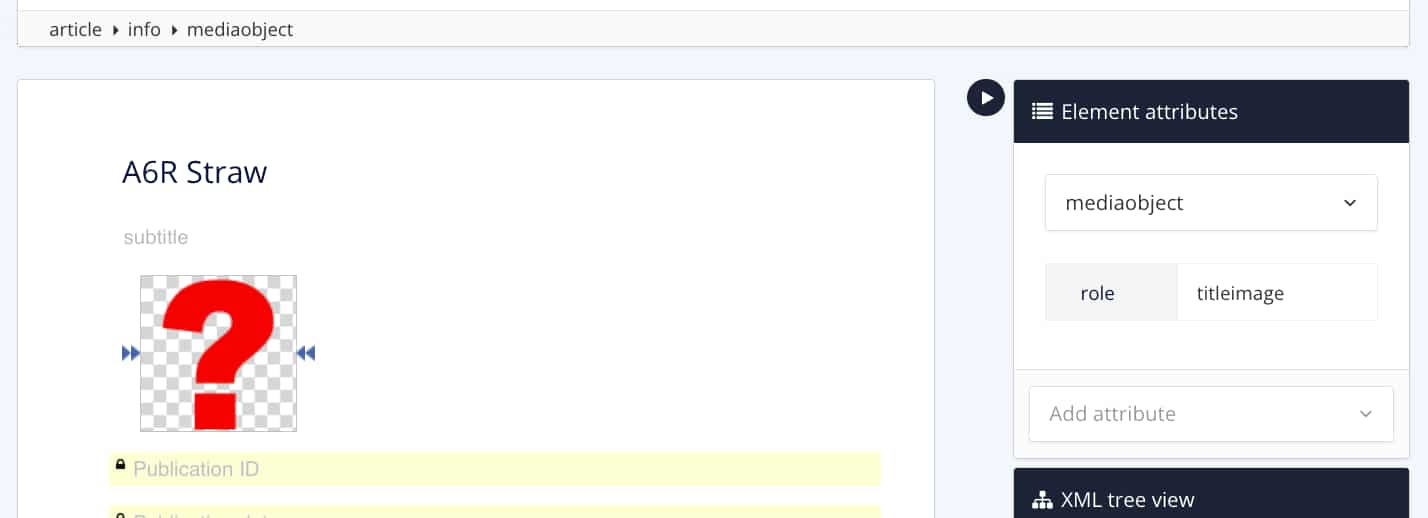 |
To create many publications with the same product image on their covers, set the image in a PDF layout. Every time you publish with that layout, the resulting PDFs will use the product image on their front covers.
Note
To produce PDFs that use different product images, you can either create separate PDF layouts for each different document or you can add the product image in the publication topic (see Images in a Publication Topic).
To use a PDF layout to set up a product image for the front cover:
Use a graphics or photography application to create your product image.
Select Layout in the top menu.

Paligo displays a list of Layouts. The list is empty if there are no custom Layouts in your Paligo instance.
Select the Layout you want to update or Create a Layout.
Tip
You can copy the URL of the Layout Editor and paste it into a new tab in your browser. This can be useful if you frequently switch between your Paligo content and the Layout settings.
Select Front page in the sidebar.

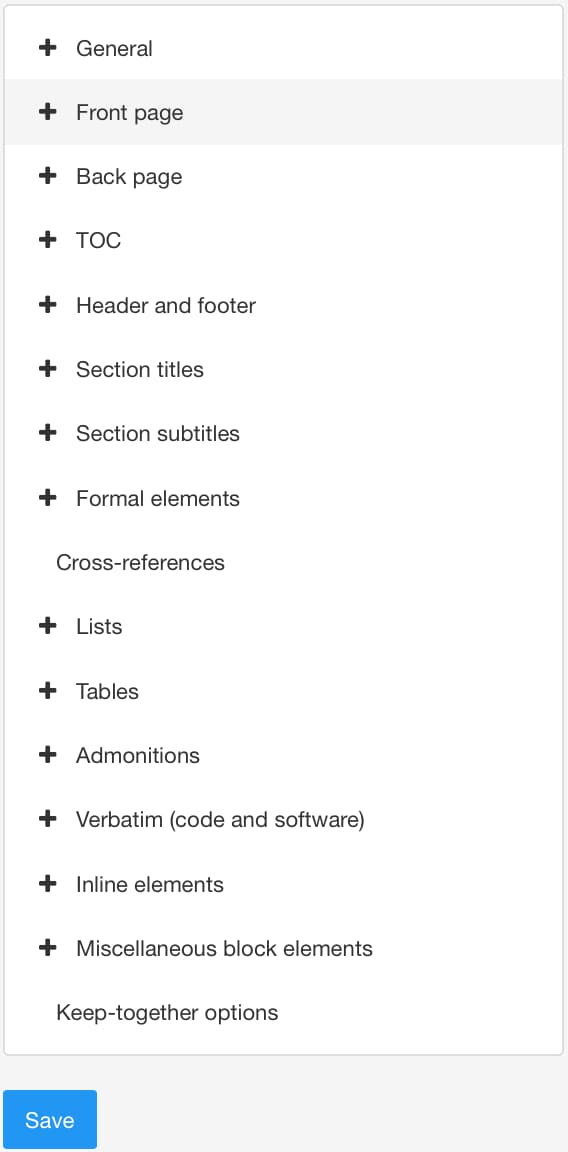
Select Product image.
Select Upload for Product image and drag the image you created into the upload box.
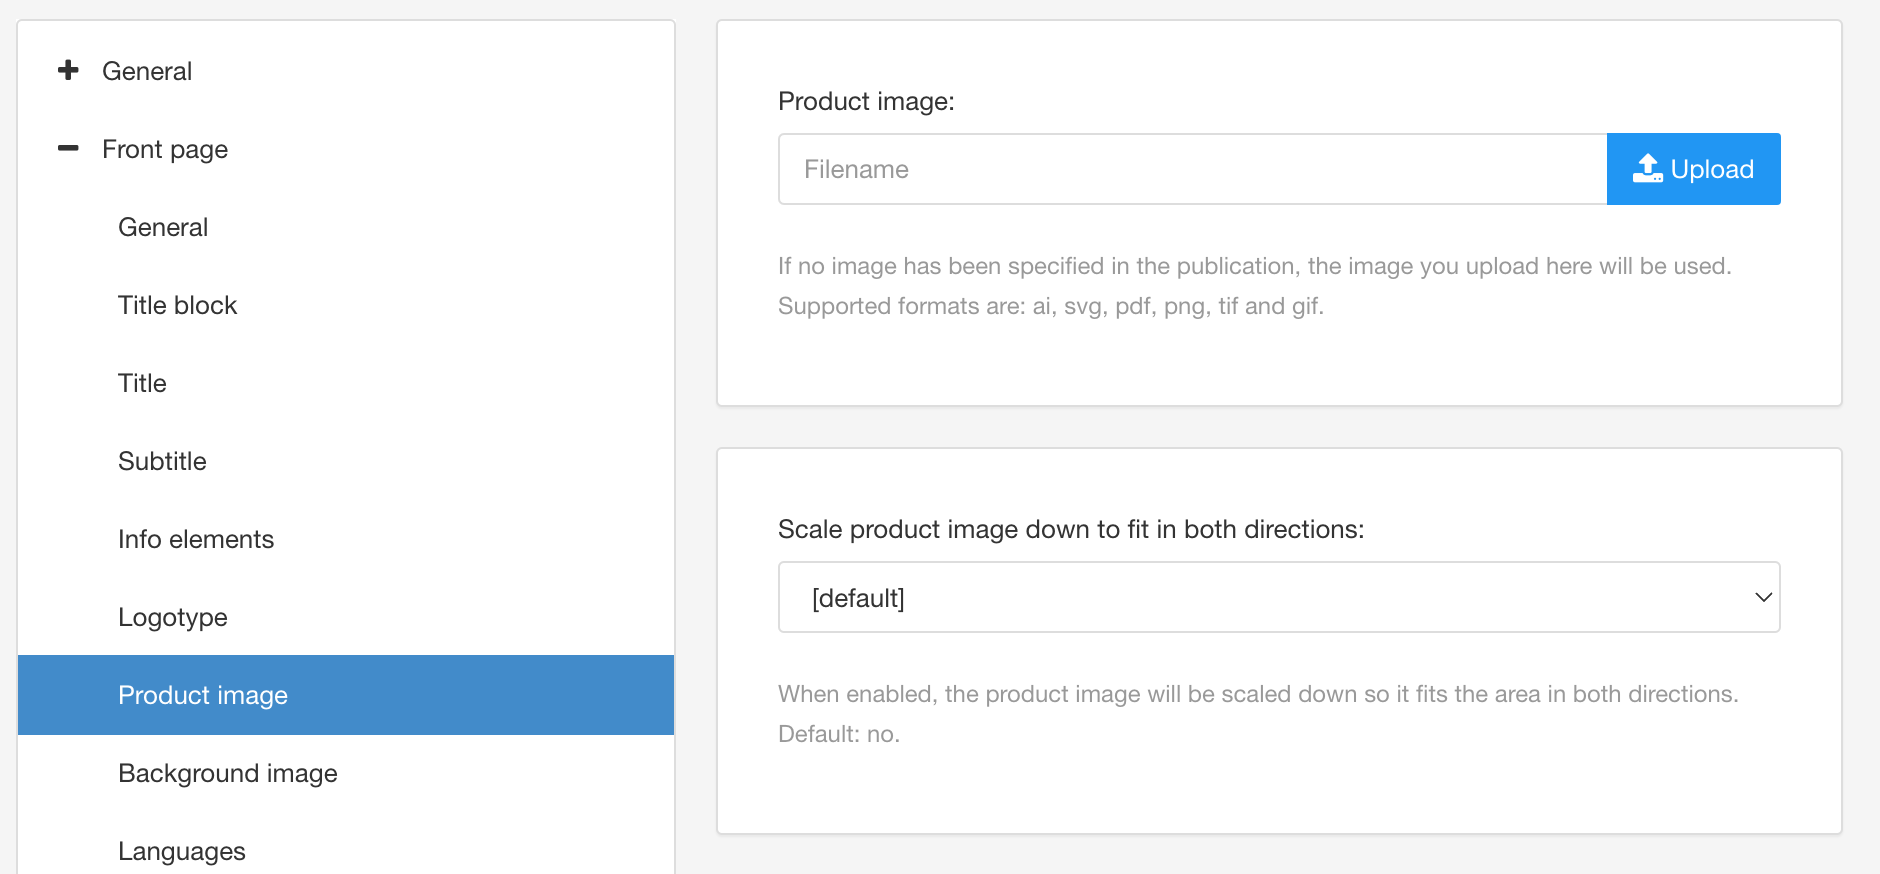
Select Save.
Note
Use the PDF layout settings to control the position and size of the product image, see Style a Product Image for a Front Cover.
When you publish and choose to use this layout, Paligo creates a PDF and uses the product image that you defined in the layout. But if the publication has an image in its "publication topic", Paligo will use that image instead and will ignore the PDF layout. You can solve this problem by deleting the image in the publication topic.
The product image is a foreground image that is shown on the front page of PDF outputs. You can either add the image to the publication topic or to the PDF layout and you can control its appearance and position in the layout settings.
Use the PDF layout settings to style the product image, for example, to set the product image container height and scaling.
When you publish to PDF, Paligo positions the product image in a container, and then the other elements on the front page are arranged above and below the container. You can set the maximum height of the container in the PDF layout settings, so that the image fits in a certain space.
Note
If the image is larger than the container, Paligo will either scale the image to fit the container or will cut off the image at the container's boundaries.
To set the product image container height:
Select Layout in the top menu.

Paligo displays a list of Layouts. The list is empty if there are no custom Layouts in your Paligo instance.
Select the Layout you want to update or Create a Layout.
Tip
You can copy the URL of the Layout Editor and paste it into a new tab in your browser. This can be useful if you frequently switch between your Paligo content and the Layout settings.
Select Front page in the sidebar.


Select Product image.
Set the Height of the product image container. You need to enter the new measurement and the measurement units, for example, 8cm. The default value is 280pt.

Select Save.
When you publish using this PDF layout, Paligo will set the product image container so that it cannot be larger than your defined maximum height.
Tip
To get a product image to scale to fit in the product image container, use the Scale product image down to fit in both directions setting (see Set the Product Image Scaling).
When you publish to PDF, Paligo positions the product image in a container. You can control the vertical positioning of the container to move it up or down the front page.
To control the vertical positioning of the product image:
Select Layout in the top menu.

Paligo displays a list of Layouts. The list is empty if there are no custom Layouts in your Paligo instance.
Select the Layout you want to update or Create a Layout.
Tip
You can copy the URL of the Layout Editor and paste it into a new tab in your browser. This can be useful if you frequently switch between your Paligo content and the Layout settings.
Select Front page in the sidebar.


Select Product image.
Set the Product image distance from top of page (inside page margins). You need to enter the new measurement and the measurement units, for example, 10pt.
Select Save.

When you publish to PDF using this layout, Paligo will position the product image container so that it is the defined amount below the top margin of the page. This is not the same as the top edge of the page (see Understanding the Front Cover Margins).
When you publish to PDF, Paligo positions the product image in a container. By default the product image is not scaled to fit, and so you will only see the parts of the image that fit inside the container. But you can apply scaling so that Paligo resizes the image to fit into the container.
Select Layout in the top menu.

Paligo displays a list of Layouts. The list is empty if there are no custom Layouts in your Paligo instance.
Select the Layout you want to update or Create a Layout.
Tip
You can copy the URL of the Layout Editor and paste it into a new tab in your browser. This can be useful if you frequently switch between your Paligo content and the Layout settings.
Select Front page in the sidebar.


Select Product image.
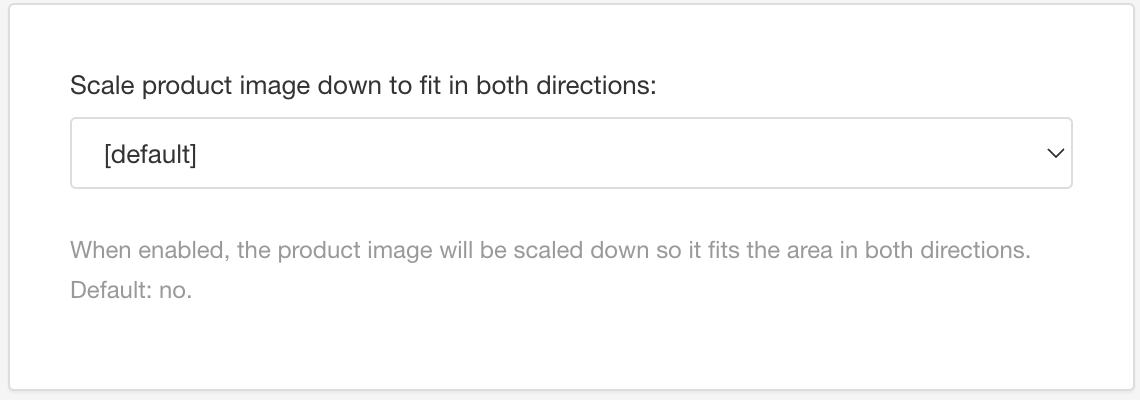
Use the Scale product image down to fit in both directions setting to turn scaling on or off. Select Yes for on, No for off. The default is No.
Select Save.
When you publish using this PDF layout, Paligo will apply the scaling you have selected.
When you publish to PDF, Paligo positions the product image in a container. You can set the container to have visible borders, which can be helpful when you are setting up the positioning of the container (see Set the Product Image Positioning and Set the Product Image Container Height). When you have the container positioned where you want it, you can come back and turn off the product image borders. Or you can leave them on if you want them to be visible in your PDF output.
Select Layout in the top menu.

Paligo displays a list of Layouts. The list is empty if there are no custom Layouts in your Paligo instance.
Select the Layout you want to update or Create a Layout.
Tip
You can copy the URL of the Layout Editor and paste it into a new tab in your browser. This can be useful if you frequently switch between your Paligo content and the Layout settings.
Select Front page in the sidebar.


Select Product image.
In the Default border for product image field, enter the border settings.
The border settings consist of a line thickness, a line style, and a line color.
To get a medium-thickness, dashed line border and you want it blue, you would enter
medium dashed blue.Use these values to define the line thickness, style, and color:
Thickness
thin
medium
thick
Exact value (also known as "length"). Enter a width measurement including the units of measurement, for example,
3pt.
Style
None - There is no border.
Hidden - There is a border but it cannot be seen.
Dotted - The border is a dotted line.
Dashed - The border is made up of short lines.
Solid - The border is a single line with no breaks.
Double - The border is two lines with no breaks.
Groove - The border has lines and shading to create a "pressed down" look.
Ridge - The border has lines and shading to create a "raised" look.
Inset - The border has lines and shading to create a "pressed down" look. It is similar to the groove style, but uses a different line and shading pattern.
Outset - The border has lines and shading to create a "raised" look. It is similar to the ridge style, but uses a different line and shading pattern.
Alternatively, select Default to inherit the value for this setting from the base Layout. To learn about base Layouts, see Layout Relationships - Base, New, Duplicate.
Color
Color name, such as
silverRGB value, such as
rgb(192,192,192)Hex number, such as
#C0C0C0
If you want the corners of the container box to appear rounded, set the Default border radius for product image. Enter the amount of rounding and include the measurement units, for example, 10pt.
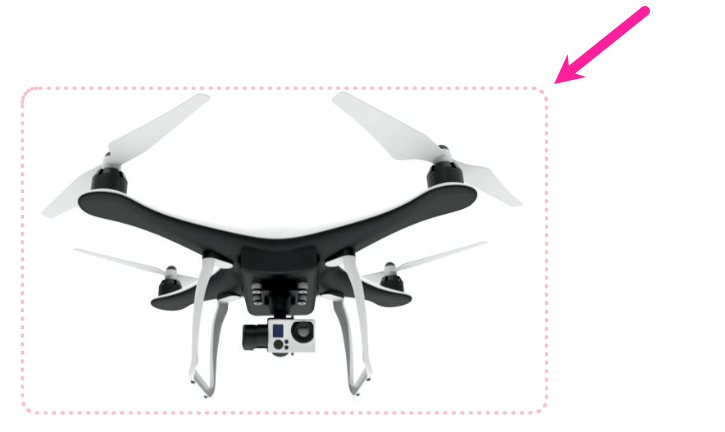
Product image with dotted pink border and border-radius of 14pt.
Select Save.
When you publish using this PDF layout, Paligo will apply the border settings you have entered.
If you later want to remove the borders, clear the fields and save. By default, Paligo does not have visible borders around product images.