Create a Fork Branch
If you branch a fork, this branch will use the same fork ID as the origin fork. This is important for resolving cross-references and when mapping to external systems such as Zendesk, SalesForce and ServiceNow.
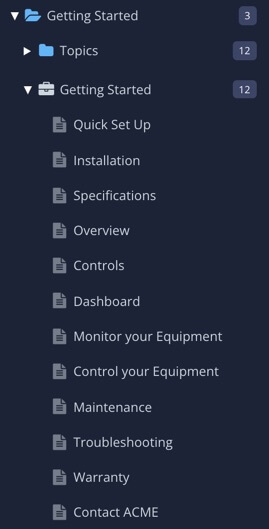
The publication is updated automatically and references the branched fork instead of the original fork. Paligo stores the branched topic in the same folder that contains the original version of the topic.
For branched topics, you can change the content in the branched version without affecting the original version or other branches. But note that if a topic Reuse Text Fragments, that fragment is always reused, even in branched versions of the topic.
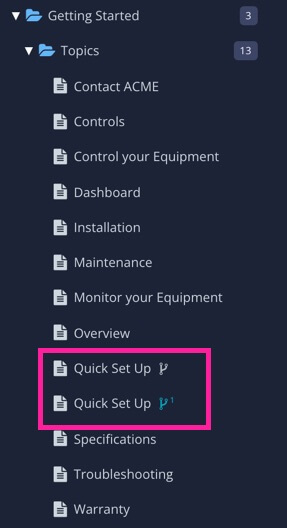
To the left - The publication is updated with the branched fork. To the right - The branch is stored in the same folder as the original topic.
Note
There are alternative ways to create a branch of a topic. You can get Paligo to create a branch for every topic in a publication automatically, and this will keep the same fork IDs too, Create a Publication Branch.
You can also create a topic branch directly from the topic. This is completely independent of any publications, see Create a Topic Branch.
To create a topic branch from inside a publication:
-
Find the publication in the Content Manager and expand it to see the included topics.
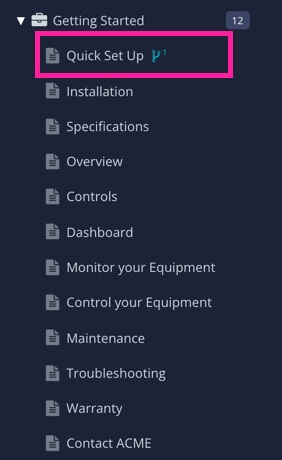
The topics you see are links from the publication to the topics that it references called forks.
-
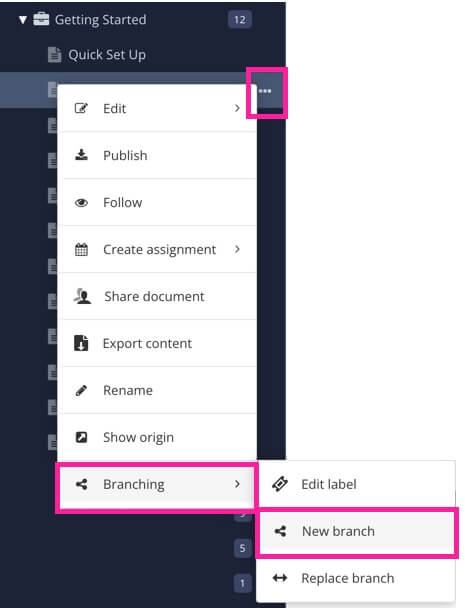
Select the dotted menu ( ... ) for the topic choose Branching > New branch.
-
Adding a branch label is optional.
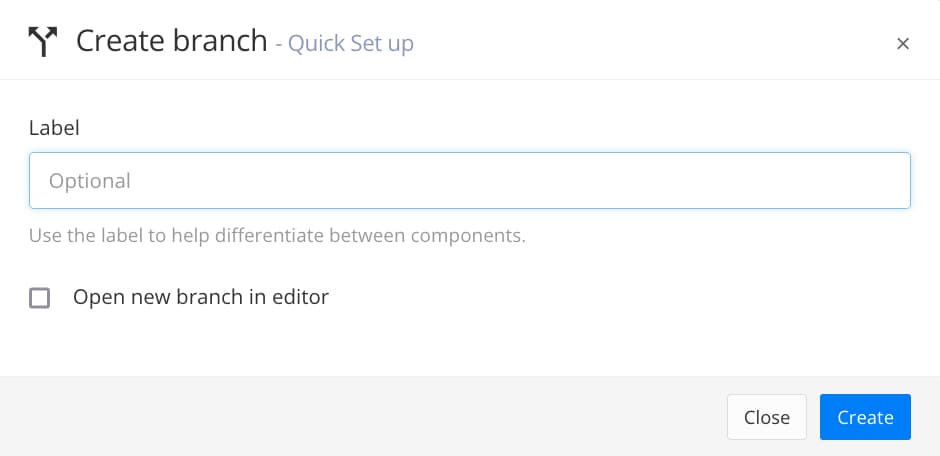
Tip
You can add branch labels afterwards as well, see Add or Edit Branch Labels
-
To start working, select the checkbox Open new branch in editor.
-
Select Create.
Paligo creates a branch of the selected fork.
Tip
To find out more, see What Happens When You Create a Branch?.