"See" Glossary Reference
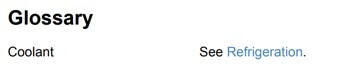
If you want a glossary term to refer to another glossary term, you can use a "see" reference. For example, if you have a glossary term for "Coolant" you could use a "see" reference to guide the reader towards a related term, such as "See refrigeration".
 |
Tip
You can also use "See Also" Glossary Reference.
To use a "see" reference:
Open your glossary topic or Create a Glossary Topic.
Click inside the
glossaryelement.Press Alt + Enter ⏎ (Windows) or Command ⌘ + Enter ⏎ (Mac) to display the Element Context Menu.
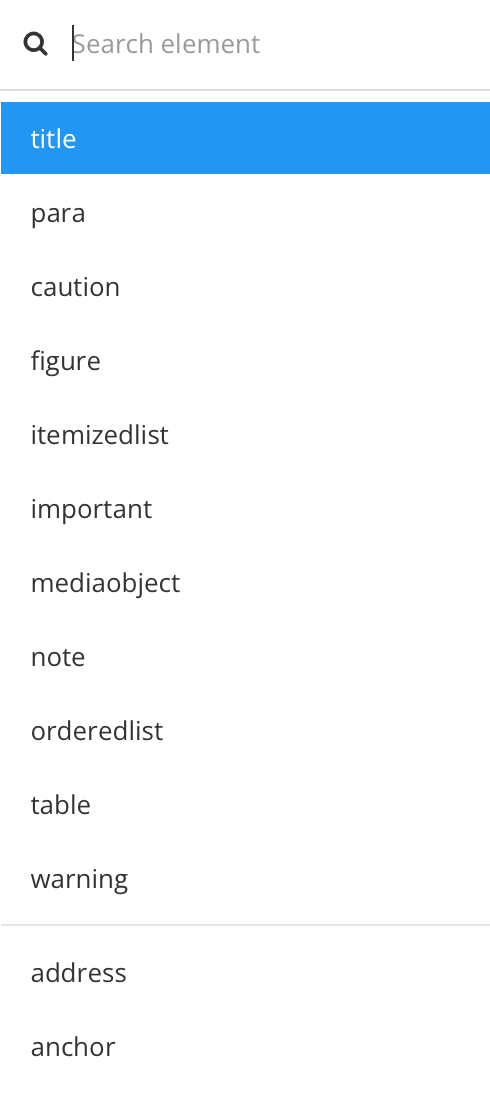
Enter
glossentryand select it from the menu.Paligo adds a
glossentryelement and it contains aglossterm,acronym,glossdef, andparaelement (theparais in theglossdef).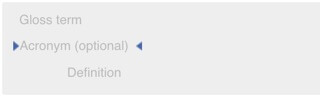
Click after the
glosstermelement, but before the acronym element.
This selects the
glossentryelement, which you can see in the Element Structure Menu and in the Element Attributes Panel.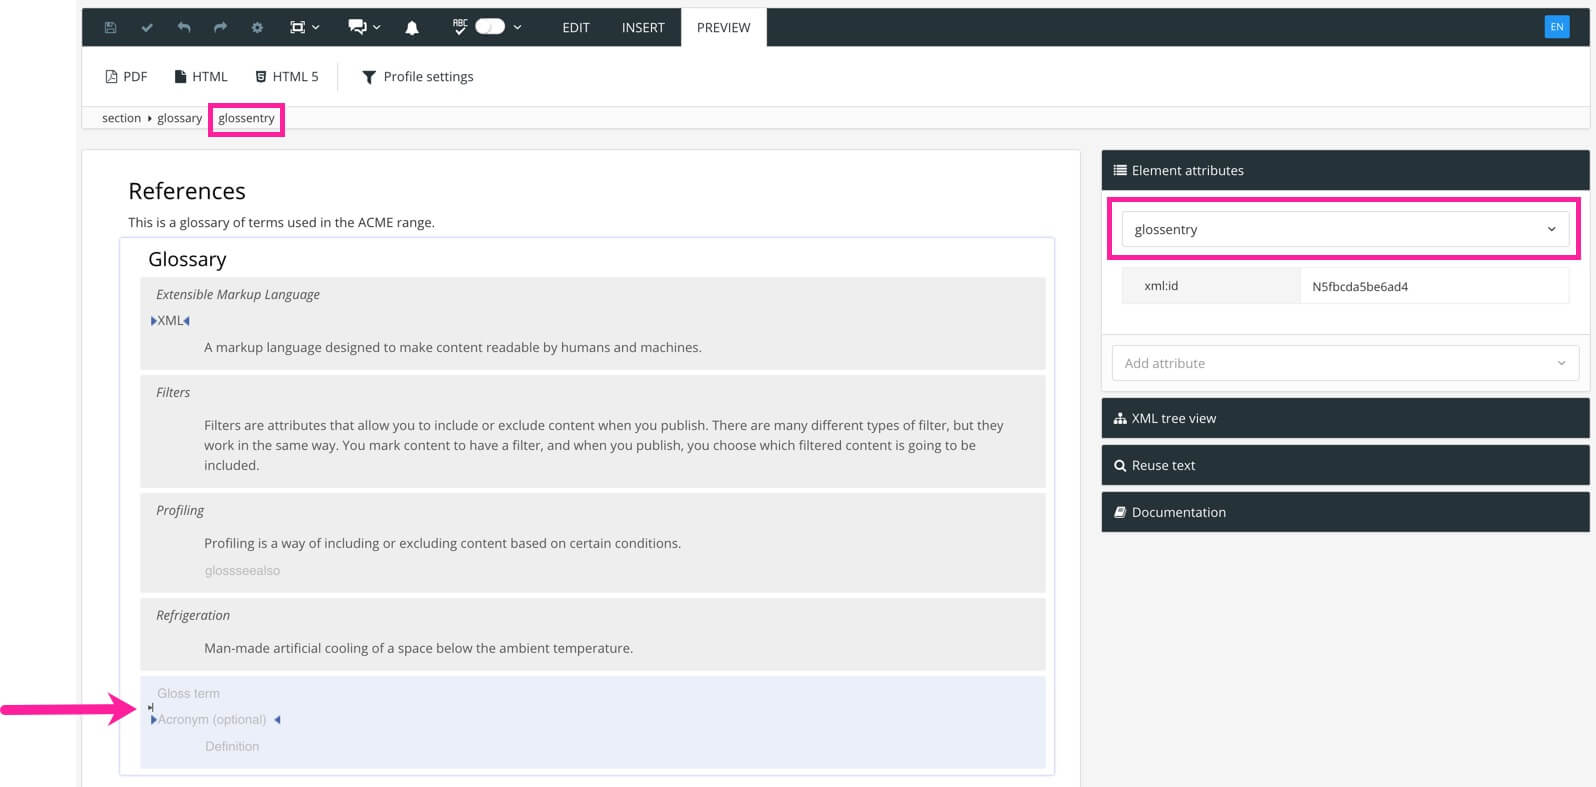
Use the Element Context Menu to add the
glosseeelement.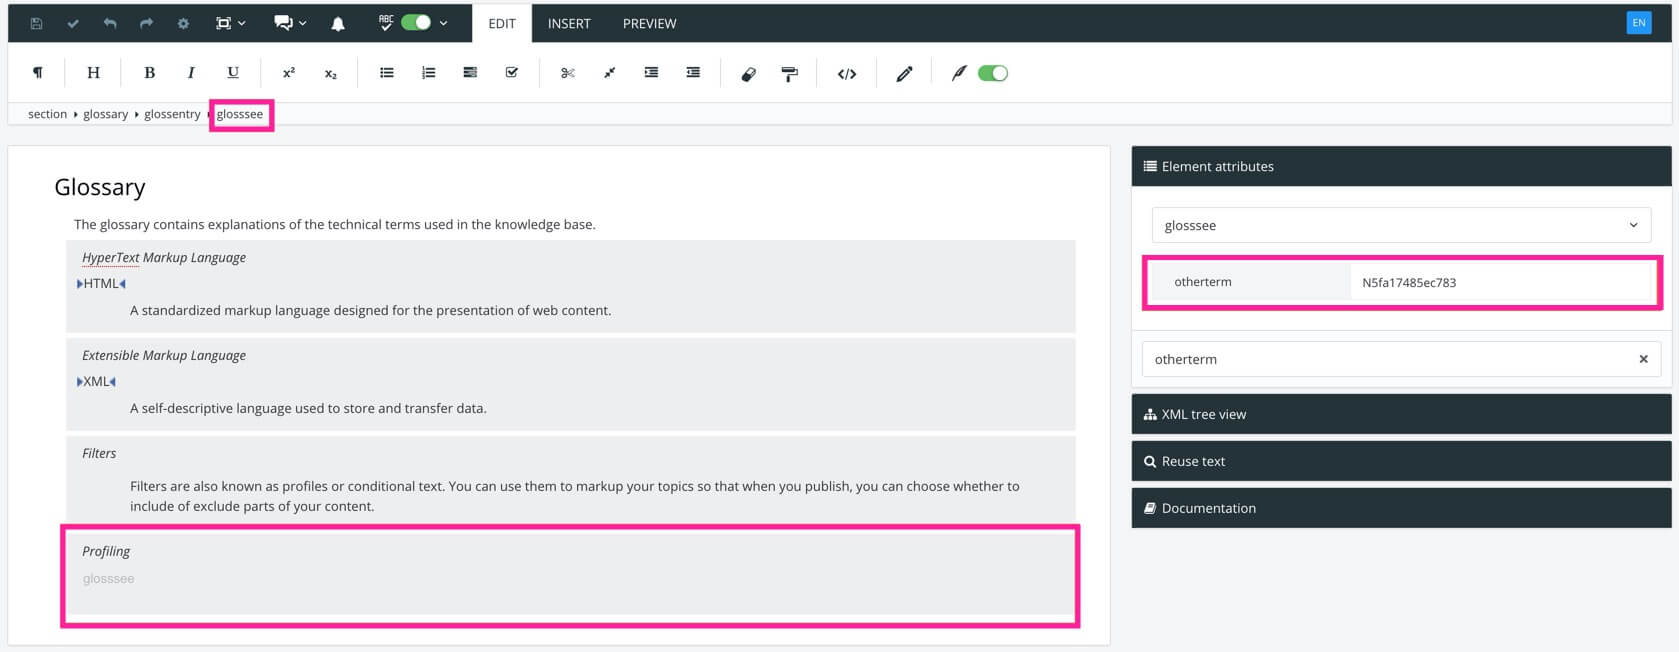
Delete the
acronym,glossdef, andparaelements for the glossary entry. You should now be left with theglossentryandglossseeelements.Note
You can have either a
glosseeelement or aglossdefelement in aglossentry, but not both.In your glossary definitions, locate the glossary term that you want to reference.
For example, if you want to have a "See Refrigeration" reference, find the glossary definition for "Refrigeration".
Select the
glossentryelement for the term that you want to reference.In the Element Attributes Panel, copy the
xml:idattribute for theglossentry.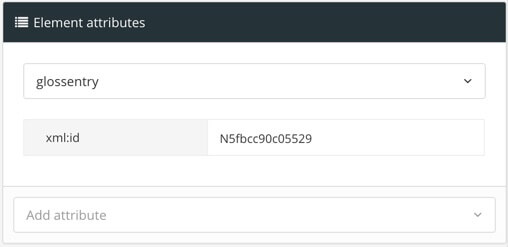
Note
If the
glossentrydoes not have anxml:id, select theglossentryelement in the element structure menu, and then select Generate ID. Paligo will create anxml:idfor theglossentryelement.Select the
glosseealsoorglosseeelement that you added earlier.In the Element Attributes Panel, add the
Othertermattribute and paste in the copiedxml:idas the value.The
Othertermattribute links theglosseealsoorglosseeelement with the other glossary term that you are referencing. Thexml:idis what Paligo needs to identify the other glossary term.
Select Save.

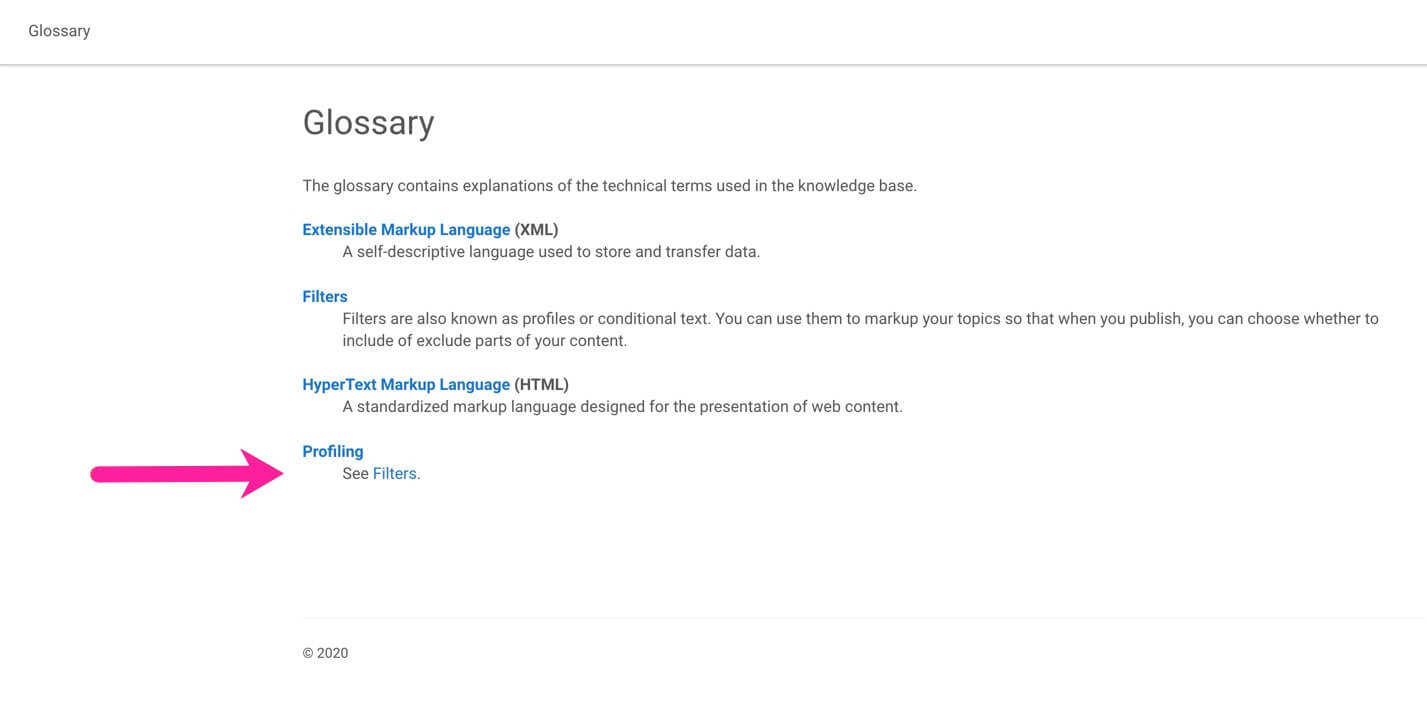
When you publish your content (including your glossary), you will get a "See" reference to the glossary term you chose in step 8.
For this example, imagine you have a glossary term for "Profiling" and instead of a description, you want a reference to show "See Filters".
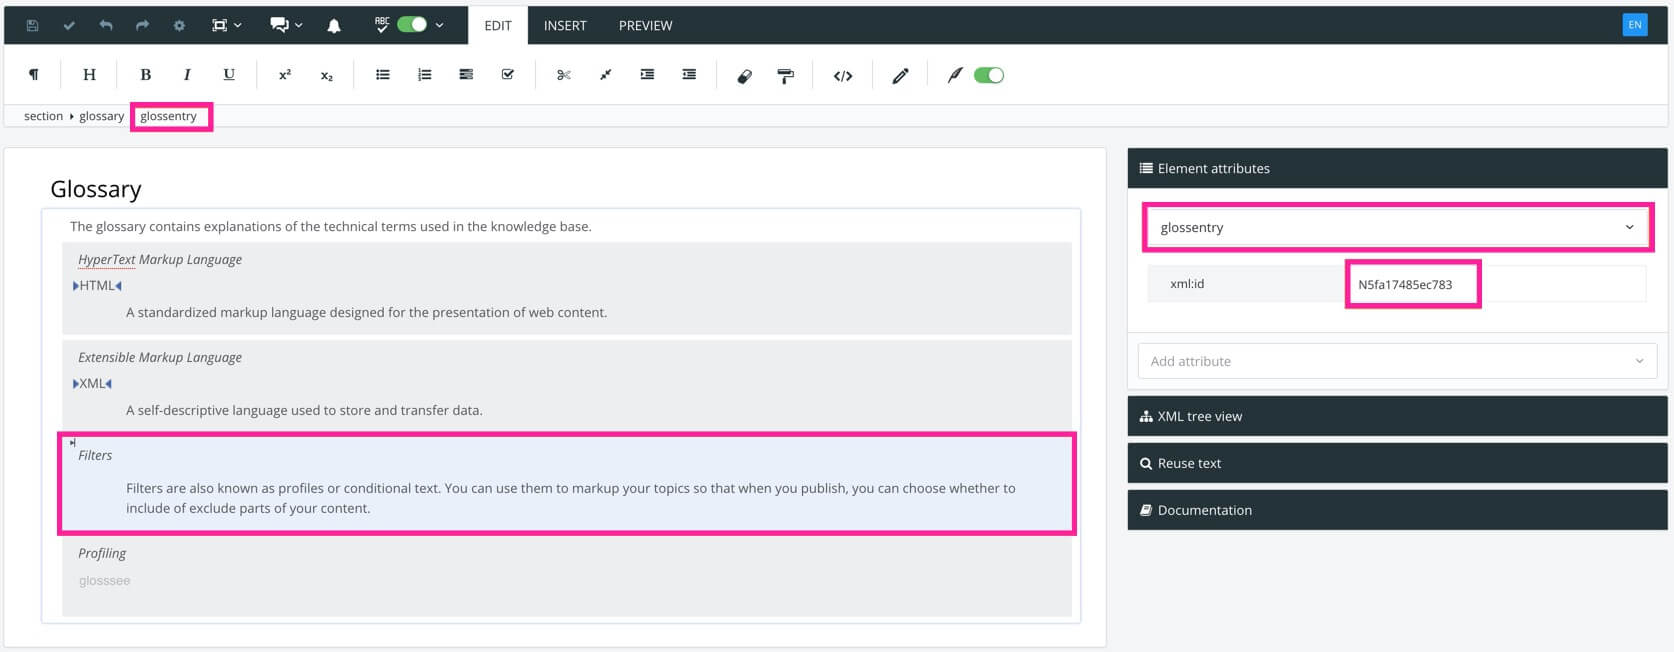
In your glossary topic, you already have a "Filters" glossary entry that has this structure:
<glossentry xml:id="N5fa17485ec783">
<glossterm xinfo:text="14442">Filters</glossterm>
<glossdef>
<para>Filters are also known as profiles or conditional text. You can use them to markup your topics so that when you publish, you can choose whether to include of exclude parts of your content.</para>
</glossdef>
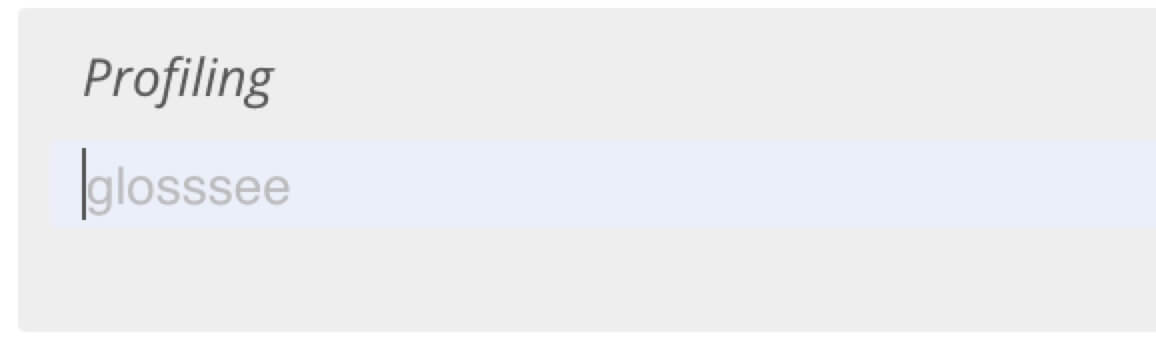
</glossentry>The first step is to create a new glossary entry, so you add a new glossentry element and name the entry "Profiling".
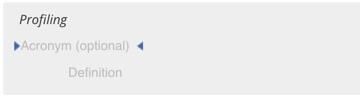 |
You delete its acronymn and glossdef elements as there is no need for an acronym and you cannot have a definition and a "see" reference in the same glossary term.
 |
You add the glossee element.
 |
You select the glossentry element for the glossary term you want to reference, in this case, "Filters". Then you copy its xml:id value from the Element attributes section.
 |
You select the glossee element for the "Profiling" glossary entry, and then add the Otherterm attribute in the Element attributes section.
You copy the xml:id of the "Filters" glossary entry into the value field for the Otherterm attribute.
|
You save the glossary and publish it as part of a publication. In the output, the entry for Profiling shows "See Filtering".
 |