Create a Glossary Topic
To create a glossary for your publication, add a glossary element to a topic. Paligo will then automatically add the basic structure that is required for a glossary. Some of the elements are optional. The glossary topic is where you will add the descriptions for your glossary terms. When you add glossterm in your other topics, Paligo will create a link from the glossterm to the matching definition on the glossary page.
Consider how you want the glossary to appear in the published output:
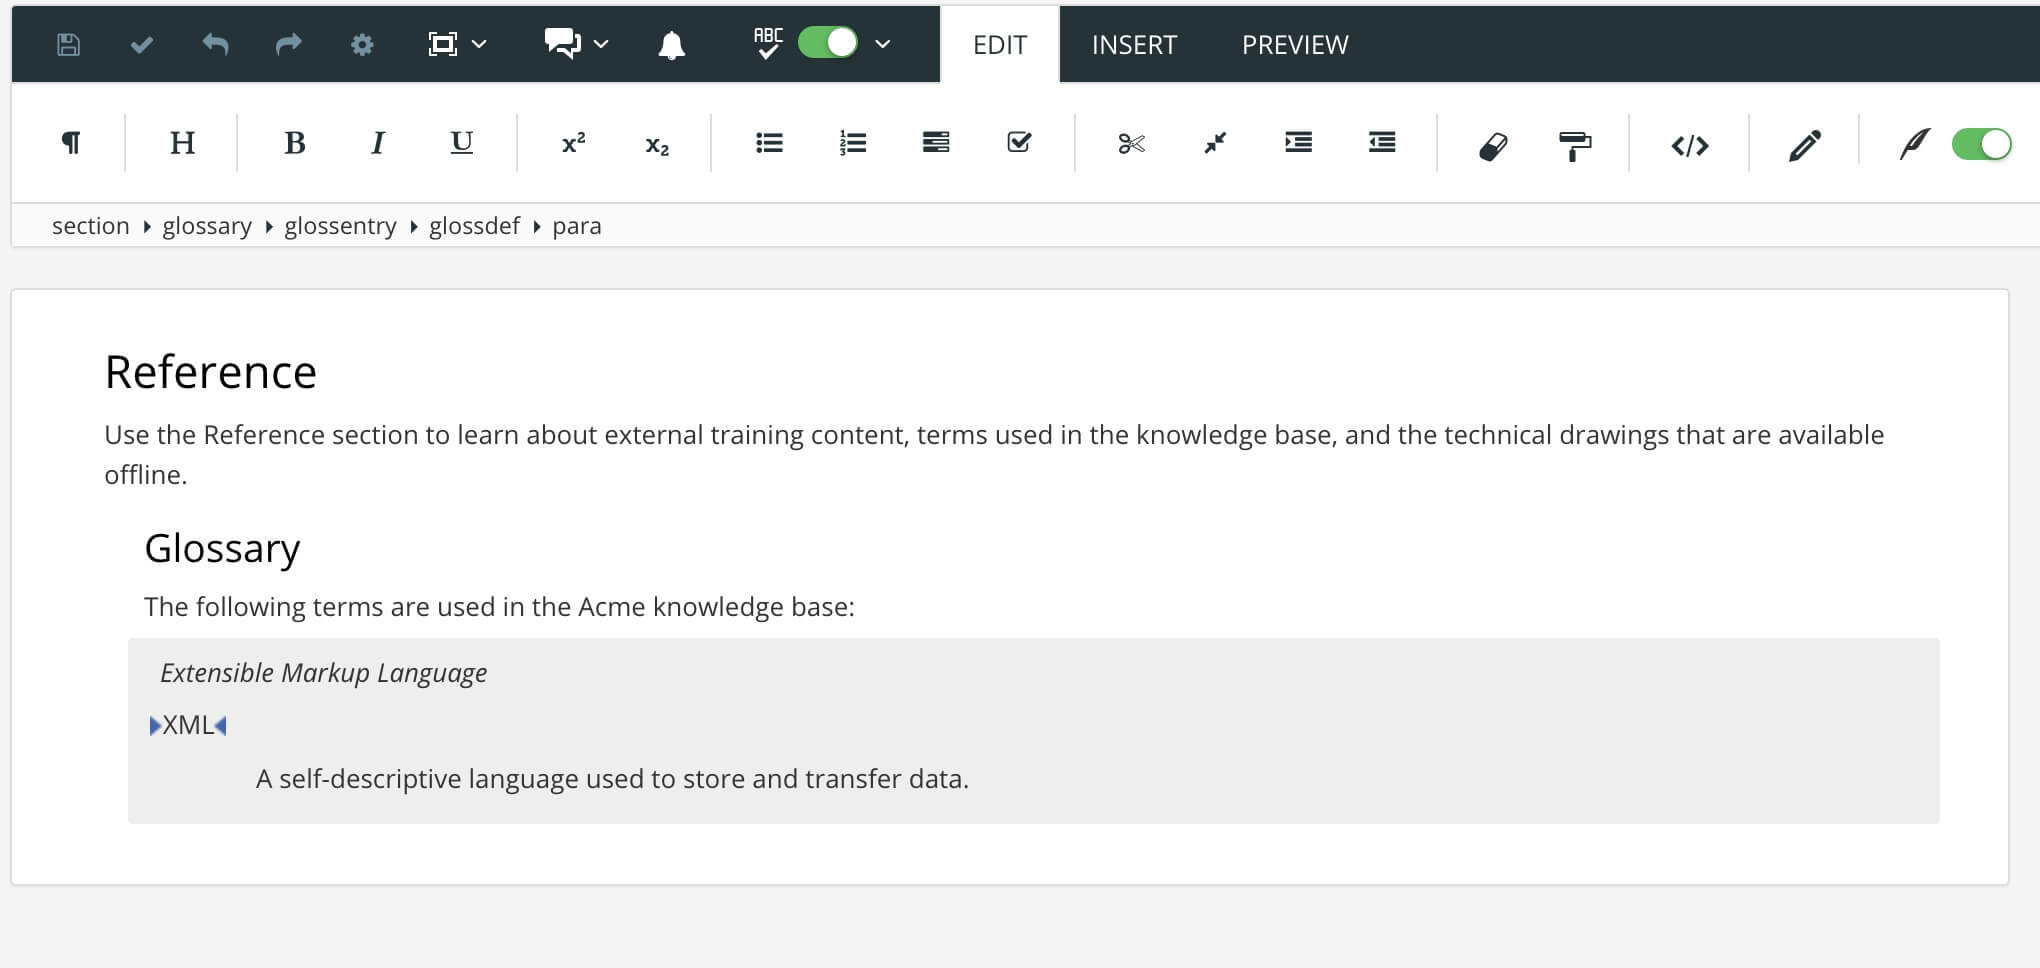
Glossary as a topic with the glossary entries to follow it.
This is the most common approach for glossaries. To set this up, use "Glossary" as the topic's
title. When you add aglossaryelement, it has its owntitle. You can delete thetitlefor each glossary entry so that the only title is thetitleelement of the glossary topic.Glossary as a subsection with the glossary entries to follow it.
To create this, give the topic the
titlethat you want to use. When you add theglossaryelement, it has its owntitle. You can set the glossarytitleto "Glossary" or any other name that you want.
Tip
If you want to sort the glossary entries in alphabetical order, see Sort Glossary Alphabetically.
You can also add references, so that the terms in your topics contain links to the explanations in your glossary, see Glossary References.
Create a new topic or open an existing topic.
Position the cursor at a valid position for the glossary element.
For example, after the topic
title,but before the firstparaelement.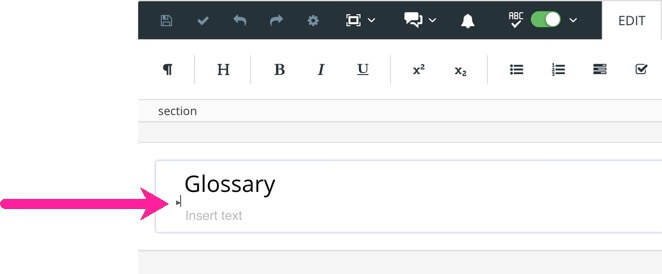
Press Alt + Enter ⏎ (Windows) or Command ⌘ + Enter ⏎ (Mac) to display the Element Context Menu.
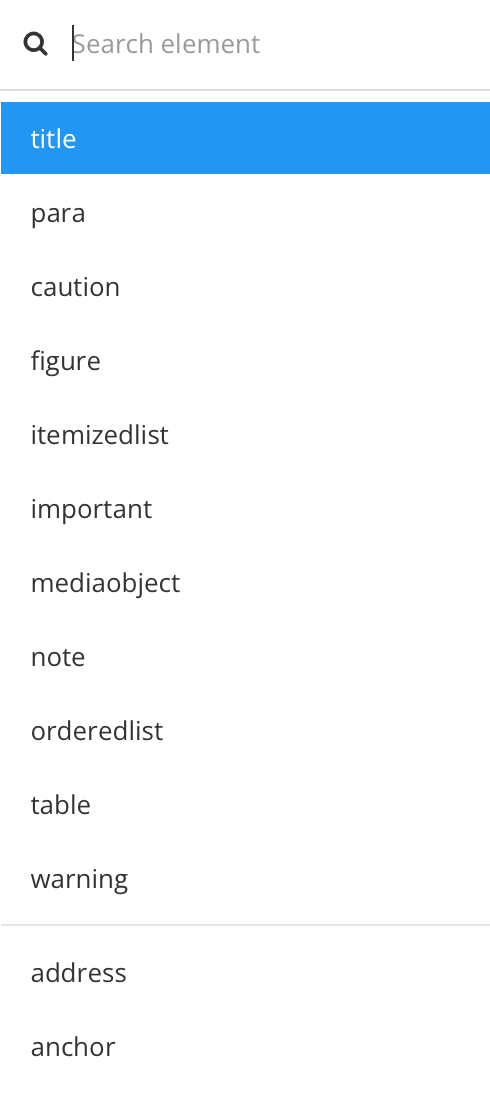
Enter
Glossaryand select it from the menu.Paligo adds the basic structure for a glossary.
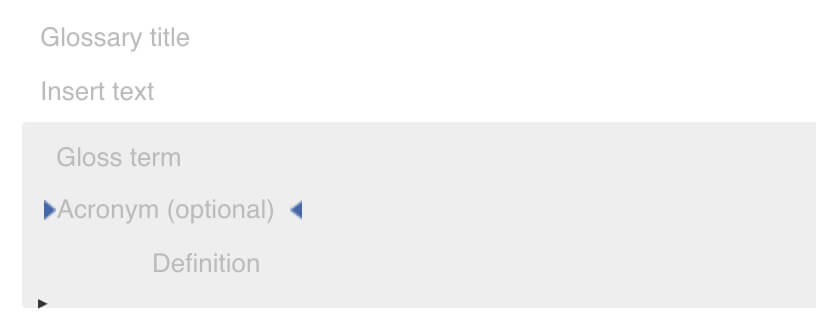
Add a
glossary titleand an introduction text in thepara(both elements are optional).Add the
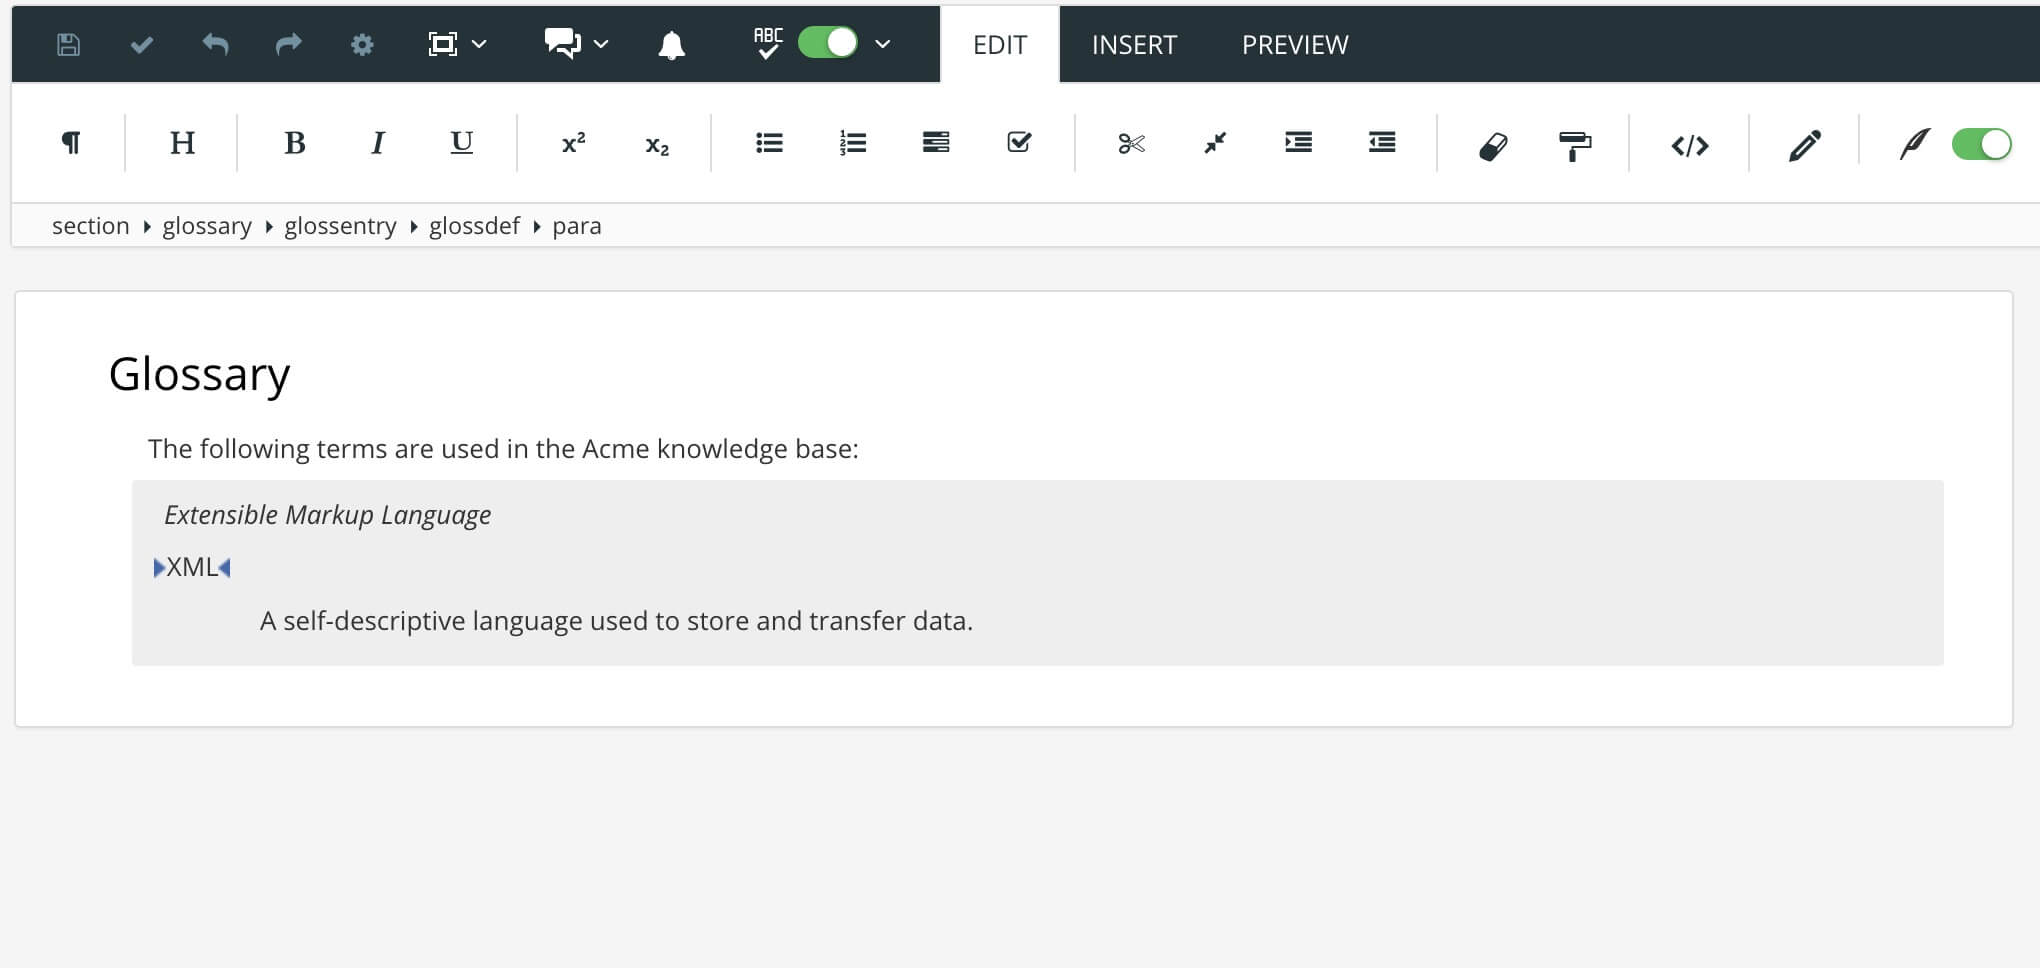
glossterm(the name of the term).Add an
acronymfor the glossary term (optional).For example, if the glossary term is Extensible Markup Language, you could add the acronym XML.
<glossentry>
    <glossterm>Extensible Markup Language</glossterm>
    <acronym>XML</acronym>
    <glossdef><para>A self-descriptive language used to store and transfer data.</para></glossdef></glossentry>
Add a
glossdefthat explains what the term means.Use the Element Context Menu to add one
glossentryper glossary term.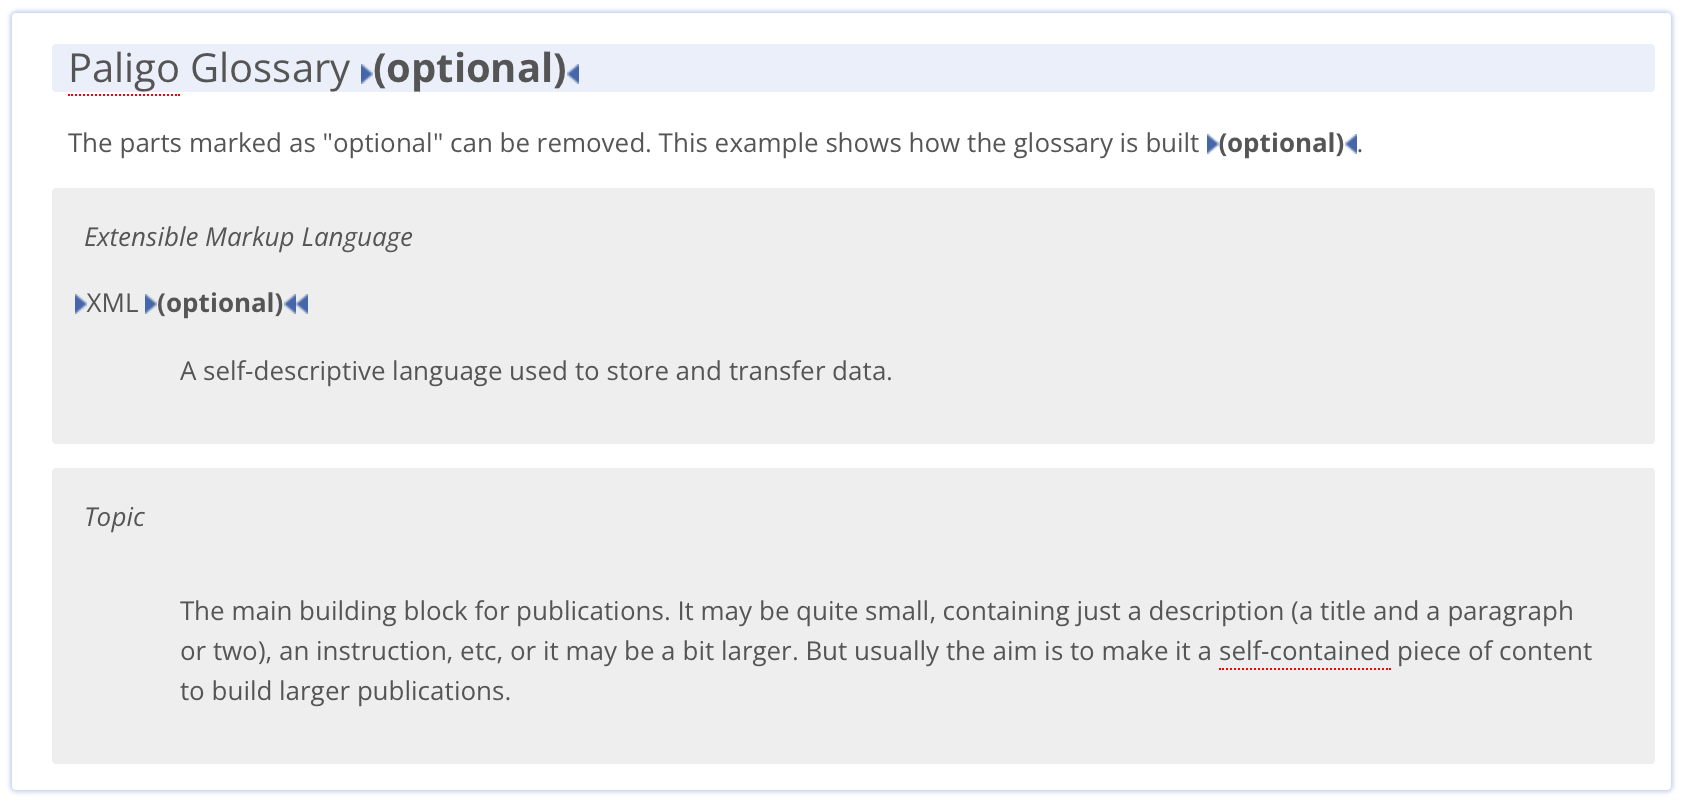
Select Save.

Add your glossary topic to your publication, see Add Content to a Publication.