Create an Appendix Topic
To create an appendix topic:
-
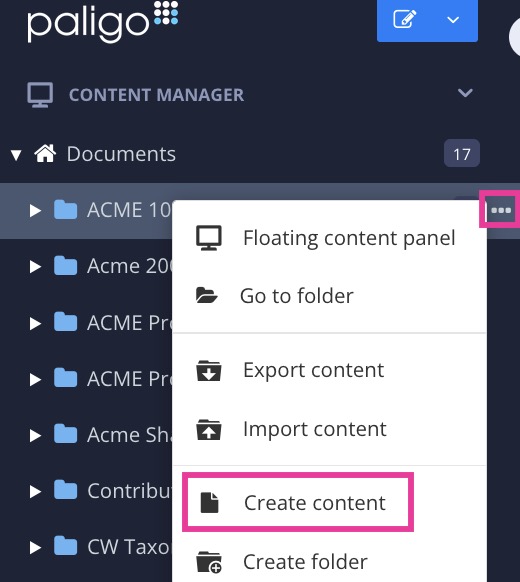
Select the Dotted menu (... ) to the right of the folder that is to contain the appendix in the Content Manager.
If a suitable folder does not already exist, you can create a new one (Create Folder).
-
Select Create content.
-
Name the content.
Note
The characters you can use for titles are: numbers, language characters, punctuation characters and spaces. The punctuation characters are:
! " # $ % / & ' ( ) * + , - . : ; < = > ? @ [ \ ] ^ _` { | } ~ -
Select the checkbox in front of Appendix.
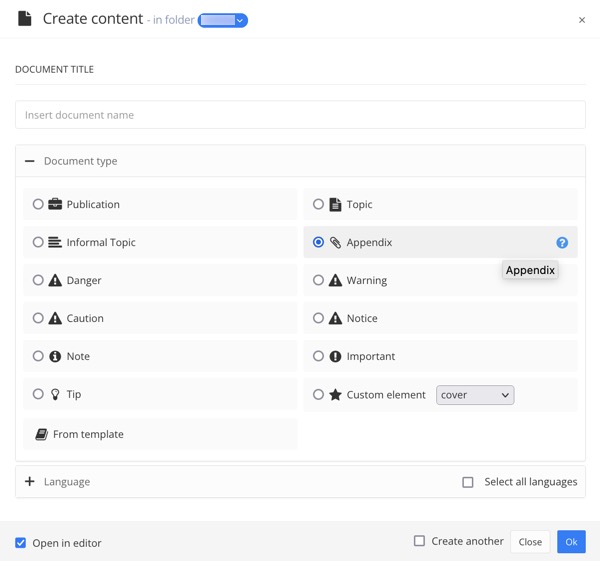
The checkbox for topic is preselected.
-
Select Open in editor in the lower left corner to start editing.
-
Select OK.
-
Position the cursor straight under the title.

-
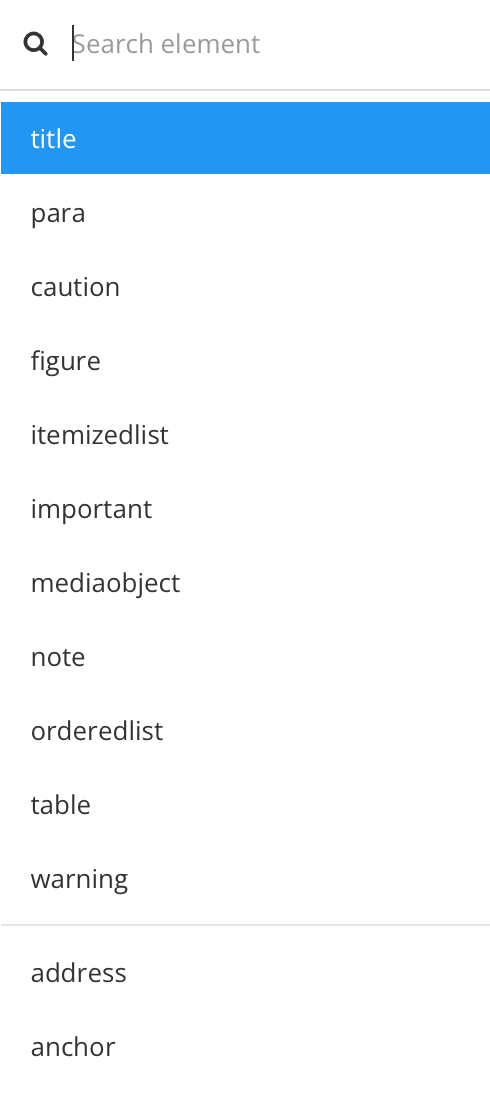
Press Alt + Enter ⏎ (Windows) or Command ⌘ + Enter ⏎ (Mac) to display the Element Context Menu.
-
Insert elements like:
-
toc- Add a table of contents. It must be placed straight under the section title. When you publish to PDF, Paligo will automatically create the TOC. -
glossary- See Create a Glossary Topic -
bibliography -
index- See Create an Index Topic -
section- To add subtopics.
Tip
It is also possible to use existing topics in your appendix, see Insert Component.
-
-
Add the index to your publication.
Note
An important rule of thumb is that appendices must always be at the top level of your publication. Appendices cannot be nested under other topics.
The best practice is to place appendices at the very end of your publication, though Paligo will not prevent you from doing otherwise.
-
Select Save.

-
Publish your publication.