Topics
Headings and Subheadings
By default, the headings do not use numbering. If your documentation needs numbered headings, you can set Paligo to include numbers, see Numbered Headings.
You can also have subheadings in your topics. These help to break up pages that contain lots of information, so that they are easier to read. There are several ways of creating subheadings and subsections, as described in Subsections.

Example of a help page that has subheadings (subsections).
In Paligo, each topic has a:

Resource title is the name of the topic in the Content Manager.
Changing the Resource title or the text in the
titleelement can affect the URL of the topic in HTML outputs. This depends on how your Layout is set up for publishing, see Topic File Names.sectionelement represents the topic as a whole. You can see it when you open the topic in the editor.titleelement comes immediately after thesectionelement and is for the main heading of the topic. By default, it is set to match the Resource title, but you can change either of them. They do not have to match.Some other elements also have
titles, such as tables and examples. Thesetitles are included by default but you can remove them if you wish.
Subsections
To make a text easier for the reader to consume, you can use subsections to divide your content into smaller pieces of information.
Benefits of using subsections:
Readers can quickly scan the main title and the subtitles to get a feel for what the page is about.
Subsections make the writer focus on the information needed for the subsection rather than the topic as a whole.
Smaller sections of content are more visually appealing. A long page of text can be off-putting.
This example shows the "Topic Templates" page that contains a subsection called "Create a Topic Template".
To learn how to set up and manage the different types of subsection, see:
Change Heading Titles and URLs
If you want to change the title text for a topic, you should first think about how it will affect your published output.
For PDFs, a change to a heading does not affect the output, so you can make changes as needed.
For HTML, Paligo uses the title to generate the URL (address) of the webpage for each topic. So if you change the title, the URL will also change when you publish.
Paligo detects title changes automatically and updates your content to use the new URL. But Paligo cannot change any links that come from external systems. For example, if your website links to a page in the help and the URL of the page has changed, the link will no longer work. To avoid this problem, you can:
Keep Existing URLs for HTML Pages
One way to change the title of a topic without affecting its URL is to use the xinfo:outname attribute. This attribute is available for the section element.
When you set an xinfo:outname value, that value is used for the URL of the HTML page for that topic. The xinfo:outname takes priority over all other URL settings, so will be used even if you set the HTML layout to use topic names instead of titles.
To keep the existing URL of an HTML page:
Select the topic or component in the Content Manager to open it in the Editor.
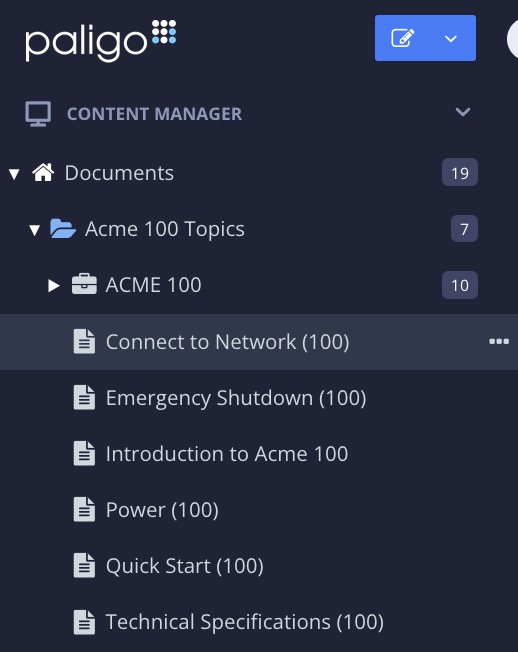
Alternatively, you can Create a Topic and edit that.
Change the text in the
titleelement.Select the
sectionelement in the Element Structure Menu.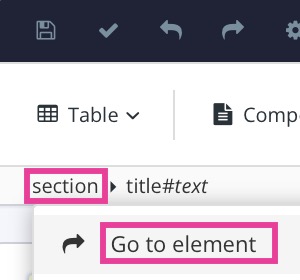
Select Go to element.
Add the
xinfo:outnameattribute in the Element Attributes Panel.
In your existing help output, browse to the page that has the URL you want to keep and copy the page part of the URL.
For example, if the page has the URL:
https://acmehelp/docs/en/6083-introduction.htmlCopy
6083-introductionas that is the page part of the URL. Do not include the.htmlfile extension, you only need the page name.Paste the page part of the URL into the value box for the
xinfo:outnameattribute.
Select Save.

When you publish to HTML, Paligo will use the xinfo:outname value for the page part of the URL. It will not use the title or the topic name, the xinfo:outname takes priority.
For example, let's say you have a topic and it's title is "Introduction". When this was first published, Paligo set the URL to: https://acmehelp/docs/en/introduction.html
Your customer support team then used links to that page when they replied to customer queries.
Some time later, you need to update the page title to "Introduction to ACME 100" but you do not want to break the links that customer support sent out.
You change the title text of the topic to "Introduction to ACME 100" and then add the xinfo:outname attribute to the section of the topic. You set the attribute's value to: introduction.
You publish the content to HTML. Paligo uses the xinfo:outname value (introduction) to create the page part of the URL, instead of the new title text. So in the output, the page has this URL:
https://acmehelp/docs/en/introduction.html
If you did not set the xinfo:outname, the page would have the new URL based on the change to the title text, and it would have been:
https://acmehelp/docs/en/introduction-to-acme-100.html
Topic Names Instead of Titles for the URLs of HTML Pages
You can set Paligo to use topic names instead of titles for the filenames and URLs for HTML pages. The topic names are then used instead of the title text for the page part of the URLs.
For example, if a topic is named "IoT Controls" and has a title of "Controls for IoT System", the URL for the page in the HTML output will look like this: https://acmehelp/docs/en/iot-controls.html
Note that the page part of the URL uses the name of the topic ("IoT Controls") and not the title text ("Controls for IoT System").
To set Paligo to use topic names instead of title text for URLs:
Select Layout in the top menu.
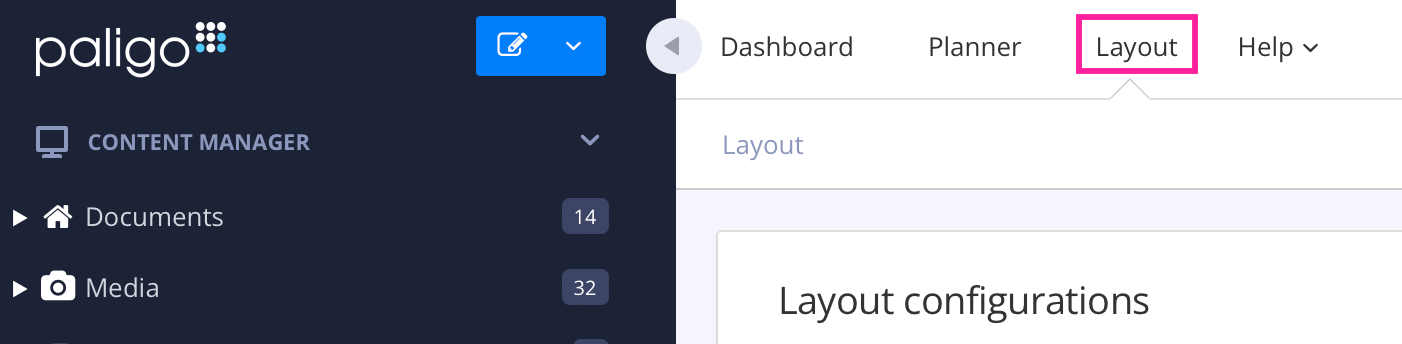
Paligo displays a list of Layouts. The list is empty if there are no custom Layouts in your Paligo instance.
Select the Layout you want to update or Create a Layout.
TipYou can copy the URL of the Layout Editor and paste it into a new tab in your browser. This can be useful if you frequently switch between your Paligo content and the Layout settings.
Select General in the sidebar.
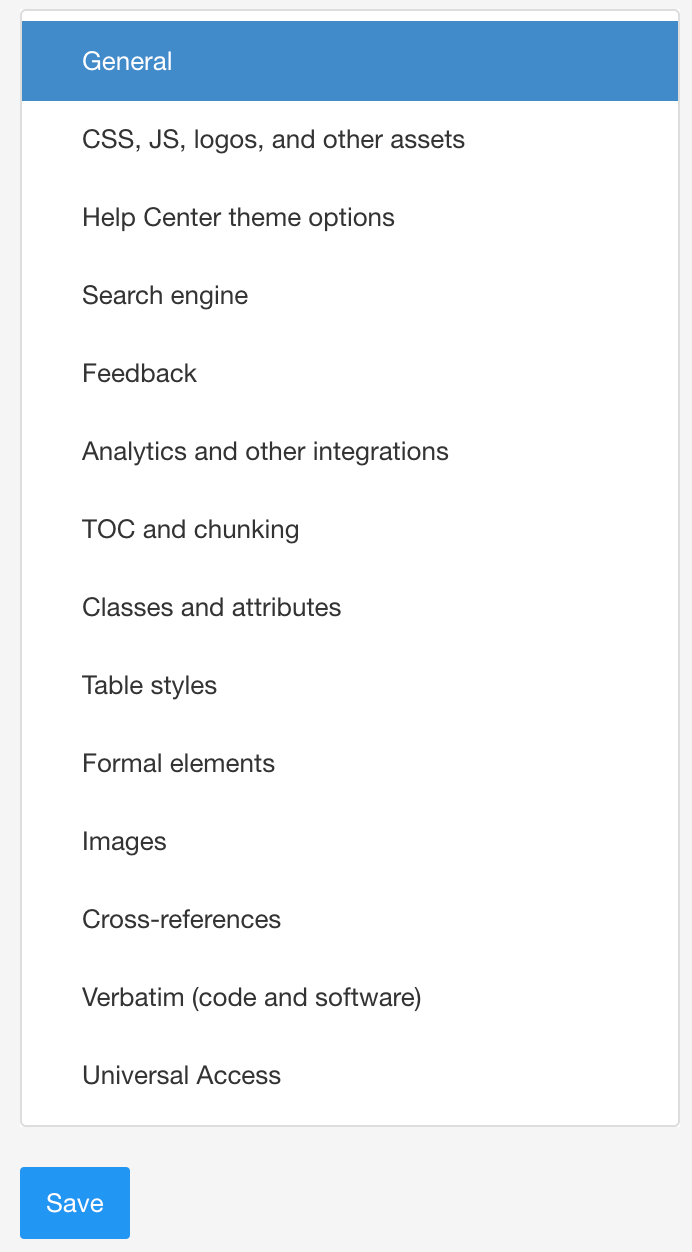
Control if topic names are used for URLs in Use resource name instead of title for the HTML output filename:
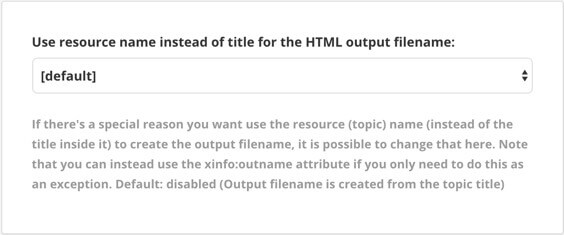
Set it to Enabled to use topic names.
Set it to Disabled to use the text in the topic
titleelement. Default
Select Save.
If you enabled the Use resource name instead of title for the HTML output filename setting, Paligo will use the topic names for the filenames and URLs. This means you can now change your topic title text without affecting the URLs for the pages.
Numbered Headings
By default, Paligo uses text-only headings, but you can use numbered headings instead. Numbered headings have numbers as a prefix.
To enable or disable numbered headings, edit the layout that you use for publishing.
Select Layout in the top menu.
Paligo displays a list of Layouts. The list is empty if there are no custom Layouts in your Paligo instance.
Select the Layout you want to update or Create a Layout.
TipYou can copy the URL of the Layout Editor and paste it into a new tab in your browser. This can be useful if you frequently switch between your Paligo content and the Layout settings.
Find the Section numbering settings.
On PDF layouts, the Section numbering settings are in Section titles > All sections.
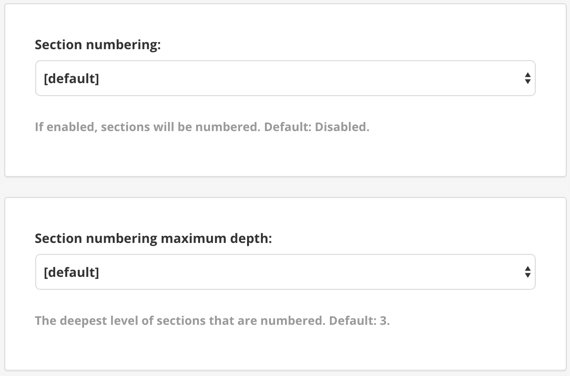
For HTML layouts, the Section numbering settings are in Toc and chunking.
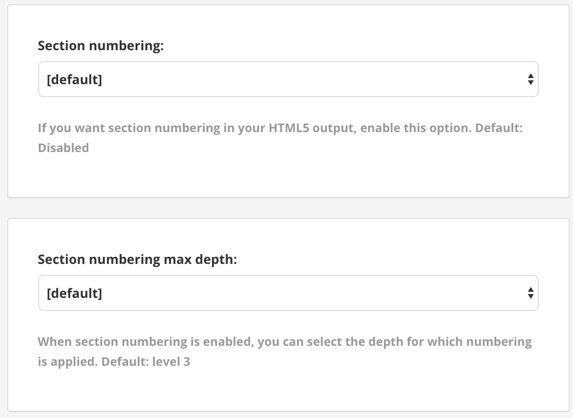
Use Section numbering to control whether your headings use numbers. Select Enabled for numbered headings, Disabled for text-only headings.
Use Section numbering maximum depth to control what heading levels have numbering. The default is 3, which means the top-three heading levels will be numbered, but level 4 onwards will be text-only.
Select Save.
You can choose whether your headings use a number prefix.
Use Title Abbreviations
If you have topics with long titles, they can make your documentation look cluttered, especially in table of contents entries and cross-references. To reduce this problem, use the titleabbrev element to add a shorter alternative titles. Paligo will automatically use the alternative titles in the table of contents and you can choose to use them in cross-references and breadcrumb links too.
For example, let's say you have a topic called "Configure the Wifi Connection for your Acme 100". The title is quite long and makes the TOC, breadcrumb, and cross-references look cluttered. For a neater look, you add the titleabbrev element and enter "Wifi" as an alternative title. You also edit your Layouts so that Paligo uses the alternative title for cross-references and breadcrumbs. You publish to HTML5 and the output uses "Wifi" instead of the full title.
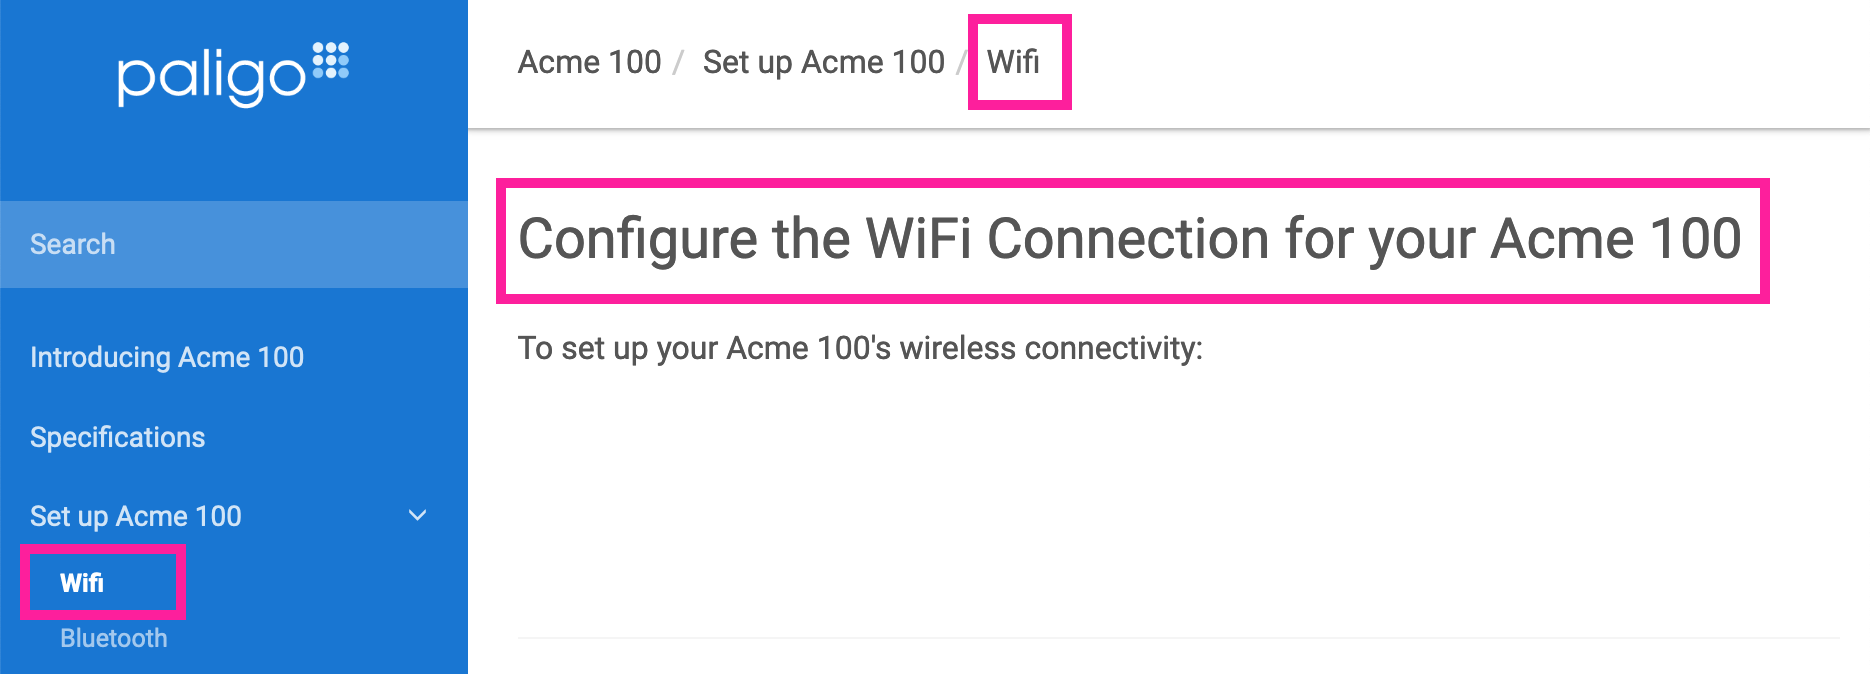
Paligo topics continue to use the full title that they were given (in the title element). The shorter titleabbrev is used automatically in the table of contents and optionally in the breadcrumb links and table of contents.
To add an alternative title to a topic:
Select the topic or component in the Content Manager to open it in the Editor.
Alternatively, you can Create a Topic and edit that.
Position the cursor between the
titleelement and the firstparaelement.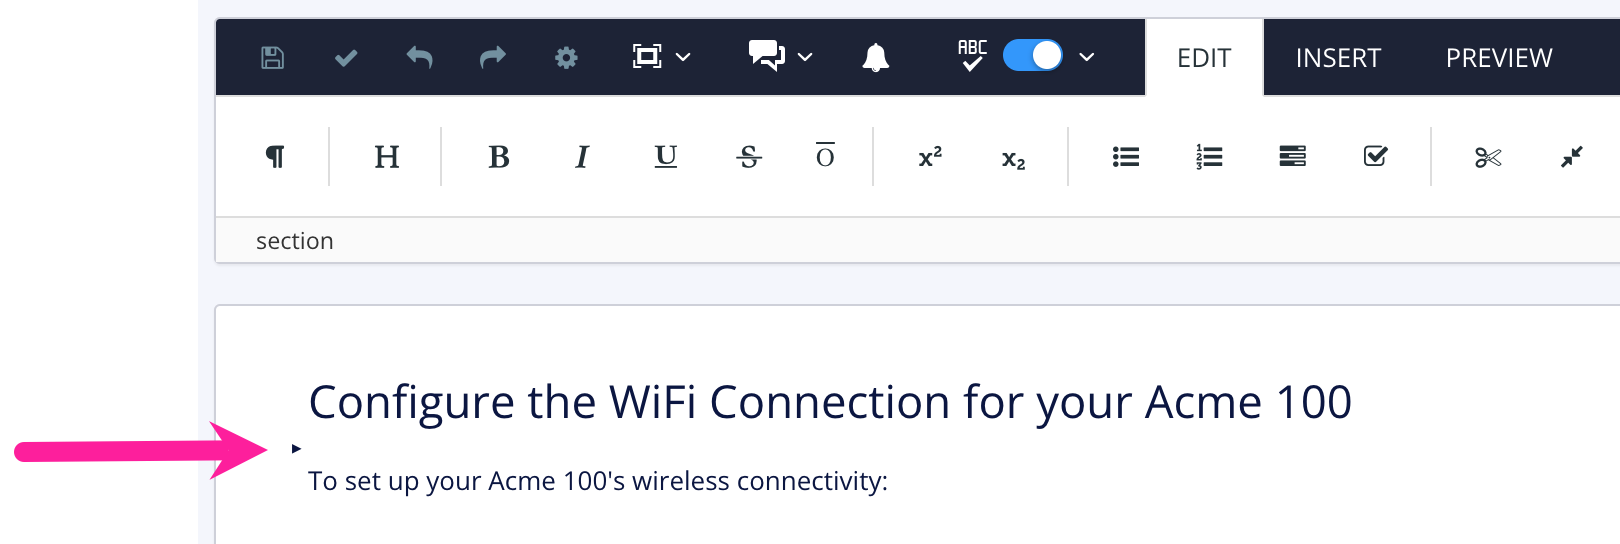
Press Alt + Enter ⏎ (Windows) or Command ⌘ + Enter ⏎ (Mac) to display the Element Context Menu.
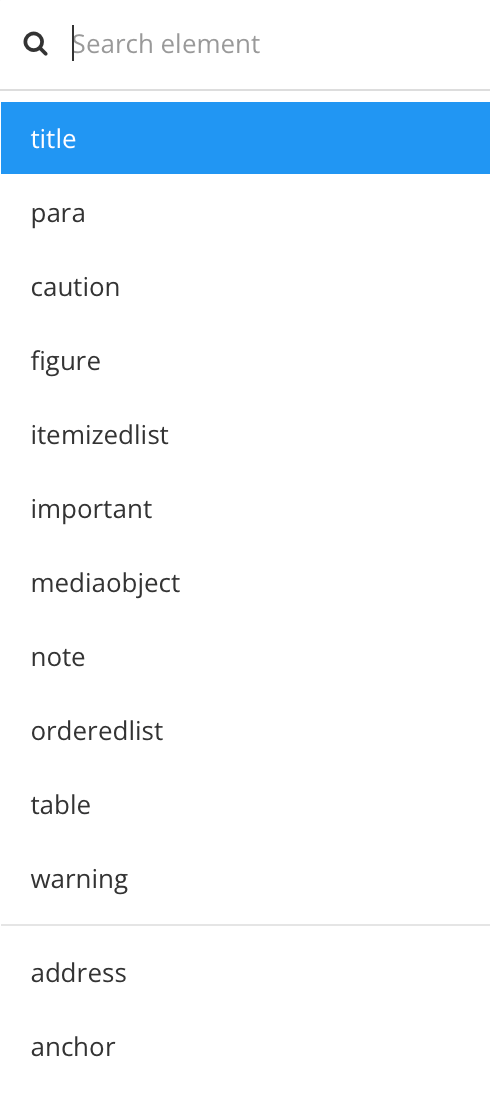
Enter
titleabbrevand select it from the menu.Position the cursor inside the
titleabbrevelement.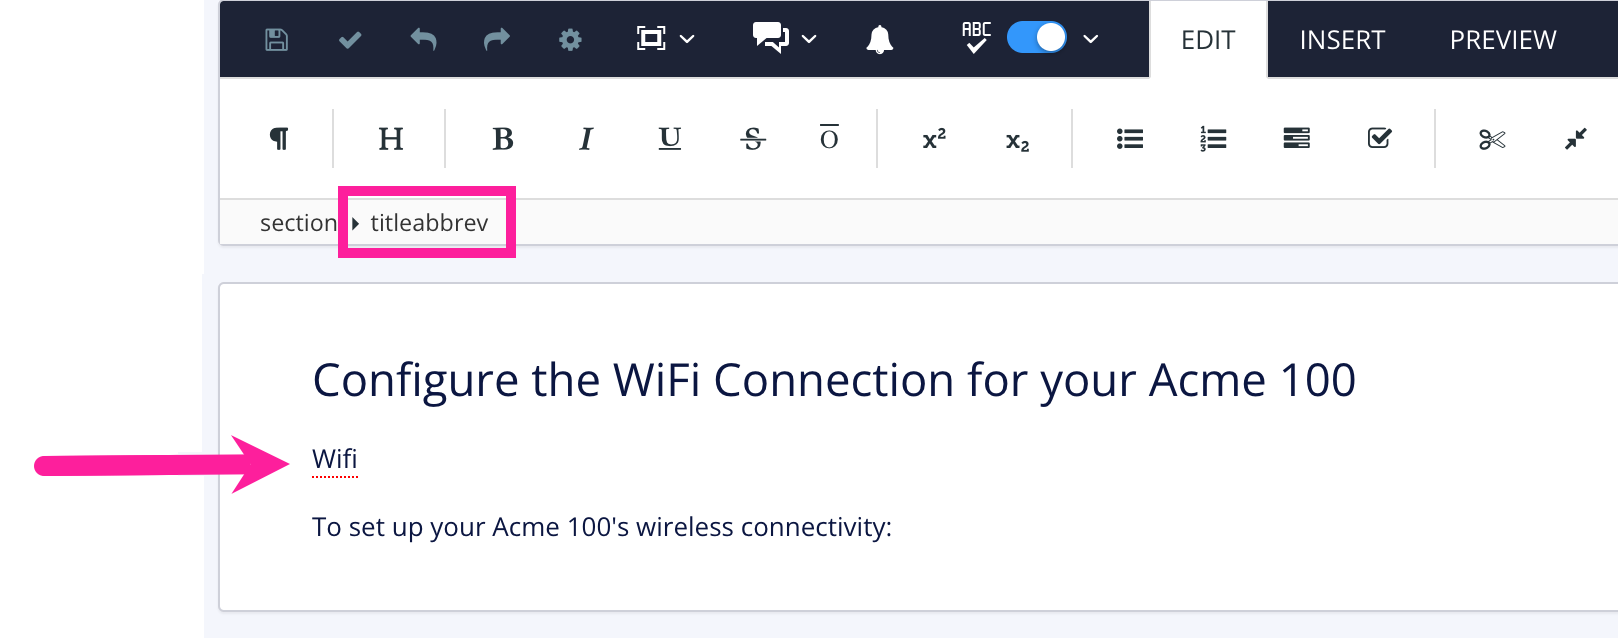
Enter the text for the alternative title.
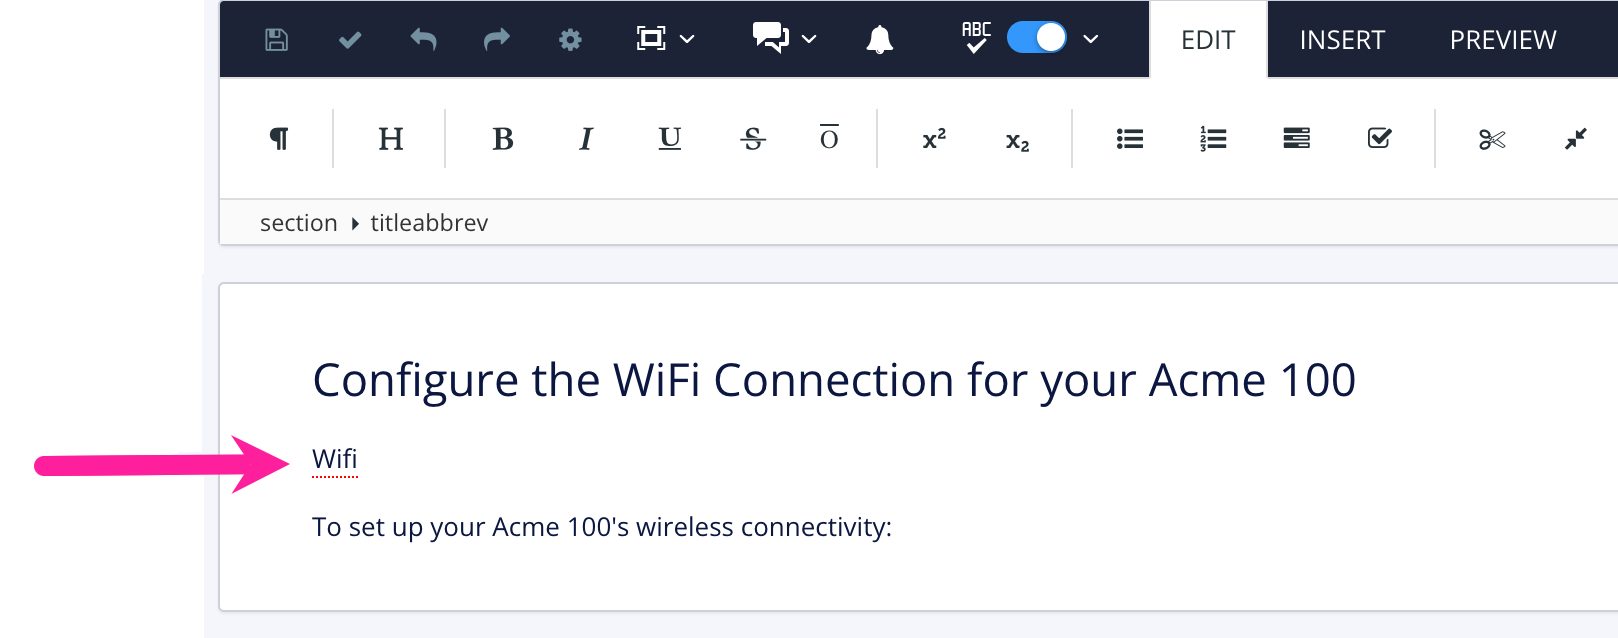
Select Save.
Select Layout and then select the Layout you use for publishing.
Paligo opens the Layout in the Layout Editor.
Set Paligo to use the
titleabbrevortitlein cross-references.On your Layout, navigate to the Use titleabbrev in cross-references setting.
On PDF Layouts, the setting is in the Cross-references category.
On HTML Layouts, the setting is in the General category.
On HTML5 Layouts, the setting is in the Cross-references category.
Set Use titleabbrev in cross-references to:
Enable to use
titleabbrevinstead oftitlein cross-references and the TOCDisable to use
titleinstead oftitleabbrevin cross-references and the TOCDefault to inherit the value for this setting from the base Layout. The base Layout is either a built-in Layout provided by Paligo or another custom Layout, see Layout Relationships - Base, New, Duplicate.
This step only applies to HTML5 Layouts. Use the Layout to set the breadcrumb to use the
titletext ortitleabbrevtext:Select the General category.
Set Use titleabbrev in breadcrumb titles to:
Enable to use the
titleabbrevtext instead of thetitletextDisable to use the
titletext instead of thetitleabbrevtextDefault to inherit the value for this setting from the base Layout. The base Layout is either a built-in Layout provided by Paligo or another custom Layout, see Layout Relationships - Base, New, Duplicate.
Select Save.
When you publish with your Layouts, Paligo will use the title or abbreviated title, depending on your choices in the Layout.