Flow Text Around an Image
Using sidebars combined with images, you can get columns that adjust around an image for your PDF output.
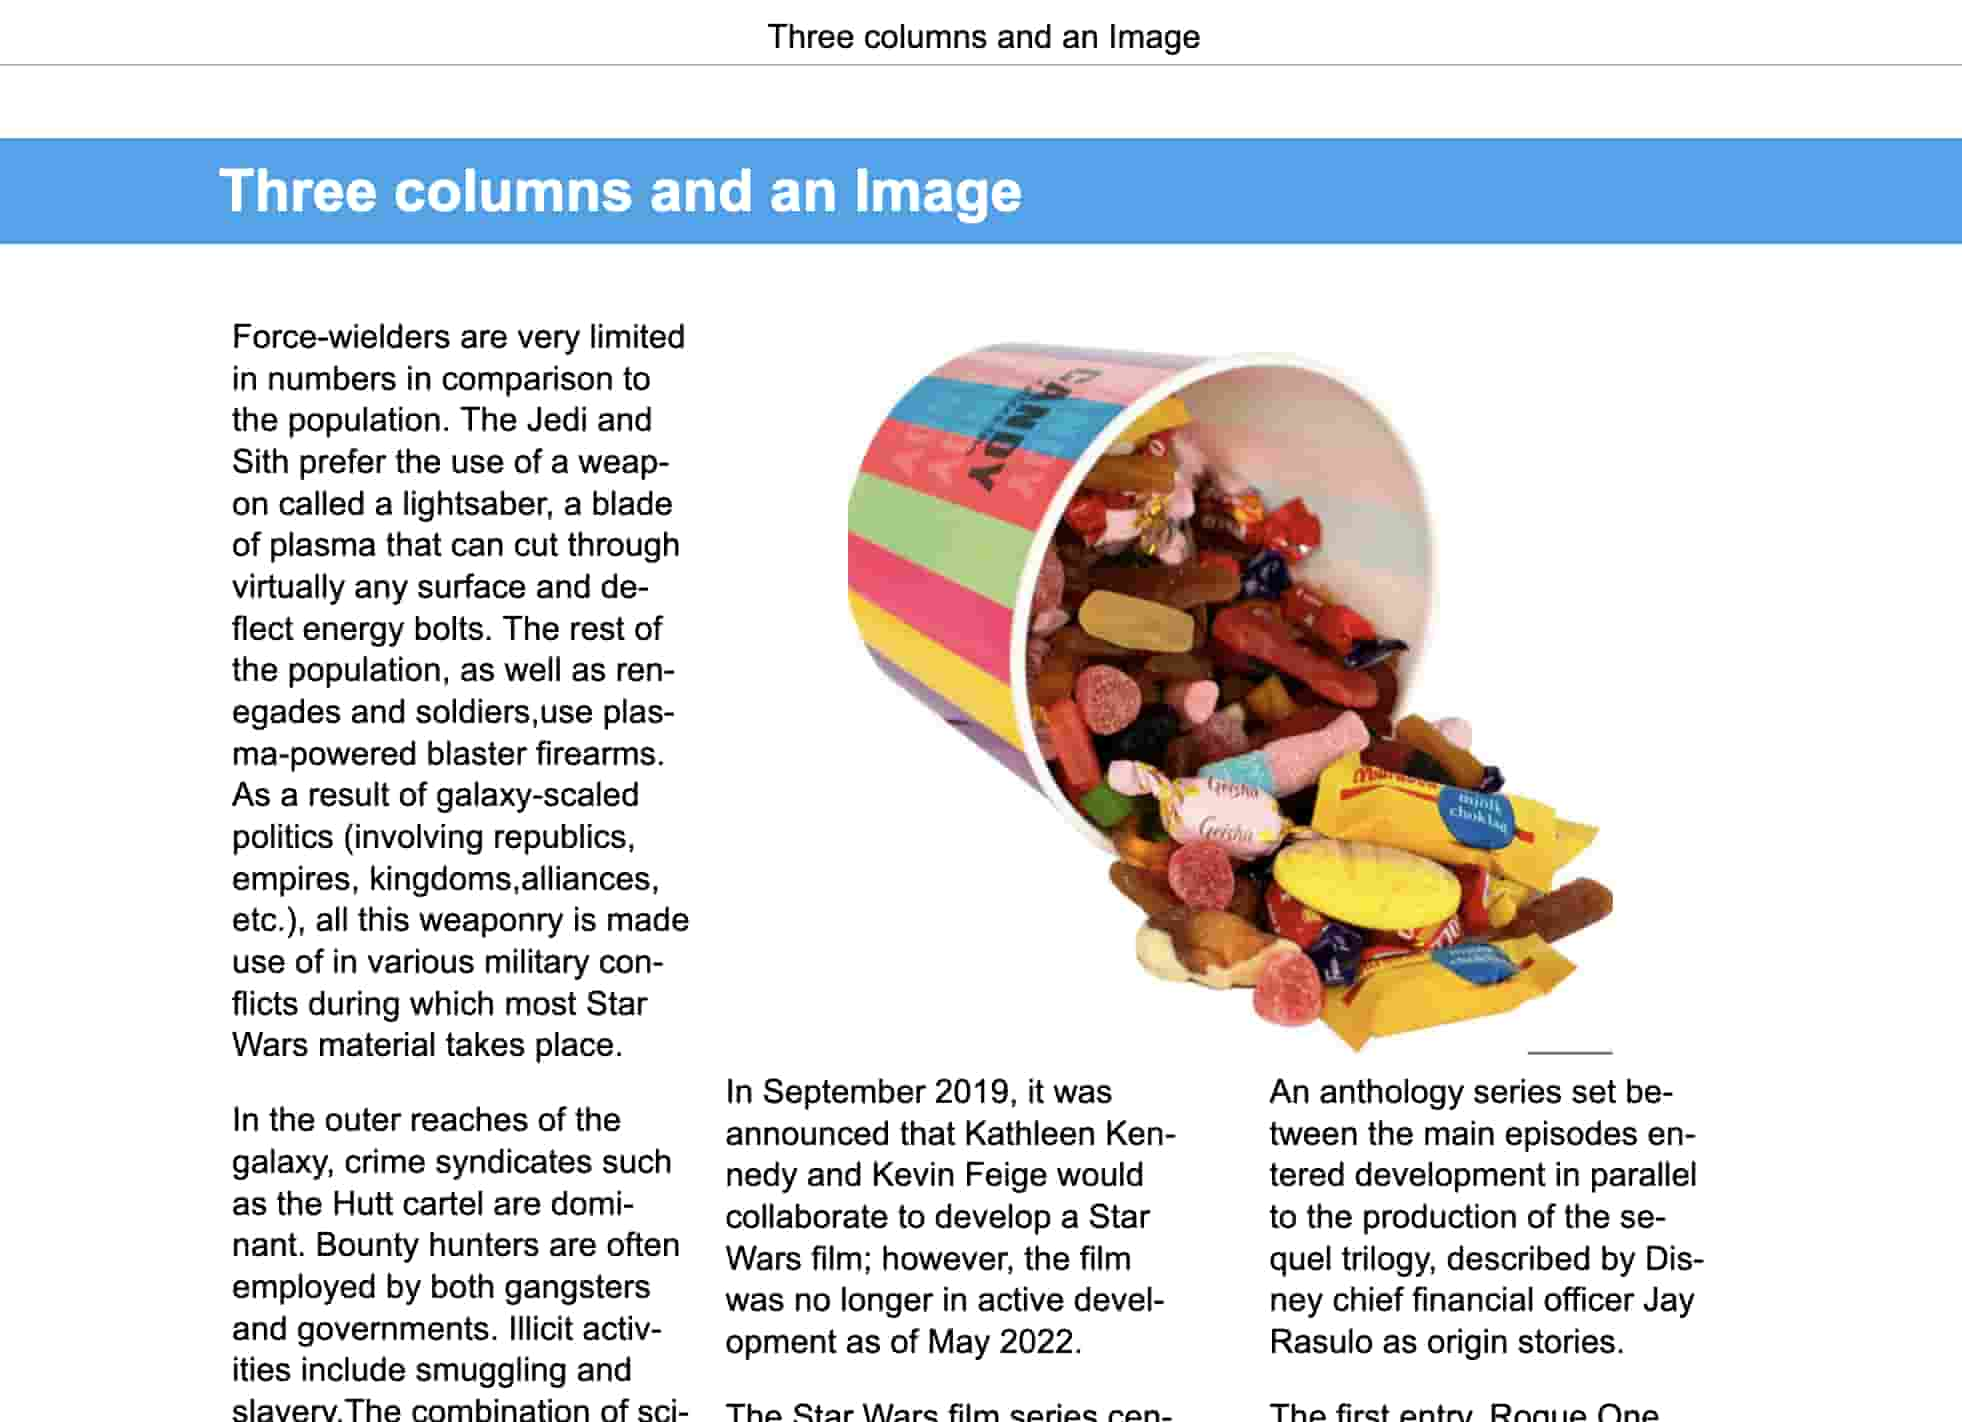

To the left a three column page. To the right a one column page.
This instruction shows how to achieve a three column page where the text adjust around the image for your PDF output. By inserting a sidebar followed by an image and two more sidebars, you get an image next to a column with the following columns positioned below the image.
Tip
You can use sidebar borders when designing the page. After that you can remove the border setting from the role attribute.
Select the topic or component in the Content Manager to open it in the Editor.
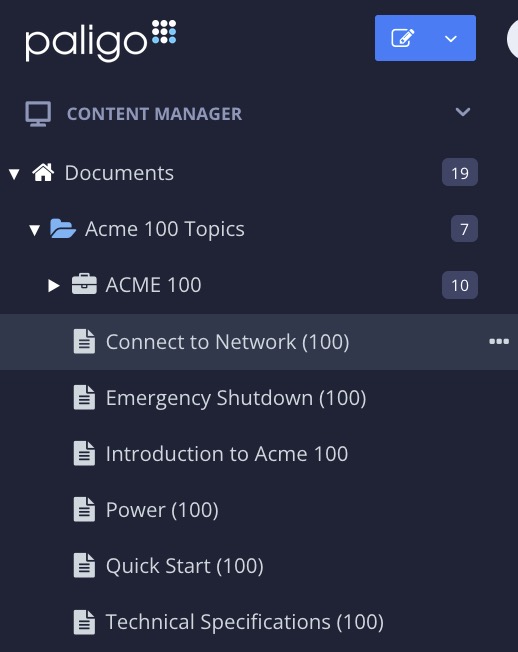
Alternatively, you can Create a Topic and edit that.
Place the cursor where the
sidebarelement is to be inserted in the topic.Press Alt + Enter ⏎ (Windows) or Command ⌘ + Enter ⏎ (Mac) to display the Element Context Menu.
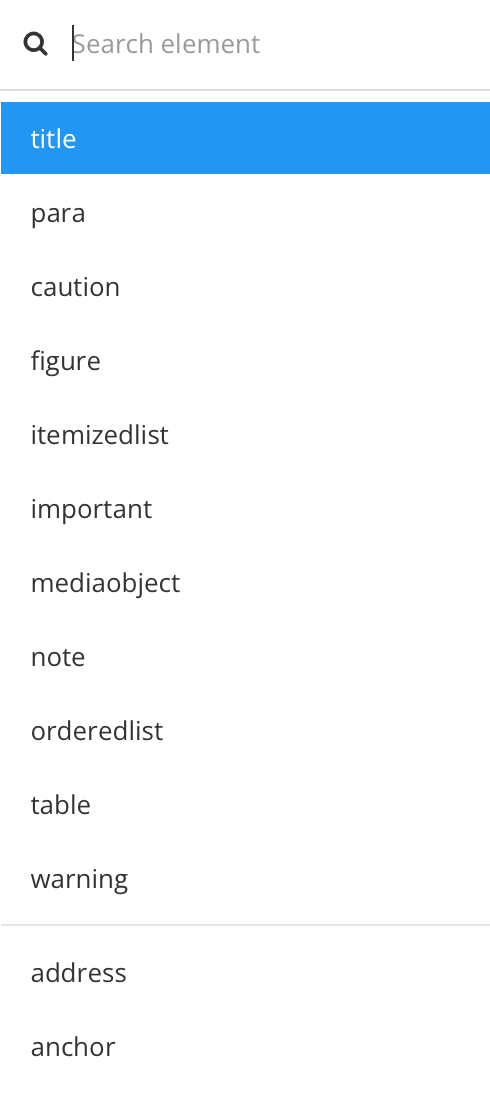
Enter
sidebarand select it from the menu.Add a
title(optional), aparaand amediaobjectby using the Element Context Menu.Select the
sidebarin the Element Structure Menu below the toolbar.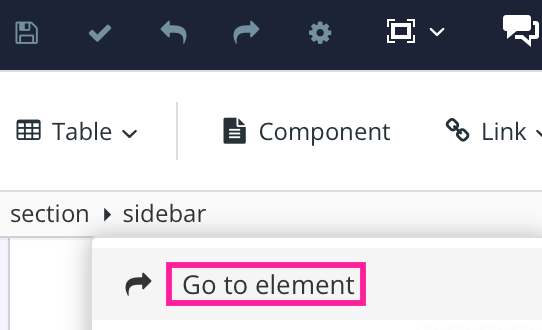
Select Go to element.
Add the
roleattribute to the sidebar element.Enter the value
float: start; width: 2in; padding: 2pt; border: thin solid black.This gives a thin black border with 2 pt space between the sidebar border and text. The border is optional, but the spacing will be used even if the border is removed. Depending on the image size, you might have to adjust the width for both the sidebar and the image. If the image is large, try with 25% or 50%.
If you replace the value:
SolidwithDottedto get a dotted border.ThinwithThickto get a thick border.2ptwith6ptto get more space (padding) between the text and the border. The spacing will be used even if the border is removed.BlackwithPurpleto get a purple border. You can replace it with any color.
Fill the sidebar with text.
Insert an image below the sidebar.
Tip
Add the element attribute:
alignto adjust the positioning of the image.widthto set the image size.
Insert two more sidebars, with the same role as above, after each other and fill them with text.
To make the last sidebar end the page, change the value
float: starttofloat: endThe result is an image next to a column with the following two columns positioned below the image.
Select Save.

Note
You have to publish or preview the topic to be able to see the result.
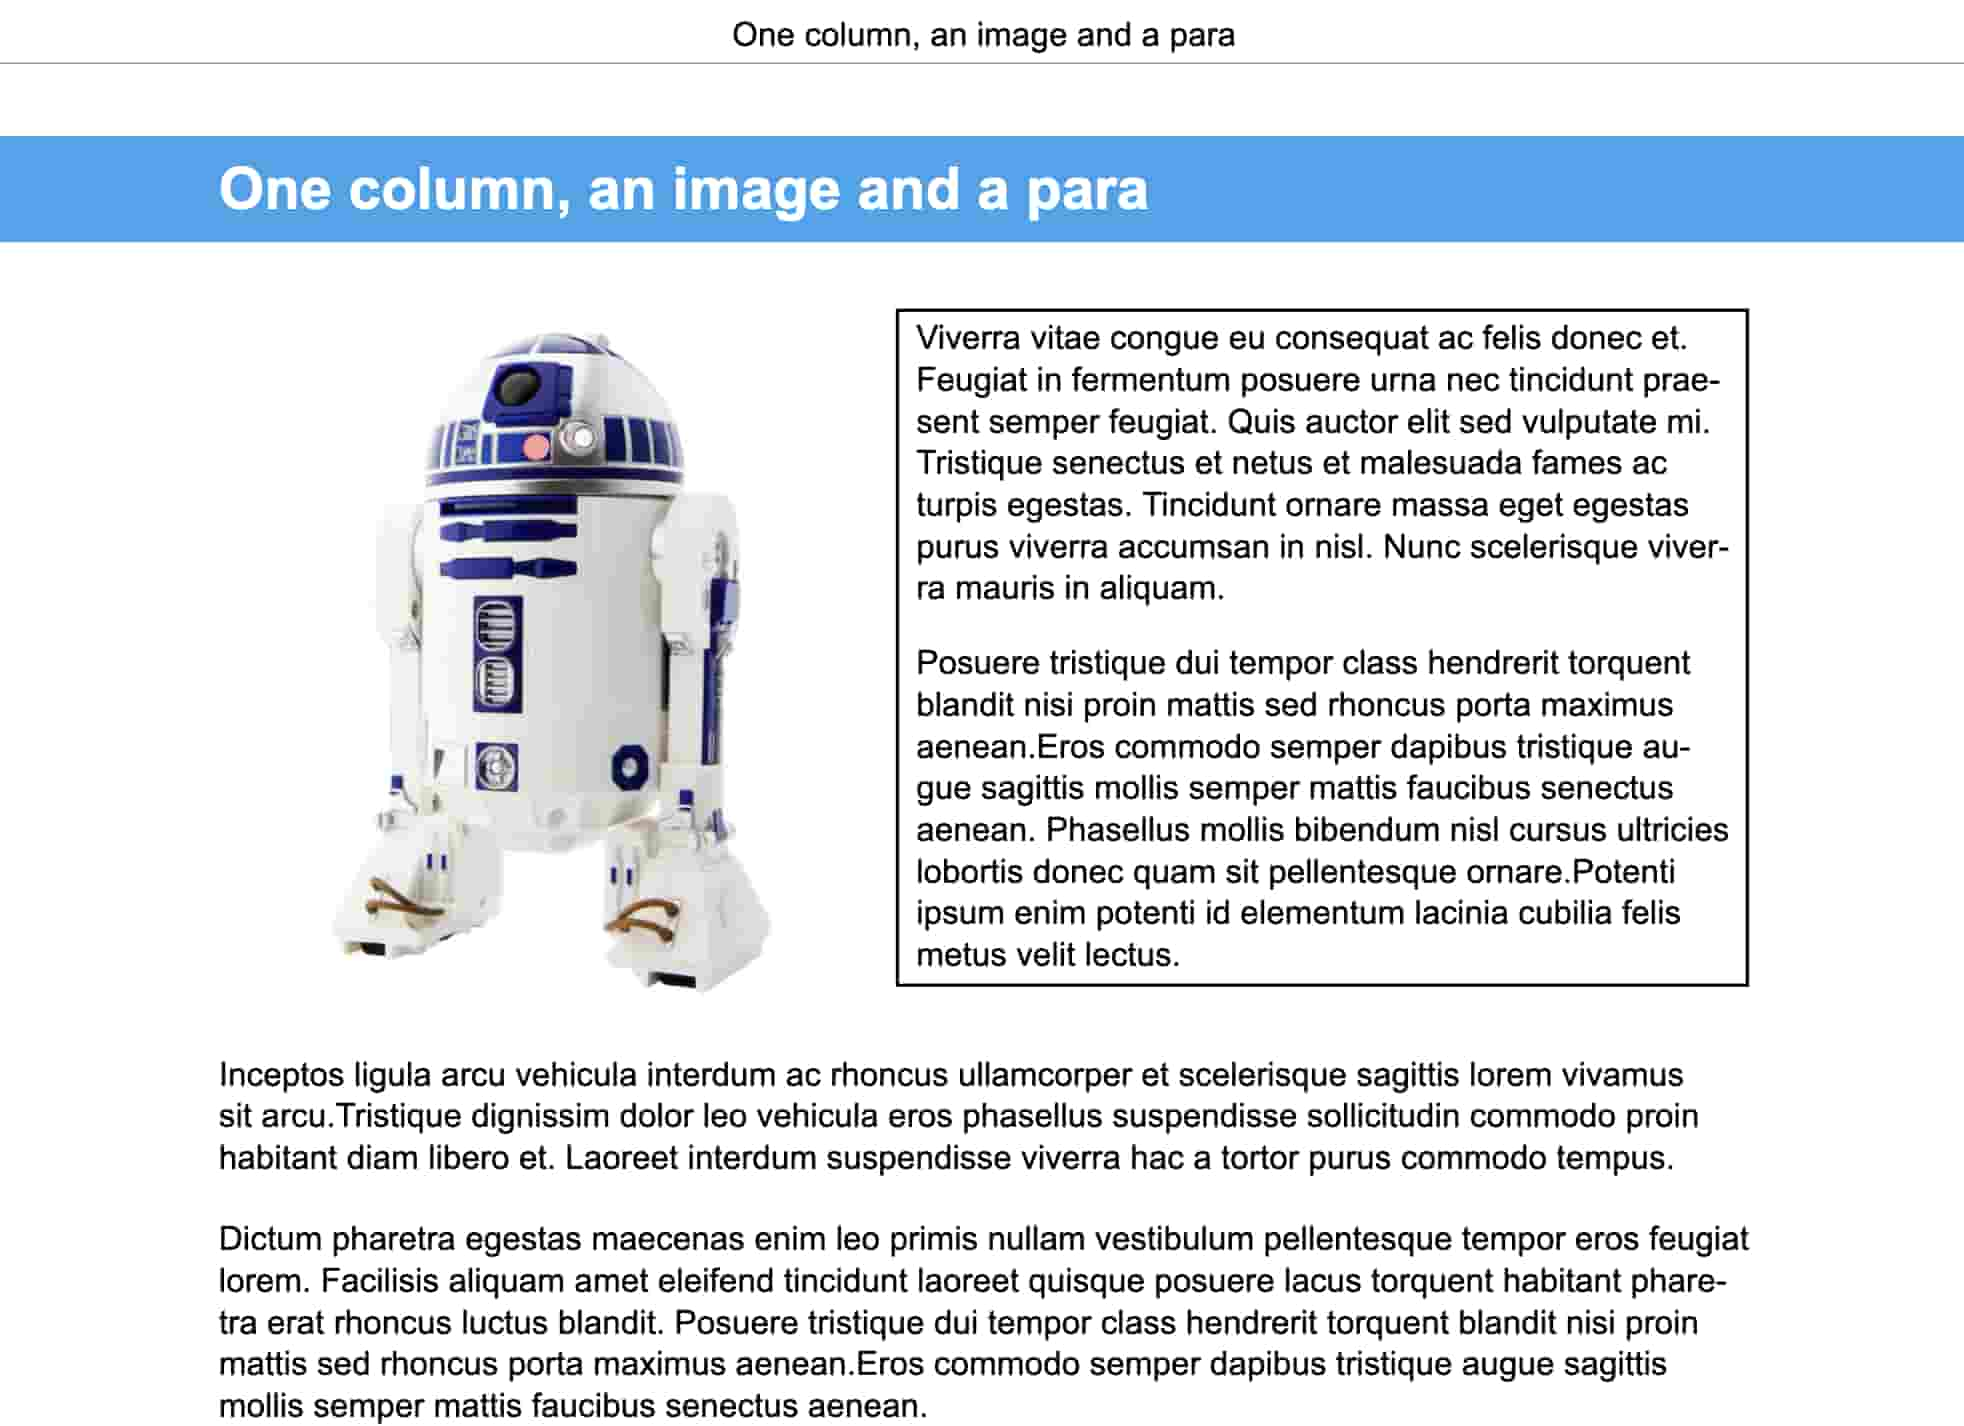
This instruction shows how to achieve a one column page where the text adjust around the image for your PDF output. By inserting a sidebar followed by an image and a para, you get an image next to a column with the text in the para positioned below the image.
Tip
This can also be done by using a two column sidebar, see Level Text and Image .
Select the topic or component in the Content Manager to open it in the Editor.
Alternatively, you can Create a Topic and edit that.
Place the cursor where the
sidebarelement is to be inserted in the topic.Press Alt + Enter ⏎ (Windows) or Command ⌘ + Enter ⏎ (Mac) to display the Element Context Menu.
Enter
sidebarand select it from the menu.Add a
title(optional), aparaand amediaobjectby using the Element Context Menu.Select the
sidebarin the Element Structure Menu below the toolbar.Select Go to element.
Add the
roleattribute to the sidebar element.Enter the value
float: end; width: 250pt; padding: 2pt; border: thin solid black.This gives a thin black border with 2 pt space between the sidebar border and text. The border is optional, but the spacing will be used even if the border is removed. Depending on the image size, you might have to adjust the width for both the sidebar and the image. If the image is large, try with 25% or 50%.
If you replace the value:
SolidwithDottedto get a dotted border.ThinwithThickto get a thick border.2ptwith6ptto get more space (padding) between the text and the border.BlackwithPurpleto get a purple border. You can replace it with any color.
Fill the sidebar with text.
Insert an image below the sidebar.
Tip
Add the element attribute:
alignto adjust the positioning of the image.widthto set the image size.
Press Alt + Enter ⏎ (Windows) or Command ⌘ + Enter ⏎ (Mac) to display the Element Context Menu.
Enter
paraand select it from the menu.Fill the para with text.
The result is an image on the left side of the column with the para text below it.
Select Save.
Note
You have to publish or preview the topic to be able to see the result.