Create a Revision History Topic
To create a revision history topic:
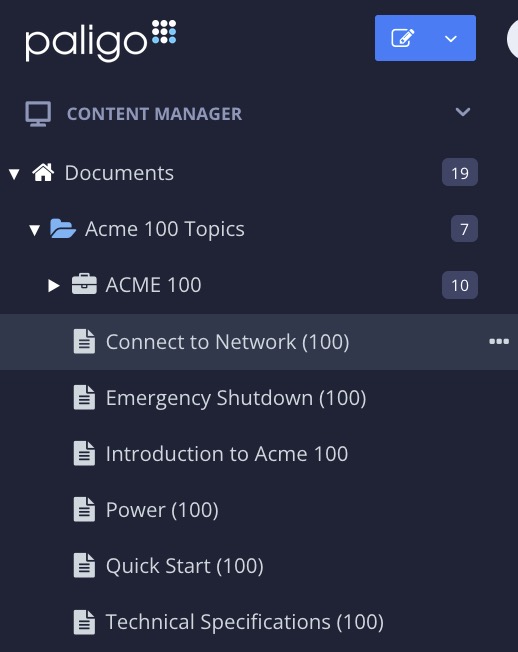
Create a new topic with a suitable name, such as "Revision History".
Select the topic or component in the Content Manager to open it in the Editor.
Alternatively, you can Create a Topic and edit that.
Position the cursor below the
title.Press Alt + Enter ⏎ (Windows) or Command ⌘ + Enter ⏎ (Mac) to display the Element Context Menu.
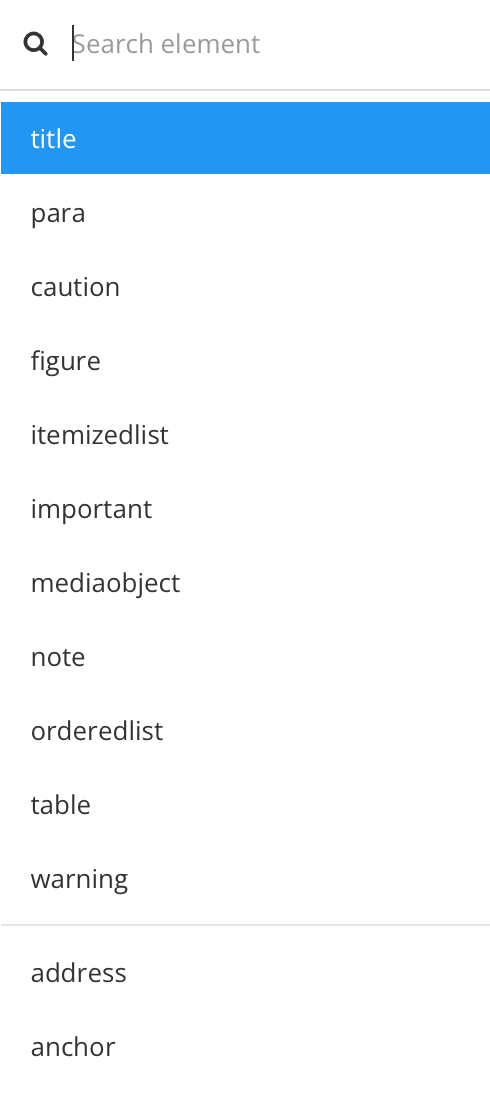
Enter
infoand select it from the menu.Position the cursor inside the
infoelement.Press Alt + Enter ⏎ (Windows) or Command ⌘ + Enter ⏎ (Mac) to display the Element Context Menu.
Enter
revhistoryand select it from the menu.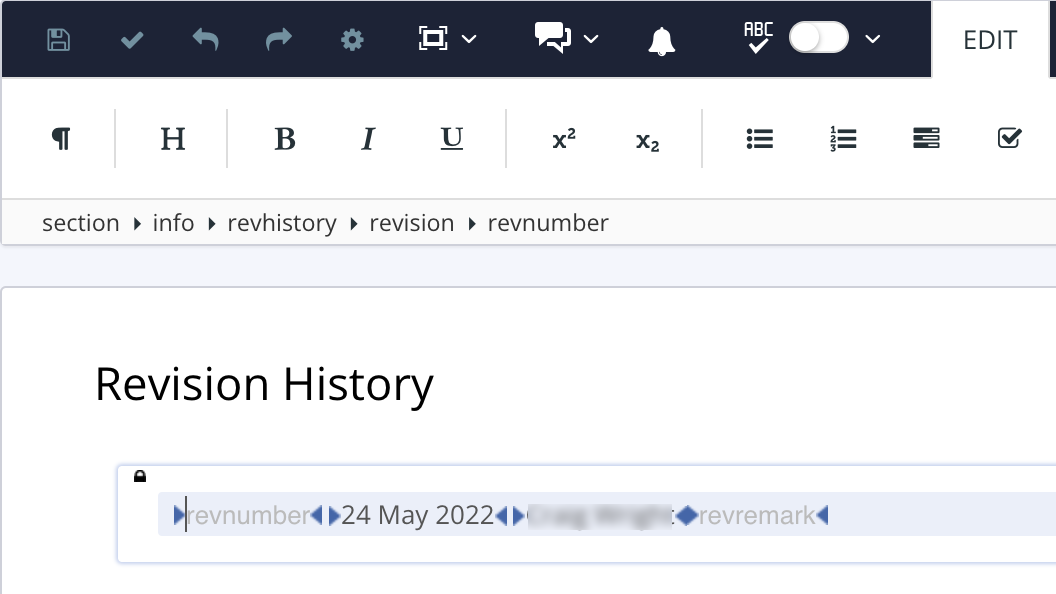
When you add a
revhistoryelement, Paligo adds child elements to it automatically.The child elements are:
revision- This is a container element for therevnumber,date,authorinitialsandrevremarkelements. You need the revision for the structure, but do not enter any information directly into it.revnumber- Enter the number of the revision, for example, 6 if this is the sixth revision to the content.date- Paligo inserts the date automatically, by default. You can overwrite it with a different date if you wish.authorinitials- Paligo inserts the name of the person who adds the revision element, by default. You can overwrite it with a different name or initials if you wish.revremark- Enter a brief description of the changes that have been made. This will help other users to understand what each revision included and why the changes were made.
Tip
You can delete an element if you do not want to include that information in the revision history.
Repeat step 8 to add more revisions.
You can add multiple
revisionelements inside arevhistoryelement.Select Save.

Add your revision history topic to your publication.
It is recommended to position it as the first topic in the publication structure.
Tip
You may also want to put an output filter on its
sectionelement to exclude it from outputs, but remains in the publication for internal use, see Filtering / Profiling).