Borders on Formal Figures and Informal Figures (PDF)
If you have a figure or informalfigure in your content, you can apply borders to the figure / informalfigure element. These settings do not affect the border around the actual image, they only affect the border of the figure / informalfigure "container".
 |
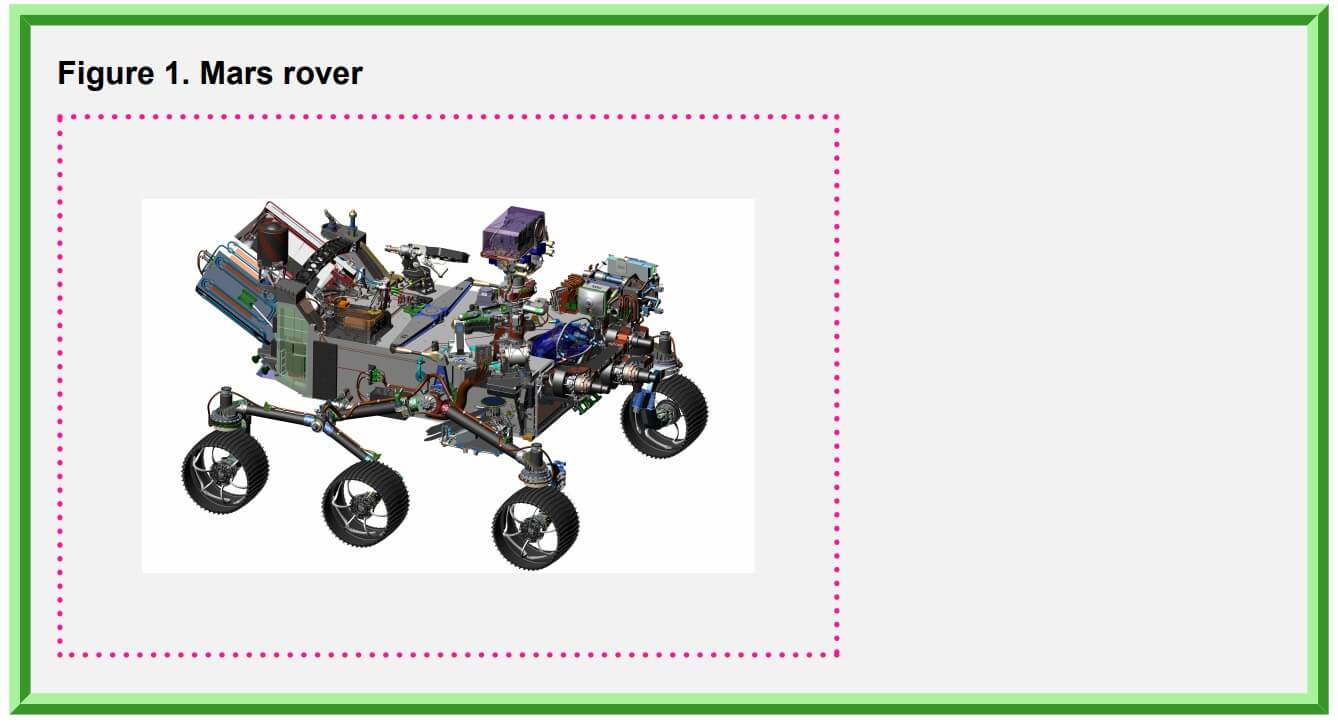
A figure "container" with a green ridge border and gray background. Note that the pink dotted border around the image is the border set for block images.
To define the default border settings that will apply to all figures / informal figures for PDF output:
Select Layout in the top menu.

Paligo displays a list of Layouts. The list is empty if there are no custom Layouts in your Paligo instance.
Select the Layout you want to update or Create a Layout.
Tip
You can copy the URL of the Layout Editor and paste it into a new tab in your browser. This can be useful if you frequently switch between your Paligo content and the Layout settings.
Select Formal elements > Figure.
Use the border settings to define the styles for the border. There are settings for width, border line style, border color, background color, and padding (internal margin).
These settings will apply to any
formalelements in your content.Select Formal elements > Informalfigure.
Use the border settings to style the informalfigure border.
These settings work in the same way as the formal figure options in step 3, except that they apply to the
informalfigureelement instead of thefigureelement.Select Save.
When you publish to PDF using this layout, your figure and informalfigure "containers" have a border that matches the styles you have set.