Borders on Selected Images Only (PDF)
You can set borders on individual images and these borders will override any borders that are set in the PDF layout. For example, if your PDF layout sets all images to have a black dashed border, you could set one image to have a dotted red border. That image's own settings (dotted red border) take priority over the border settings in the layout.
To set the borders on a specific image:
Open a topic that contains the image you want to have borders.
Select the image
Select the
imagedataelement in the Element Structure Menu and choose Go to element.Make sure that your image has a
widthattribute and a value. This has to be set on theimagedataelement.To add a
widthattribute, select the image and then select itsimagedataelement in the Element Structure Menu. Select Go to element, and then in the Element attributes section, add thewidthattribute and value.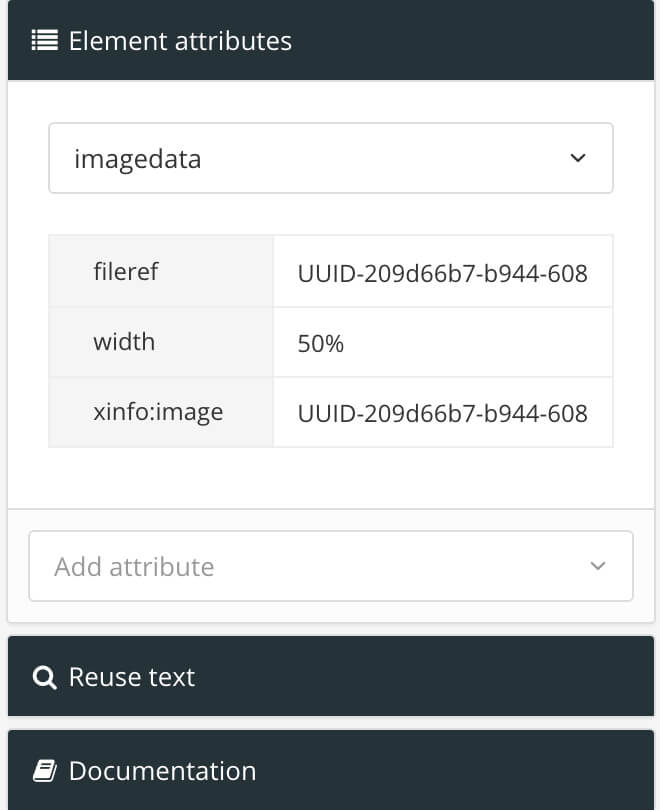
Use the Add attribute field to give the
imagedataelement theroleattribute.For the
roleattribute value, enter the border settings, for example:border: 0.25pt solid silver; border-radius: 3pt; padding: 15pt;The syntax here is similar to that used for CSS and HTML, but only border, border-radius, and padding properties are supported.
Use semi-colons to separate the settings. The example above shows a border that is 0.25pt wide, solid line, and silver. It has a border radius of 3pt (rounded corners) and interior spacing (padding) of 15pt.
Select Save.

When you publish to PDF, the image will have the border settings that you applied specifically to that image, rather than those defined in the PDF layout.