
Add an Image

This section explains how to add an image to a topic. An image is a picture without a title or caption, although you can add a caption manually if you prefer.

Topic containing an image. The image is of a space shuttle. It has no title and no caption.

Note

There are separate sections that explain how to Add a Figure, Add an Inline Image, and Add Side-By-Side Images.

There are several ways to add an image:
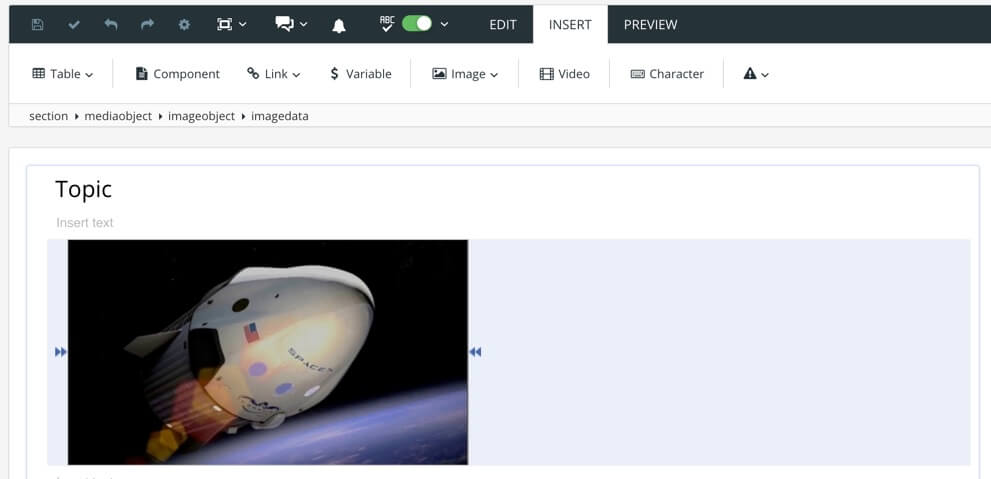
Tip

You can use Keyboard Shortcuts to add images, figures, inline images and side-by-side images.

"Drag and drop" is a quick way to add an image to a topic and upload it into your media library at the same time.

  1. Place your cursor where you want to add an image. The position of the cursor is important, as you can only add an image where it is valid. For example, if you are inserting an image or figure, you could place the cursor after a para element. But if you are inserting an inline image, you would need to place the cursor inside the para element.

  2. On your computer, find the image file that you want to add to your topic and drag it onto the topic.

    A view of a desktop. On the left, the Paligo editor is open in a browser window. On the right, a folder containing images is open. A callout arrow shows that you can drag an image file from the folder into the Paligo topic.
  3. Select the blue menu at the top of the dialog to select where to upload the images.

    Upload images dialog. The In Folder button is selected, revealing a popup that contains the media folder structure.
  4. Decide whether you want Paligo to compare your new images to images in the selected folder only, or images in child folders too.

    • Check the Update existing in any folder box to set Paligo to look in the selected folder and any of its descendant folders (child folders).

    • Clear the Update existing in any folder box to set Paligo to look only in the root of the selected folder.

    Upload images dialog. A callout box is positioned over the Update existing in any folder checkbox, which is at the bottom of the dialog.
  5. Decide whether you want your new files to update any existing files of the same name.

    Upload images dialog. It lists three new images that are going to be uploaded to Paligo.
    • Check the Update box to replace an existing image with your new image.

    • Clear the Update box to upload the new image in addition to the existing image.

      This will mean you have multiple images with the same name. You can rename the images in the Content Manager to make them easier to manage.

    Tip

    You may be able to save time by selecting the Update all existing box, which automatically selects all of the update boxes at once.

  6. Check the Remove whitespace box if you want Paligo to automatically remove any unnecessary white space (empty areas) from the edges of your image. This only applies if your image is AI. EPS, or PDF.

  7. Select Upload.

    Paligo uploads your image file to the media library and adds it to your topic. You can close the Upload Images dialog.

If you prefer, you can add the elements for an image individually, and for this, you can use the element context menu.

  1. Place your cursor where you want to add an image. The position of the cursor is important, as you can only add an image where it is valid. For example, if you are inserting an image or figure, you could place the cursor after a para element. But if you are inserting an inline image, you would need to place the cursor inside the para element.

  2. Press Alt + Enter ⏎ (Windows) or Command ⌘ + Enter ⏎ (Mac) to display the Element Context Menu.

    Element context menu shows a search field and a list of elements that are valid at the current position.
  3. Add the mediaobject element.

    Paligo adds the mediaobject element and also adds the imageobject and imagedata elements that are needed for an image.

  4. Right-click on the placeholder for the image and select Image browser.

  5. In the dialog that opens, browse or search for the image in your Media library.

    Note

    If the dialog does not open automatically, right-click on the placeholder icon for the image and select Image browser.

    Media browser dialog. It shows the images in a "Space Manual" folder. There is a search field at the bottom to search for other images , a folder path at the top to browse to different folders. There are also options for creating a folder, uploading new images, and refreshing the browser view.

    Note

    If the image is not in the Media library yet, you can upload it directly in this dialog by using the upload icon in the top-right.

    To find out more about uploading images, see Upload Images.

  6. Select the image to insert it into your topic.

    Note

    To use alt text in PDF outputs, it is important that you do not use tagged PDFs as images. For PDFs to use alt text, the layout has to have Generate tagged PDF enabled. The PDF processor cannot complete the publishing if your content contains tagged PDFs as images and Generate tagged PDF is enabled. You will need to use untagged PDFs as images or use different types of image files.

    If you try to publish content that has a tagged PDF embedded as an image and the Generate tagged PDF enabled, you will get a "production failed" error.

  7. Select Save. Save icon.