- Paligo Documentation
- Author
- Media
- Images
- Add an Image
- Add an Image with Element Context Menu
Add an Image with Element Context Menu
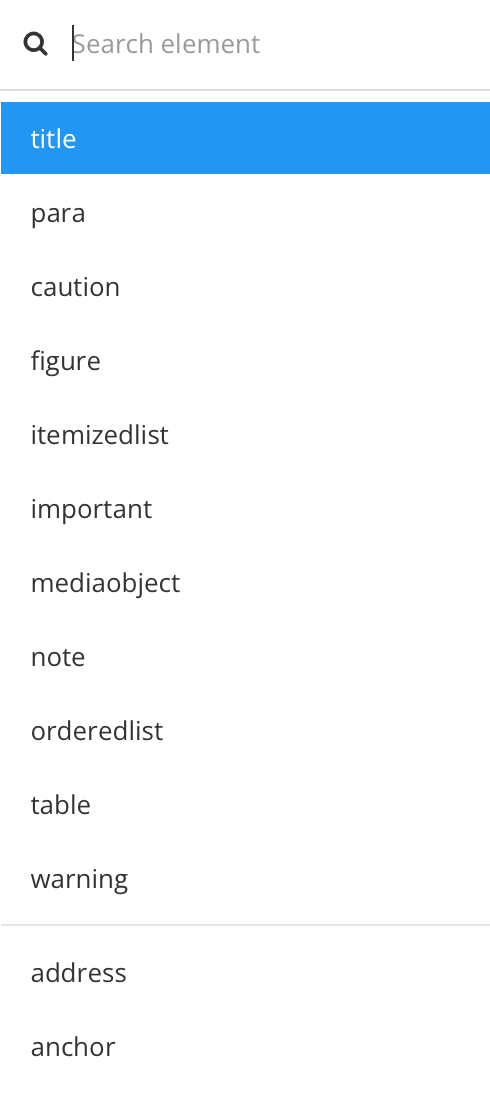
If you prefer, you can add the elements for an image individually, and for this, you can use the element context menu.
Place your cursor where you want to add an image. The position of the cursor is important, as you can only add an image where it is valid. For example, if you are inserting an image or figure, you could place the cursor after a
paraelement. But if you are inserting an inline image, you would need to place the cursor inside theparaelement.Press Alt + Enter ⏎ (Windows) or Command ⌘ + Enter ⏎ (Mac) to display the Element Context Menu.

Add the
mediaobjectelement.Paligo adds the mediaobject element and also adds the imageobject and imagedata elements that are needed for an image.
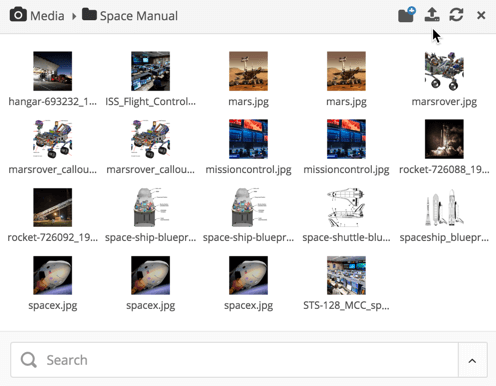
Right-click on the placeholder for the image and select Image browser.
In the dialog that opens, browse or search for the image in your Media library.
Note
If the dialog does not open automatically, right-click on the placeholder icon for the image and select Image browser.

Note
If the image is not in the Media library yet, you can upload it directly in this dialog by using the upload icon in the top-right.
To find out more about uploading images, see Upload Images.
Select the image to insert it into your topic.
Note
To use alt text in PDF outputs, it is important that you do not use tagged PDFs as images. For PDFs to use alt text, the layout has to have Generate tagged PDF enabled. The PDF processor cannot complete the publishing if your content contains tagged PDFs as images and Generate tagged PDF is enabled. You will need to use untagged PDFs as images or use different types of image files.
If you try to publish content that has a tagged PDF embedded as an image and the Generate tagged PDF enabled, you will get a "production failed" error.
Select Save.
