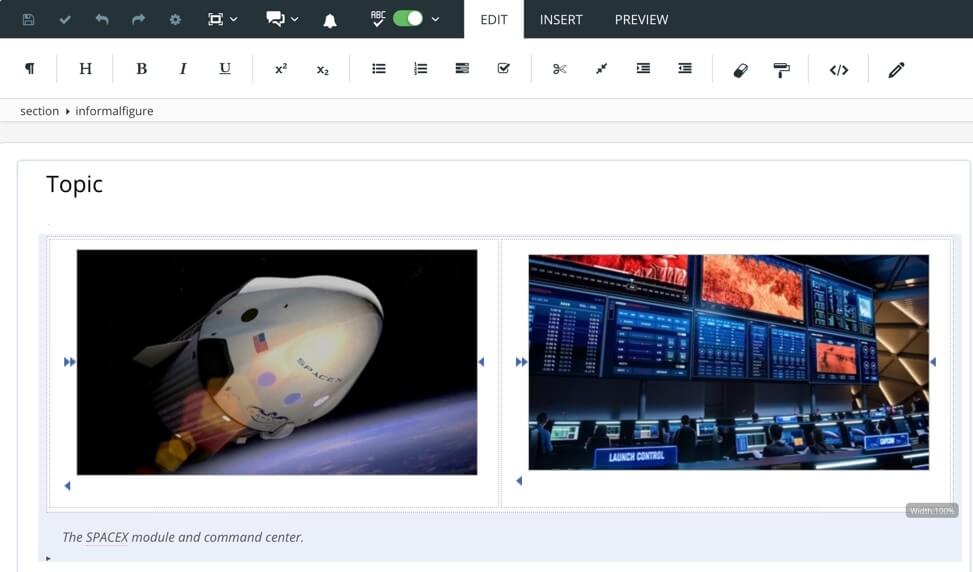
Add Side-By-Side Images
With Side-by-side images, you can have two images next to each other on the same line, rather than stacked one above the other. To create this effect, Paligo adds the images inside a table, but you cannot see the table in the published output.
 |
Tip
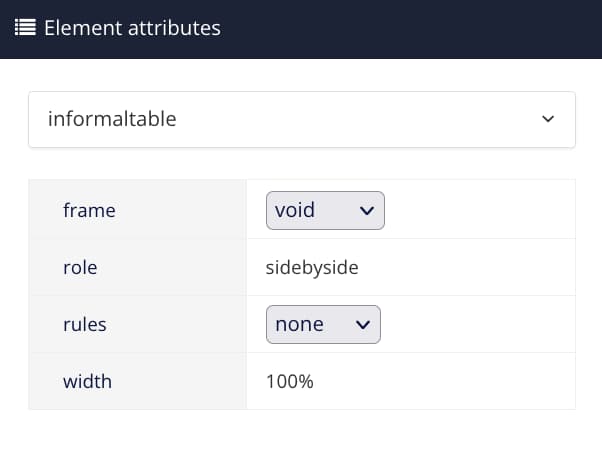
The width of the informaltable holding the side-by-side images is by default set to 100%.
To adjust its size, select the informaltable in the Element Structure Menu and adjust the width in the Element Attributes Panel.
 |
To add side-by-side images to a topic:
Place your cursor where you want to add an image. The position of the cursor is important, as you can only add an image where it is valid. For example, if you are inserting an image or figure, you could place the cursor after a
paraelement. But if you are inserting an inline image, you would need to place the cursor inside theparaelement.Select the Insert menu.
Select Image and then Side by side images.
Tip
You can use Keyboard Shortcuts to add images, figures, inline images and side-by-side images.
Right-click on the placeholder for the image and select Image browser.
In the dialog that opens, browse or search for the image in your Media library.
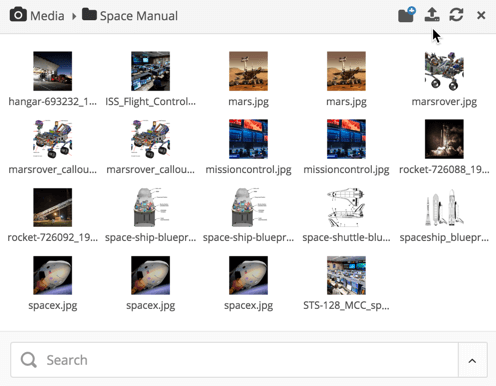
Note
If the image is not in the Media library yet, you can upload it directly in this dialog by using the upload icon in the top-right.
To find out more about uploading images, see Upload Images.
Select the image to insert it into your topic.
Repeat steps 4-6 inclusive for the other image.
Enter a caption for the figure in the
captionelement. You can delete thecaptionelement if you do not want a caption.Select Save.

Tip
By default, images will come out two in a row in HTML5 output. But you can easily change how these come out. For example, if you want more than two images to still appear in one row, and shrink to fit, you can do so with this in your custom CSS:
.flex-container{
    display: flex;
    width: 100%;
    justify-content: space-between;
    flex-wrap: wrap;
}.informalfigure .flex-item{
    width: auto !important;
    margin: 0px;
}.informalfigure .flex-item:last-child{
    margin-right: 0px;
}@media (min-width : 480px){
    .informalfigure .flex-item{
        width: 49% !important;
    }
}@media (min-width : 992px){
    .flex-container{
        flex-wrap: nowrap;
    }
    .informalfigure .flex-item{
        margin-right: 10px;
    }
}
This would make the side-by-side images use up the entire space, and all in one row. But if viewed on smaller devices, it will change to only two in a row for medium-sized, and finally to only one, so they are stacked on top of each other, for mobile devices.