Mixpanel Integration
Mixpanel is a product analytics tool that can help you monitor user activity on your HTML Paligo outputs. It provides data about visits to your documentation site and can be useful for identifying trends, such as high numbers of customers looking for help on certain subjects.
 |
To use Mixpanel with Paligo, you need:
A Mixpanel account
A Mixpanel project token. This is a key that you can find in the Implementation Options section when you first set up a Mixpanel project.

A Paligo HTML5 layout, such as the HTML5 help center, see Create a Layout.
To host your Paligo HTML5 on a web server so that it is available on the internet and can be monitored by Mixpanel.
When you have these, you can Connect Paligo to Mixpanel.
The Mixpanel integration is only available on HTML5 layouts.
To set up the Paligo-Mixpanel integration so that you can use Mixpanel to monitor your HTML5 output:
Select Layout in the top menu.

Paligo displays a list of Layouts. The list is empty if there are no custom Layouts in your Paligo instance.
Select the Layout you want to update or Create a Layout.
Tip
You can copy the URL of the Layout Editor and paste it into a new tab in your browser. This can be useful if you frequently switch between your Paligo content and the Layout settings.
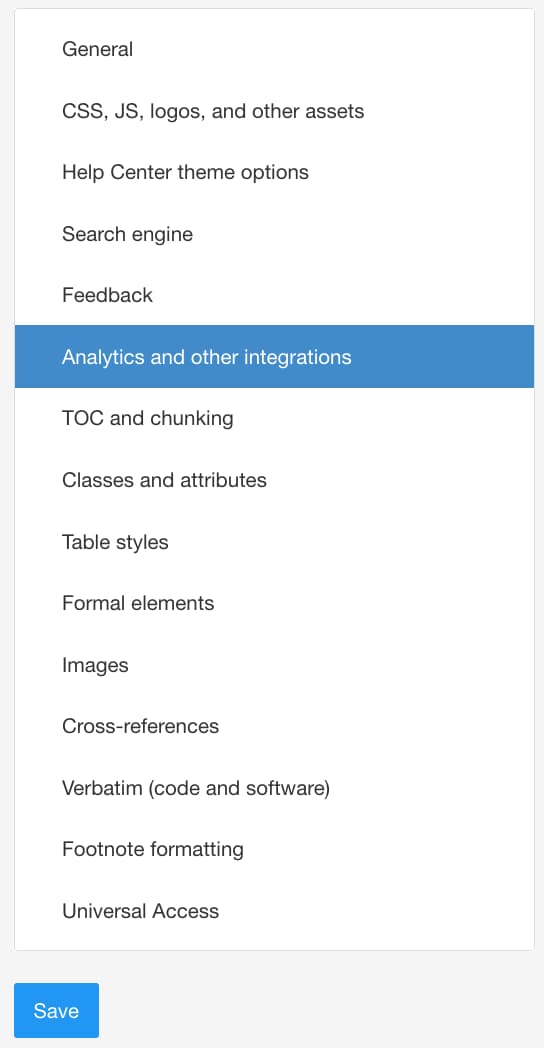
Select Analytics and other integrations in the sidebar.
Enable the Use cookie consent popup by setting it to Opt-out.
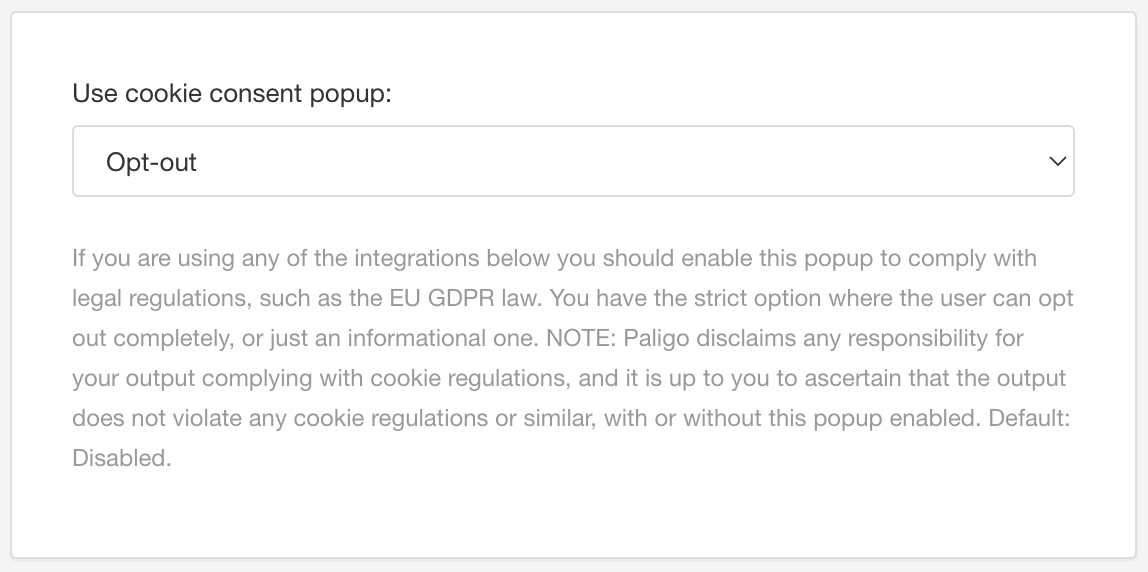
The Paligo-Mixpanel integration uses cookies.
Note
To learn more about the cookie consent banner, see Enable or Disable Cookie Consent Popup.
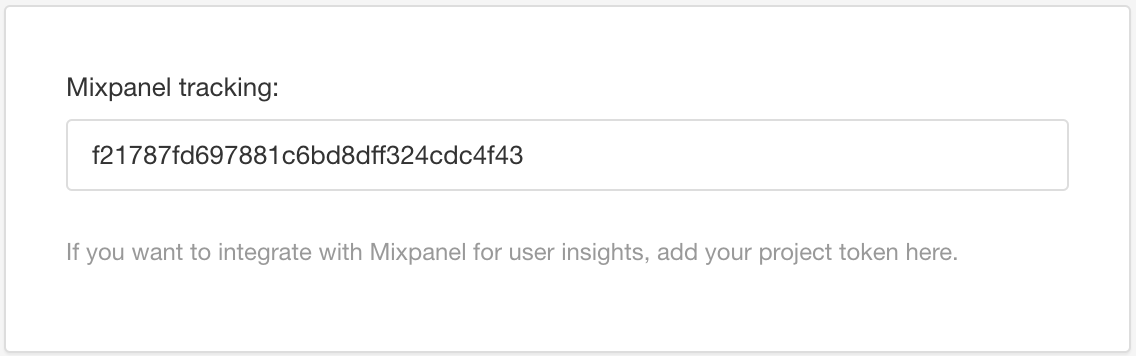
Enter the Mixpanel project token in the Mixpanel tracking field.
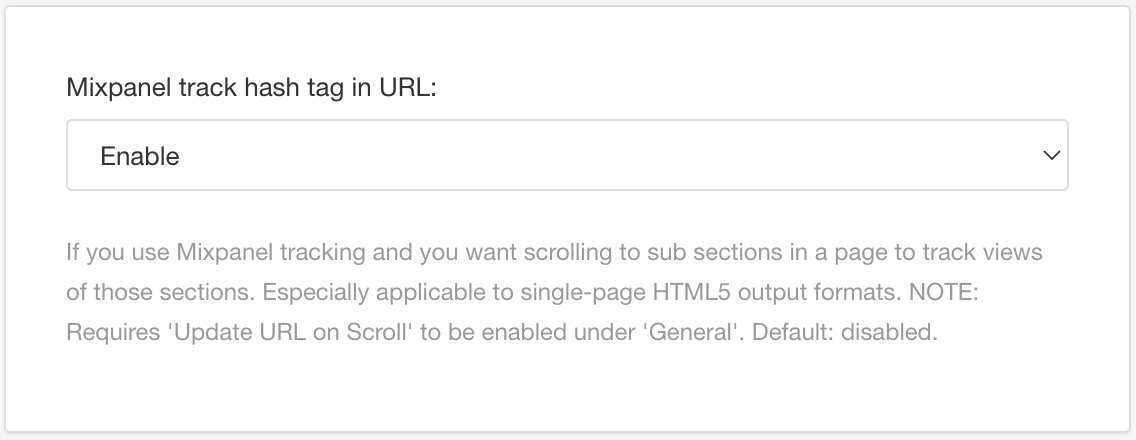
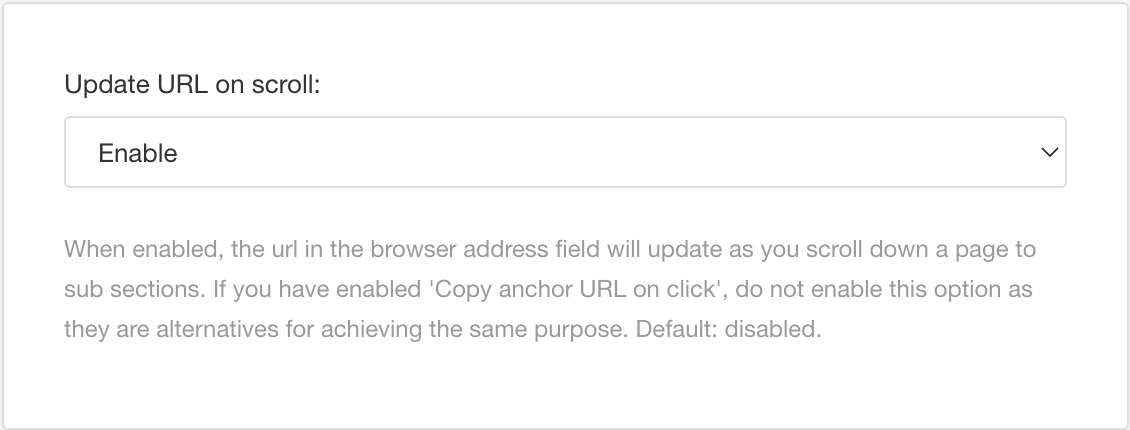
Enable Mixpanel track hash tag in URL if you want Mixpanel to track when the user scrolls down the page to read subsections.
Disable it if you only want to track top-level sections.
Select General in the sidebar.
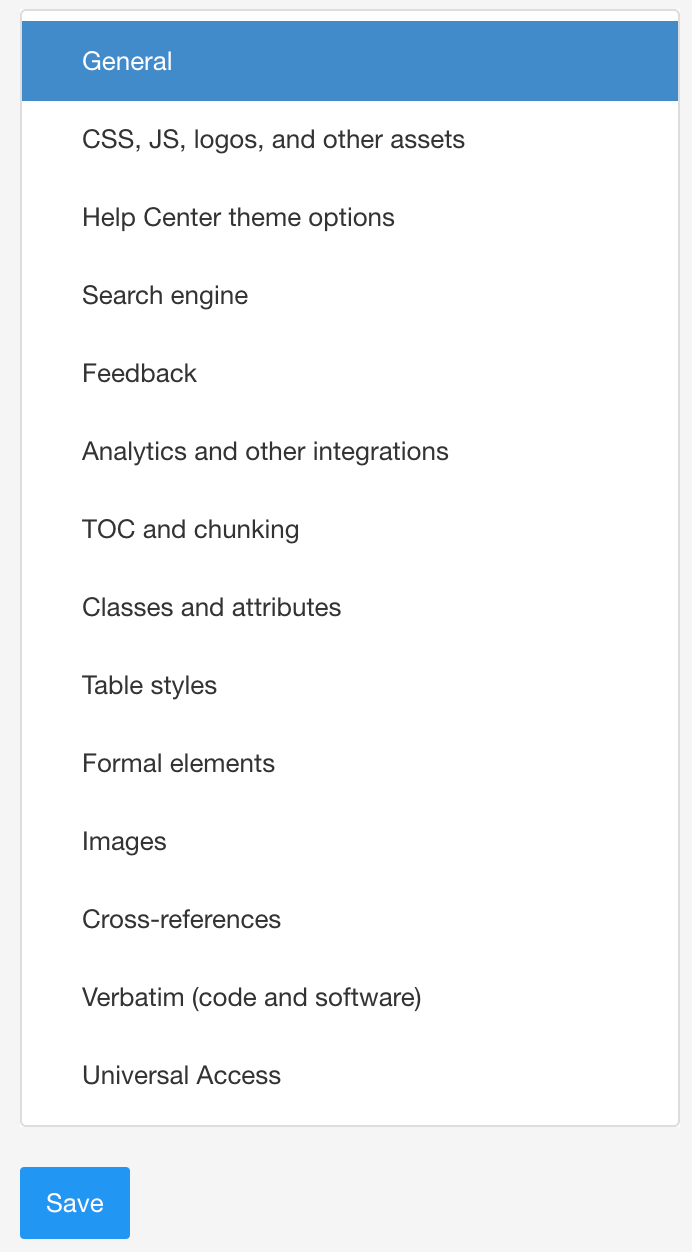
Enable the Update URL on Scroll to change the URL of the page when a user scrolls down to a subsection. Mixpanel can then track the change to the URL.
Note
This step only applies if you enabled Mixpanel hash tag in URL.
Select Save.
When you use this layout to publish your content, Paligo will include the Mixpanel project token in the output. This will allow Mixpanel to find and monitor your HTML5 documentation site when you host your output on a webserver and make it available online.
Note
If a visitor to your documentation website opts out of tracking cookies, their visit is not included in the unique visitors data in Mixpanel.