Enable or Disable Lightbox
To use Lightbox for Images you have to activate the feature in the Layout Editor. Lightbox can be used on Thumbnail Images as well as images resized with the width attribute. Click the image below to test this feature.
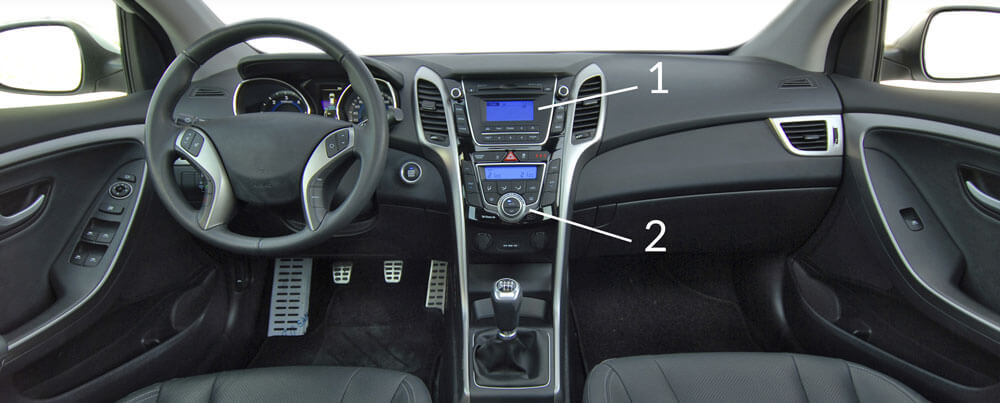 |
This image is resized with the width attribute and the value is set to 50%.
To enable or disable the Lightbox feature for all of the images in your HTML5 output:
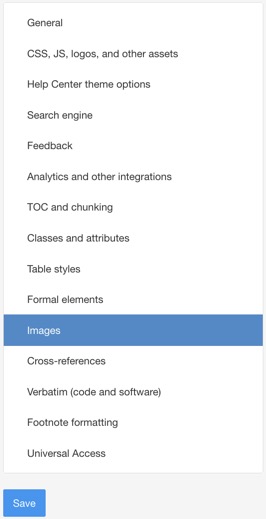
Select Layout in the top menu.

Paligo displays a list of Layouts. The list is empty if there are no custom Layouts in your Paligo instance.
Select the Layout you want to update or Create a Layout.
Tip
You can copy the URL of the Layout Editor and paste it into a new tab in your browser. This can be useful if you frequently switch between your Paligo content and the Layout settings.
Select Images in the sidebar.
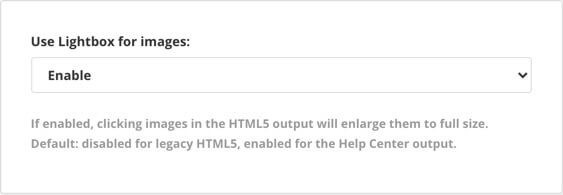
Set the Use lightbox for images to:
Enable if you want all block images to use the Lightbox feature.
Disable to turn off the Lightbox feature.
Note
If you enable the lightbox feature, you can either set all block images to use thumbnails or you can set thumbnails individually. To find out more, see Thumbnail Images.
Select Save.
Tip
The lightbox feature is also available for Zendesk outputs, but it is set up differently.
For Zendesk, Paligo has asset files that are included in the zip file that is downloaded in your browser when you publish. You can upload those asset files to the Assets section in Zendesk Knowledge and then add the following code to the Document head section:
<link href="{{asset 'lightbox.min.css'}}" rel="stylesheet" type="text/css" />
<script src="{{asset 'lightbox.min.js'}}"></script>
<script src="{{asset 'paligo-zd-lightbox.js'}}"></script>
You only need to do this once, the first time you publish to Zendesk, see Customize Zendesk Articles Using Javascript.