Custom Class Names for Images - Taxonomy Tag
To style an individual image or perhaps a selection of images, you need to give the image(s) a class name. The class name has to be different to the general mediaobject or inlinemediaobject that is assigned to all images by default. When the class name is in place, that class can be styled separately in your CSS.
One way to add a class name for an image is to use taxonomy tags:
Select Layout and then edit the HTML5 layout you are going to use for publishing. Alternatively, you can create a new HTML5 layout and edit that.
In the Classes and Attributes settings, set Output taxonomies as class names to Enable.
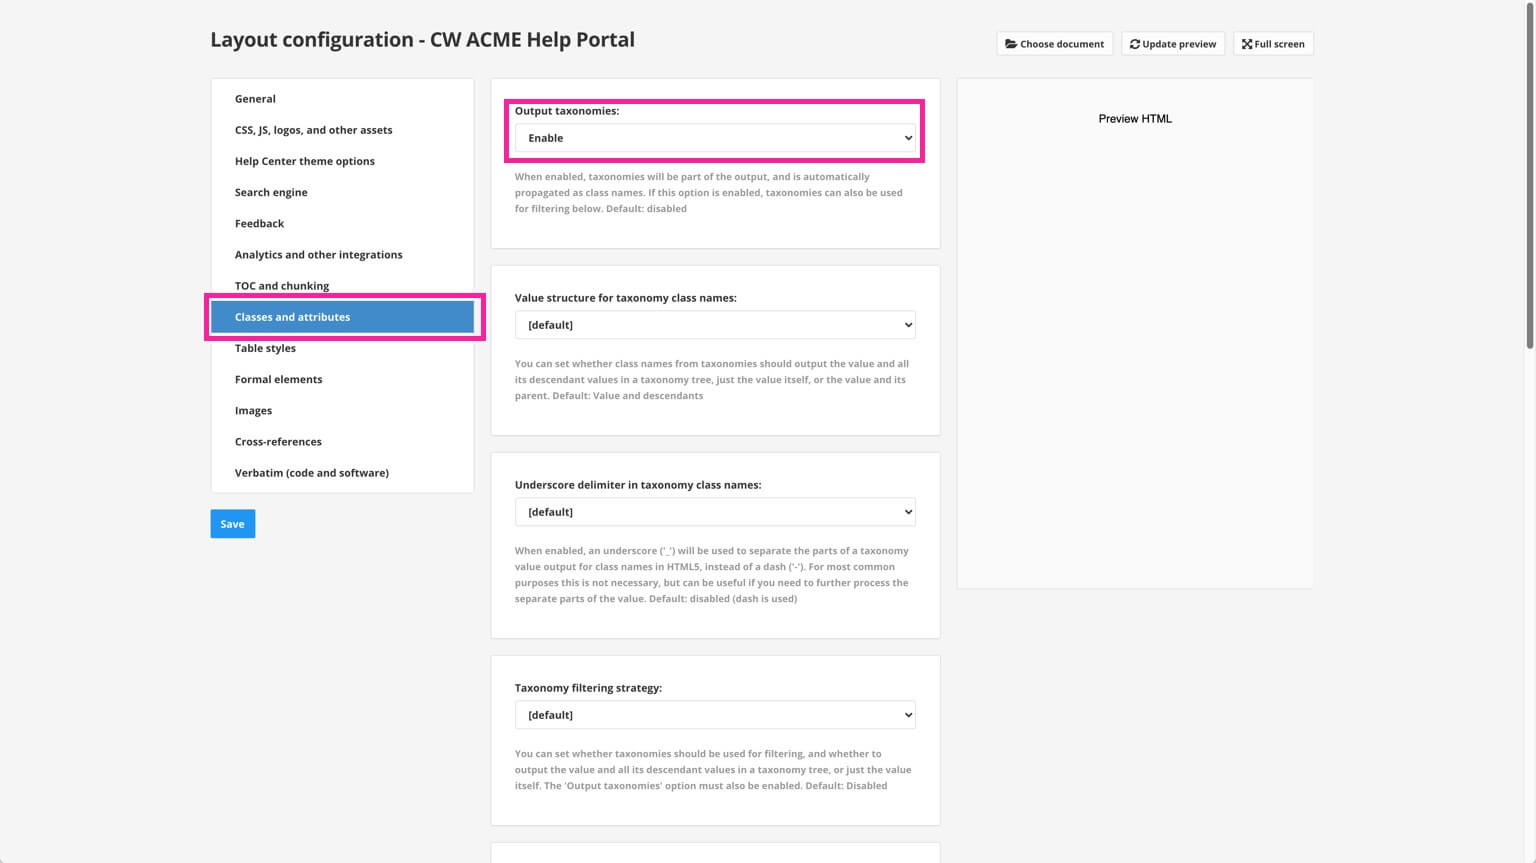
Select Save.
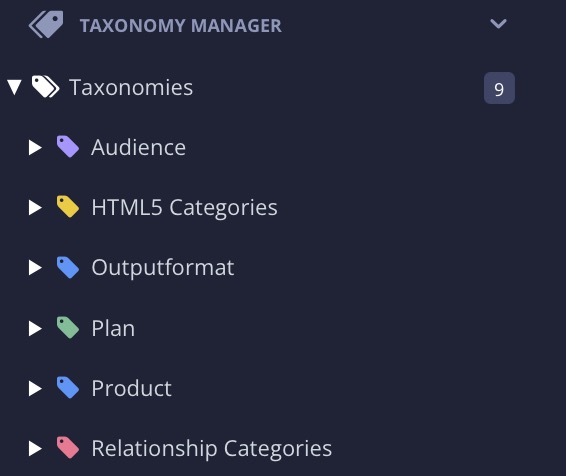
Select the Taxonomy Manager in the Content Manager to open the structure.

Either:
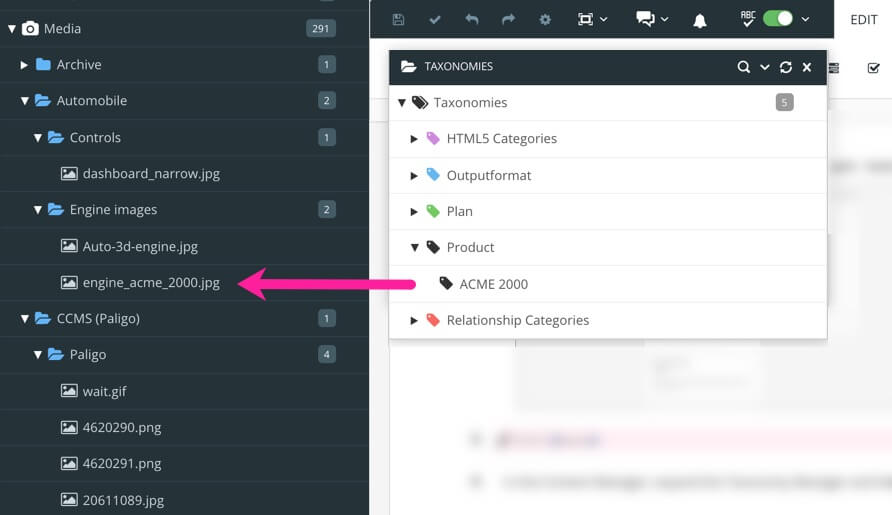
Find an existing taxonomy tag and drag it on to the image in the Media section of the content manager.
Create Taxonomy Tags and Apply Taxonomy Tags to Content by dragging it on to the image in the Media section of the content manager.
Tip
It can be easier to use the floating content panel when dragging taxonomy tags on to images. To display the floating content panel, select the options menu ( ... ) for the taxonomies tag and then select Floating content panel.
Publish your content using the HTML layout you edited in step 2.
View the published output in a browser. Use the browser's inspection tool to find the image in the HTML. You should see that it has a class name that matches the taxonomy tag.
Use a code/text editor to create a custom CSS stylesheet file (or edit an existing CSS file that you use for Paligo).
In the CSS, style the class that has been added for the image. For example, if you added a taxonomy tag called "battery", the image in your HTML output would have these elements:
<div class="mediaobject taxonomy-product-battery">
    <div class="material-placeholder">
        <img src="image/1602a53b445615.jpg" style="" alt="battery.jpg" class="materialboxed">
    </div>
</div>
So you could style the image by using a CSS selector to select the image inside the class .taxonomy-product-battery. For example, to give the image a blue dashed border, you could use:
.mediaobject.taxonomy-product-battery img {
    border: blue;
    border-style: dashed;
}
Save your CSS file and Upload Customized CSS.
Publish your content using the HTML layout that contains your custom CSS.
In the HTML output, the image should now be using the custom styling you defined in your CSS.