Create a Simple List
In Paligo XML (and DocBook), there is a simplelist element that you can use to create basic lists of words or phrases. They are especially useful for:
Listing items horizontally, without numbers or bullet points
Listing items vertically or horizontally across several columns, similar to a table.
To create a simple list:
Select the topic or component in the Content Manager to open it in the Editor.

Alternatively, you can Create a Topic and edit that.
In the topic, position the cursor where you want the simple list to appear.
Use the Element Context Menu to insert the
simplelistelement.When you add the
simplelistelement, Paligo automatically adds amemberelement inside it. Thememberelement is for the first item in the list.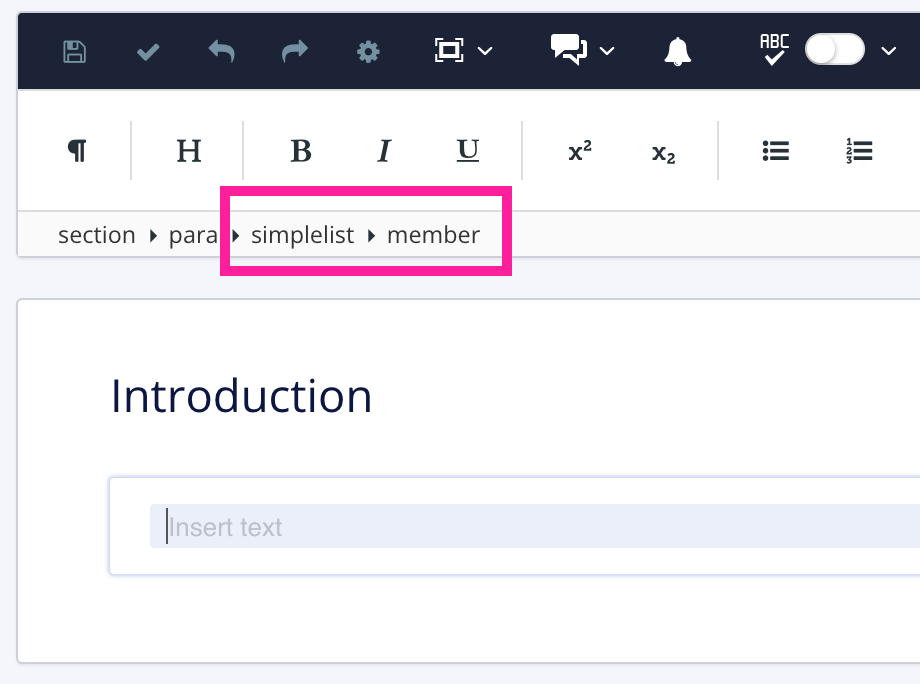
Enter the text for the first list item and then press Enter to create the next list item (
member).Enter the text for the next list item and press Enter.
Continue adding all of the list items you need. Do not press Enter after the last list item, otherwise you will get an extra
memberelement.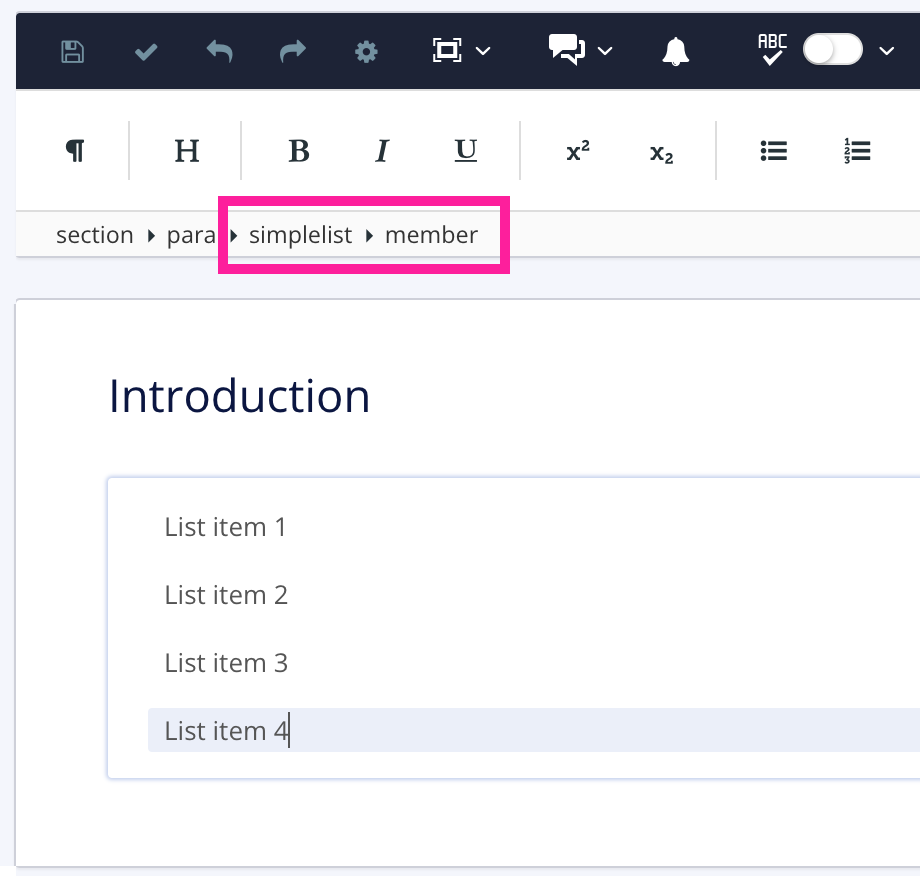
Tip
If you do get an extra
memberelement, select it, and then selectmemberin the Element Structure Menu at the top and then select Delete.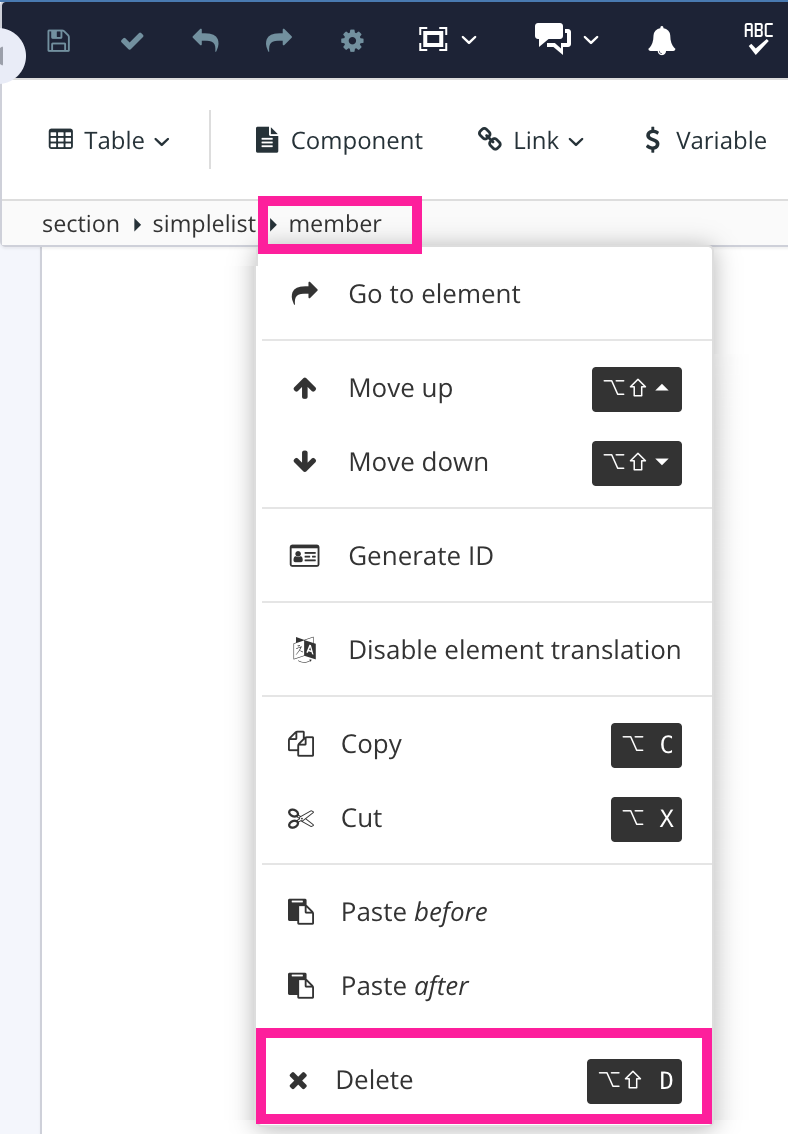
Select the
simplelistelement in the Element Structure Menu and then select Go to element.In the Element attributes panel, add the
typeattribute and set its value to:inline
To display the list inline, as regular text.
For example:
Content of member 1Content of member 2Content of member 3Content of member 4horiz
To display the list horizontally across a number of columns*.
For example:
Content of member 1 Content of member 2 Content of member 3 Content of member 4 vert
To display the list vertically across a number of columns*.
For example:
Content of member 1 Content of member 3 Content of member 2 Content of member 4
* You will set the columns in the next step.
This step only applies if you set the simple list's
typeattribute tohorizorvert.Select the
simplelistelement.In the Element attributes panel, give the
simplelistelement thecolumnsattribute.For the
columnsvalue, enter the number of columns you want the simple list to use.
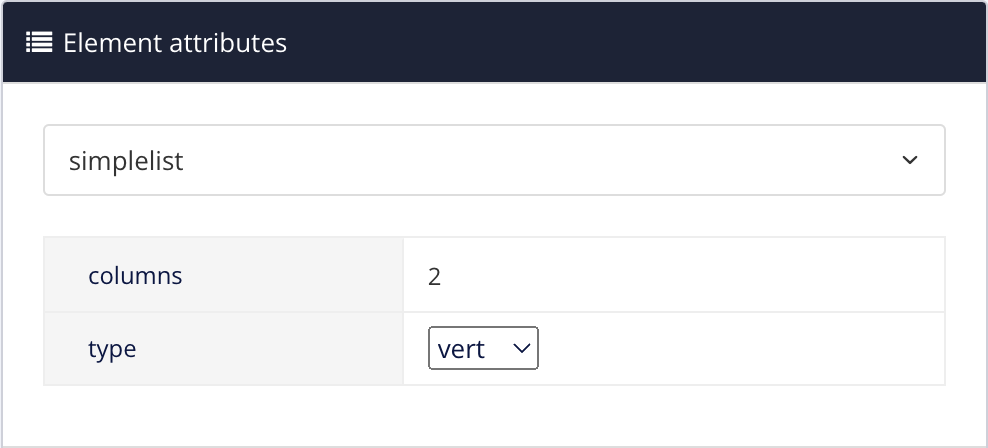
When you publish, Paligo will render the
simplelistso that it uses the number of columns you have set.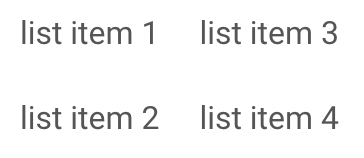
Select Save.
