Add Row or Column
To add a row or a column to a table:
Select the topic or component in the Content Manager to open it in the Editor.
Alternatively, you can Create a Topic and edit that.
Position the cursor in the row or column that is next to where you want the new row / column to be.
Right-click in the table to display the Table Context Menu.
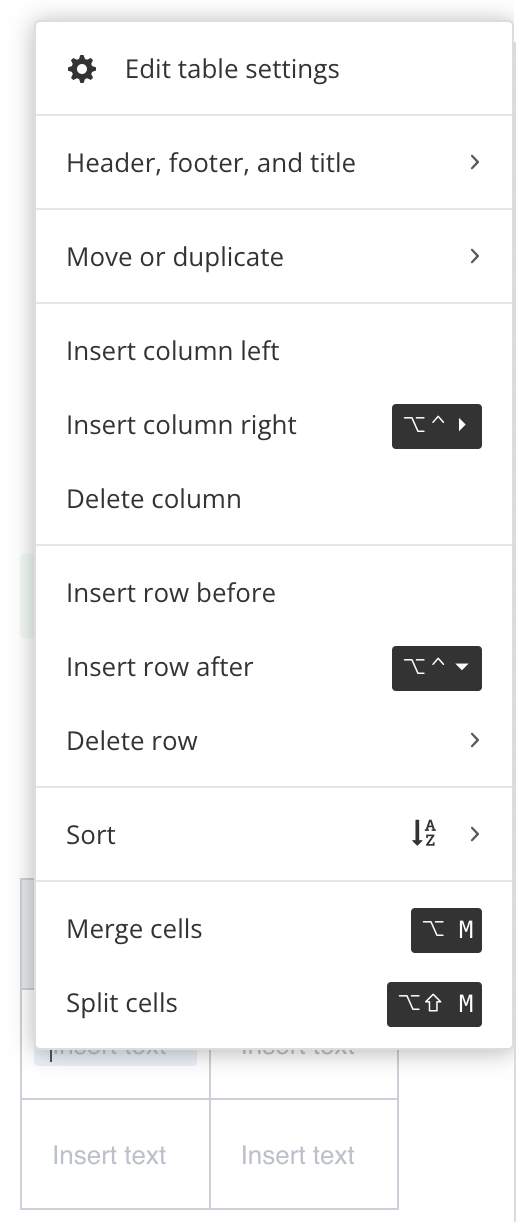
Select:
Insert column left - To add a column to the left of the currently selected column.
Insert column right - To add a column to the right of the currently selected column.
Insert row before - To add a row above the currently selected row.
Insert row after - To add a row below the currently selected row.
Paligo adds a new row or column.
Select Save.

Tip
To add many rows or columns at once, use the keyboard shortcuts:
Ctrl + Alt + arrow key (Windows)
For example, Ctrl + Alt + → to add a column to the right of the currently selected column.
Ctrl + Option + arrow key (Mac)
For example, Ctrl + Option + ↓ to add a row after the currently selected row.