Add Attributes
Attributes are used for many different purposes in Paligo, including applying filters to your elements to include or exclude content in different scenarios. Many attributes come from the DocBook standard, but there are some Paligo-specific ones too.
To add attributes to an element:
Select the element in the topic.
Place the cursor in the Element Structure Menu below the toolbar.

Note
When you select an element in the Element Structure Menu, Paligo highlights it in yellow.
Select the element and choose Go to element to show the attributes for this particular element.
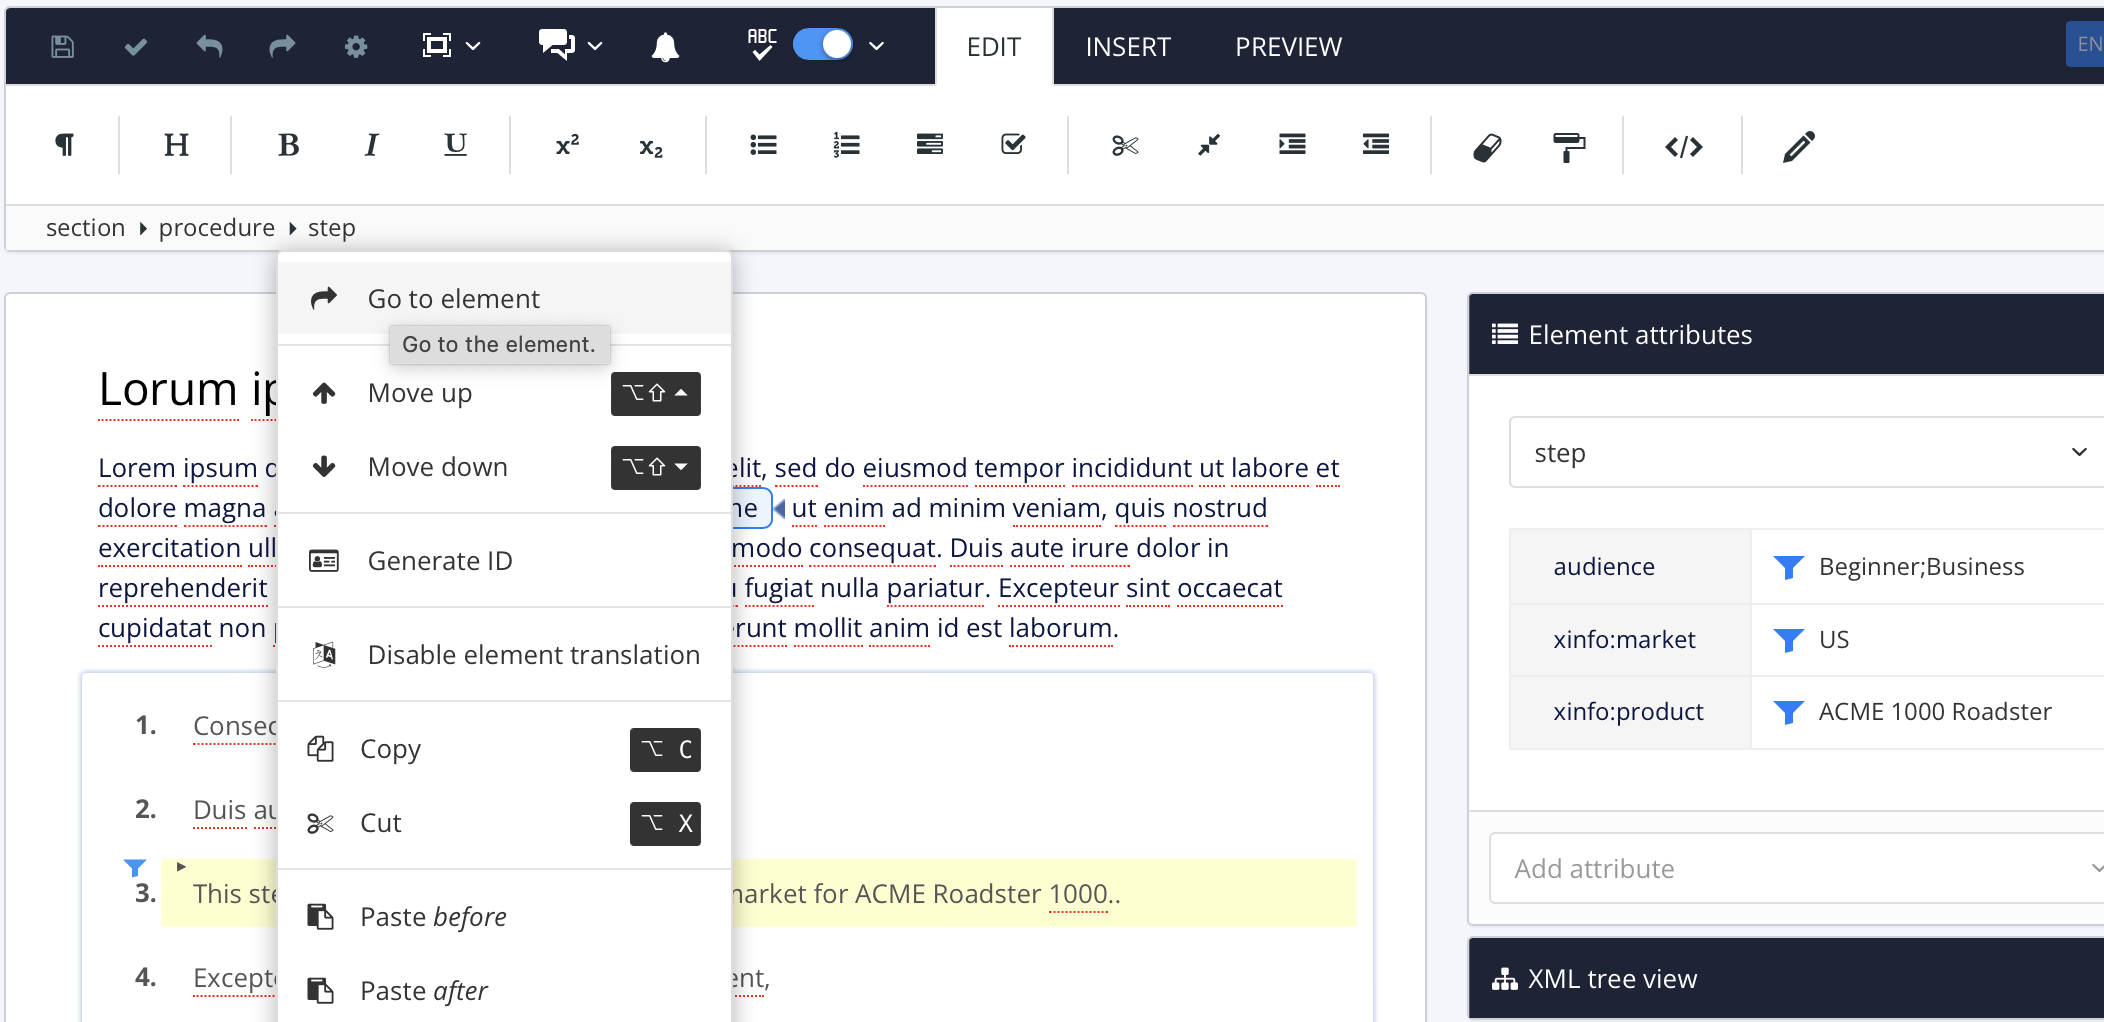
The Element Attributes Panel. now shows the attributes for the selected element.
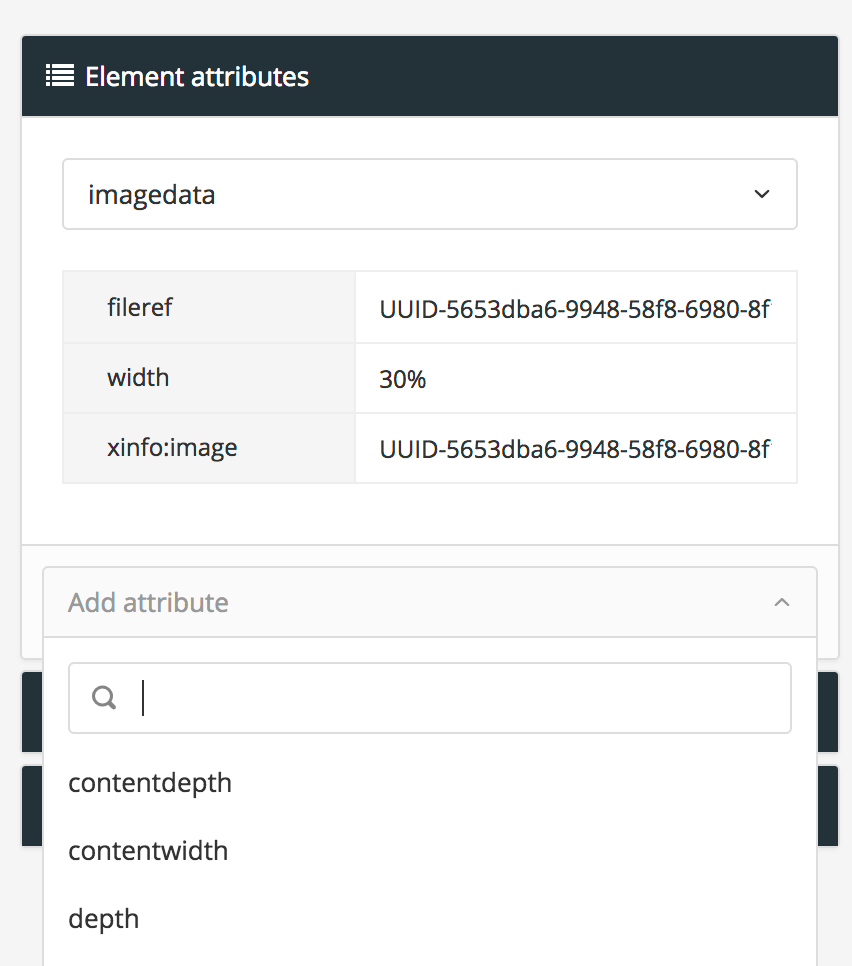
Use the Add attribute search to enter the name of the attribute or scroll through the available options.

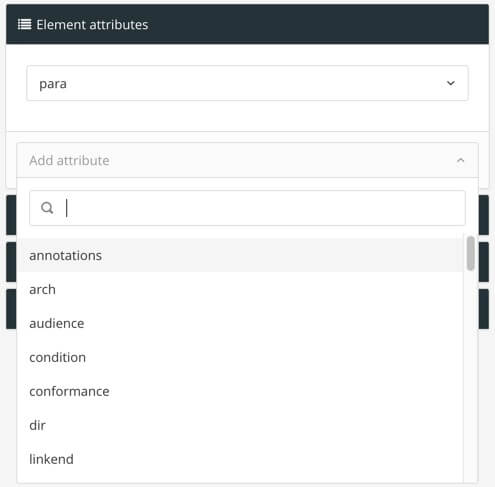
In the image above the attribute will be added to a
paraelement .Select the attribute to be inserted
.Note
You can only add attributes that are valid for the selected element.
Give the attribute a value. Depending on the attribute type:
Select a menu option.
Enter the value manually in a text-entry field.
Check a box in front of a profiling value (see Filter Attributes and Filter Values).
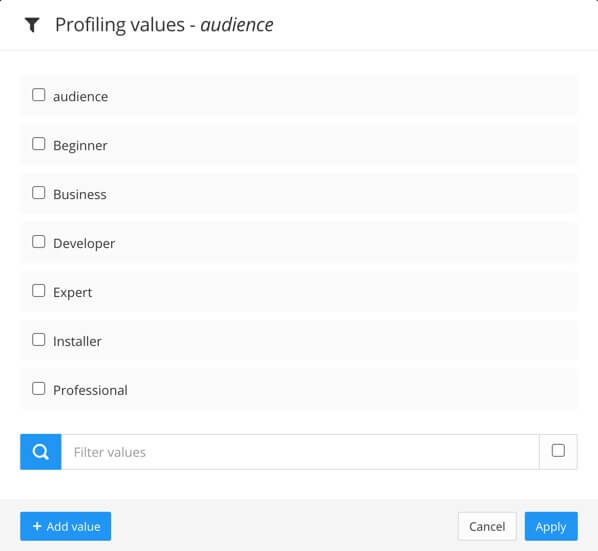
To the left - The attribute
widthhas a manually entered size value. To the right - The attributeaudiencehas a list of profiling values to choose from.Select Save.

Repeat this procedure for any other elements that need attributes.
Tip
To remove an element attribute, see Remove Attributes.
To update a profiling value for an attribute, see Remove Filters.