Add a Sequence of UI Options
Learn how to use the menuchoice element to add a sequence of options inside a single instruction. For example, "select → ".
When you are writing instructions, you may want to tell readers to select several options in a sequence. Paligo XML includes elements that are designed especially for this purpose.
You can either:
Insert a
menuchoiceelement as a container and then add the various user interface elements inside it.With this approach, Paligo will automatically insert an arrow symbol between the user interface elements in the sequence. For example:

Insert the user interface elements directly into a
para, without usingmenuchoice. Paligo will not generate an arrow icon, so you will need to add text between the user interface elements, for example:
Note
Inserting user interface elements directly into a para, without using menuchoice, can give a better user experience for screen reader users. (If you use menuchoice, screen readers may read out the user interface options and also the arrow symbol).
There are several user interface elements that you can use, including elements for menus, menu items, and keyboard shortcuts. We describe them in the following procedure. But it is up to you to decide how detailed you want your structure to be. You can take a purist approach and use all of the elements as intended, or a simpler approach where you use one element, such as guilabel, to represent all user interface options.
Select the topic or component in the Content Manager to open it in the Editor.
Alternatively, you can Create a Topic and edit that.
Find or add the paragraph that will give the instructions to select a sequence of options. Click in the paragraph at the position where you want the sequence to appear.
If you are going to use the
menuchoiceelement so that Paligo automatically includes an arrow icon between UI elements, continue from step 4.If you are not going to use the
menuchoiceelement and are going to insert the UI elements directly into the paragraph instead, continue from step 5.Press Alt + Enter ⏎ (Windows) or Command ⌘ + Enter ⏎ (Mac) to display the Element Context Menu.
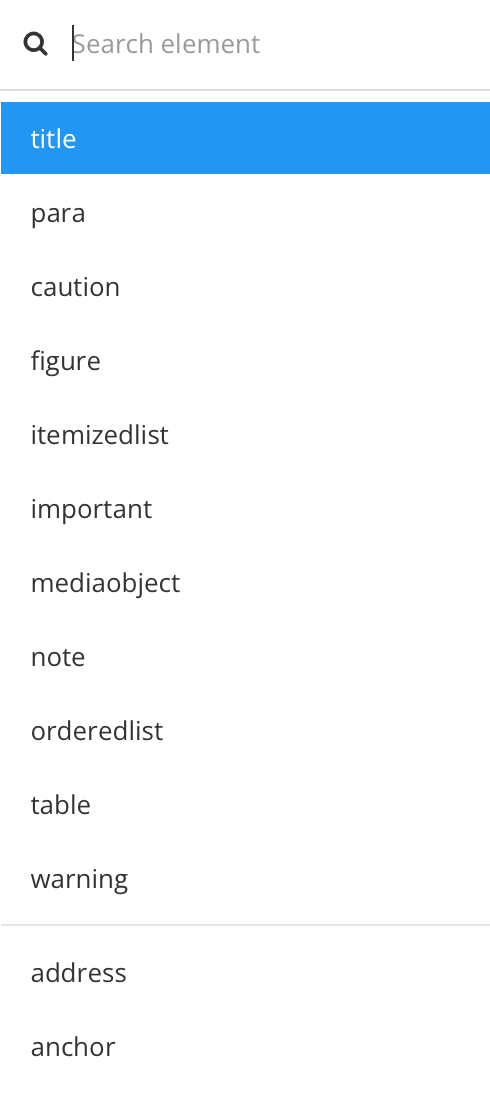
Enter
menuchoiceelement and add it.Click in the "parent" element:
If you are using the
menuchoiceelement, click in themenuchoiceelement you added in step 4.If you are not using the
menuchoiceelement, click in theparaelement you selected in step 3.Use the element context menu to add one or more of the following user interface elements:
guilabelUse to contain the name of a label. When you have added the element, enter the name inside it.
guibuttonUse to contain the name of a button. When you have added the element, enter the name inside it.
guiiconUse to contain the name of an icon. When you have added the element, enter the name inside it.
guimenuUse to contain the name of a menu. When you have added the element, enter the name inside it.
guimenuitemUse to contain the name of a menu option. When you have added the element, enter the name inside it.
guisubmenuUse to contain the name of a submenu. When you have added the element, enter the name inside it.
shortcutUse to contain keyboard shortcut details. When you add the shortcut element, you can add keyboard shortcut elements inside it, including
keycap,keycombo, andkeysymfor keyboard keys andmousebuttonfor mouse actions.To learn more about these elements, see the DocBook 5.2 standard (they are listed as children of shortcut).
Repeat the previous step until you have created the structure for every option in the sequence.
Select Save.

You can then publish your content.
Note
To style the user interface elements, use CSS for HTML outputs and the PDF layout editor options for PDF.
For details, see:
Let's say you want to add an instruction that tells users to select a File menu and then a Save option inside that menu. You also want a paragraph that tells them how to use a keyboard shortcut as an alternative.
When you publish, it will look something like this:

Paligo adds the arrow between File and Save automatically, as the structure is set up to use the menuchoice element.
The underlying XML for this is as follows:
<para>When you have completed your design, select
    <menuchoice>
        <guimenu><emphasis role="bold"><emphasis>File</emphasis></guimenu>
        <guimenuitem><emphasis role="bold"><emphasis>Save</emphasis></guimenuitem>
    </menuchoice>.
</para>
<para>Alternatively, use the keyboard shortcut:
    <menuchoice>
        <shortcut>
            <keycombo>
               <keycap>Alt</keycap>
               <keycap>S</keycap>
            </keycombo>
        </shortcut>
    </menuchoice>
</para>
So to create it in a topic, you add two para elements for each paragraph.
Inside the first para, you add the text that comes before the menu name and menu option. You then add the menuchoice element as the container and inside that, the guimenu and guimenu item elements. You enter "File" in the guimenu and "Save" in the guimenuitem. As these are not styled as bold automatically by Paligo, you also use the bold toolbar icon on "File" and "Save". In the code, this adds emphasis role=bold to those words.
Inside the second para, you add the text that comes before the keyboard shortcut. You then add the menuchoice element as the container. Inside menuchoice, you add a shortcut element, and inside that keycombo. Inside the keycombo, you add two keycap elements, one for each key that needs to be pressed. Finally, you enter the text for the keys inside the keycap elements, in this case, Alt and S.