Prepress
Before a publication is ready for printing, its PDF layout might need to be prepared with settings for crop marks. Several factors might affect the crop mark settings (like the paper stretch). An even border around is more important than an exact size. To avoid getting a bit of a crop mark in the finished product, position the crop marks outside the bleed area. Consult your printshop to get the correct settings.
The trimmed page edge is the page size specified by the stylesheet parameters page.height and page.width. The crop marks are drawn outward from those corners.
If you set the Crop mark bleed to 0pt, then the two crop marks will meet at each page corner, extending outward from the corner to a distance equal to the Crop mark offset. However, it is not a good idea for the crop marks to meet at the corner, because if a sheet is positioned slightly off at trim time, part of the crop mark will show. If you specify a bleed distance, much of the line will be hidden, so the crop marks will no longer meet at the corner. It shortens the displayed crop mark line by that amount, without moving its outer end.
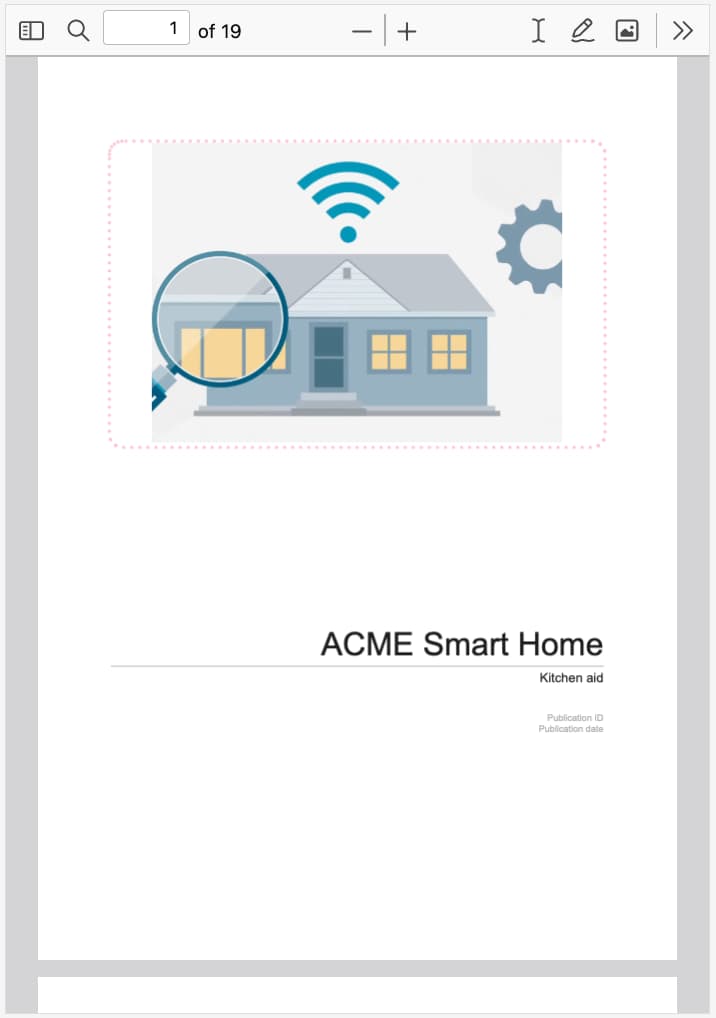
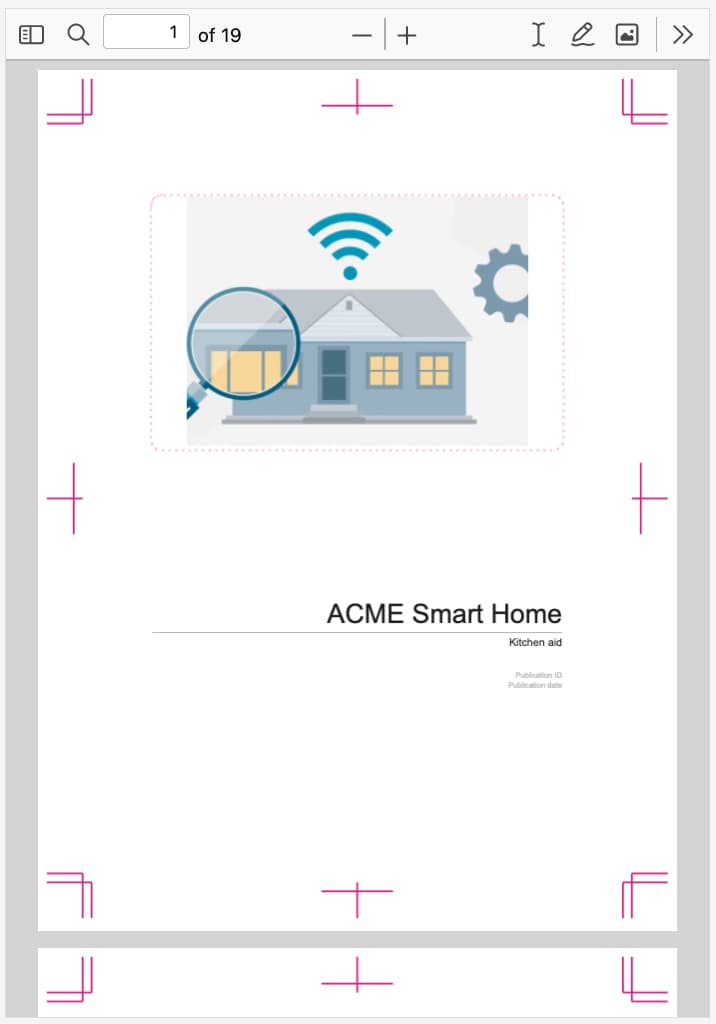
To the left a layout without crop marks. To the right a layout with crop marks activated.
To prepare your layout with crop mark settings:
Select Layout in the top menu.

Paligo displays a list of Layouts. The list is empty if there are no custom Layouts in your Paligo instance.
Select the Layout you want to update or Create a Layout.
Tip
You can copy the URL of the Layout Editor and paste it into a new tab in your browser. This can be useful if you frequently switch between your Paligo content and the Layout settings.
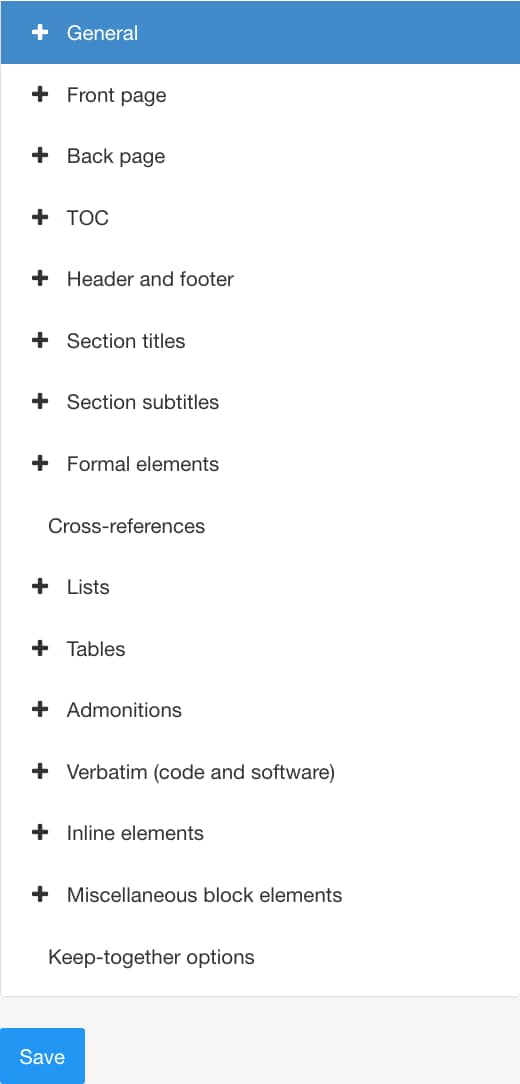
Select General in the sidebar.

Select Prepress.
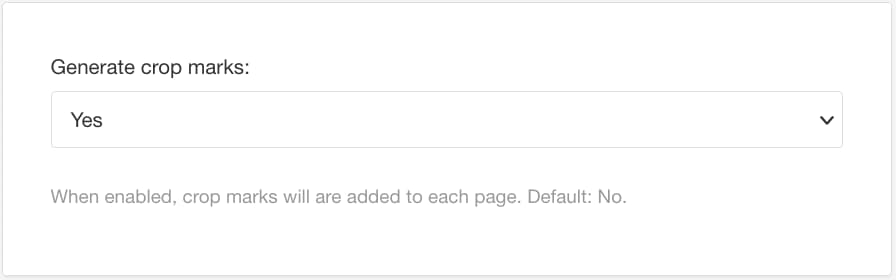
Select Yes to activate Generate crop marks.
Adjust the thickness of the crop mark lines in Crop mark width.
Adjust the distance from the trimmed page edge to the outer end of a crop mark in Crop mark offset.
A zero offset makes it almost impossible to trim at the proper size and not get a bit of crop mark in the finished product. The offset should be at least the same amount as the bleed. Preferably, you position the crop marks outside the bleed area. The default value is 24pt.
Adjust the distance from the trimmed page edge to the inner end of a crop mark in Crop mark bleed.
Bleed is a safety margin that prevents visible errors when cropping or punching. The default value is 6pt.
Select a Mark type from the menu.
 Crop - Two 90 degree angles (crop mark bleed and crop mark offset) in each corner.
 Crop-trim - Crop mark offset in each corner.
 Cross - Crop mark bleed and crop mark offset in the middle of each outer side.
 Cross-circle - Crop mark bleed and crop mark offset within a circle centered on each outer side.
 Cross-registration - Crop mark bleed and the crop mark offset within two circles centered on each outer side.
Crop cross - Combine crop and cross.

Crop cross-circle - Combine crop and cross-circle.

Crop cross-registration - Combine crop and cross-registration.

Crop-trim cross - Combine crop-trim and cross.

Crop-trim cross-circle - Combine crop-trim and cross-circle.

Crop-trim cross-registration - Combine crop-trim and crop-registration.

Adjust Printer mark line color. Default is black.
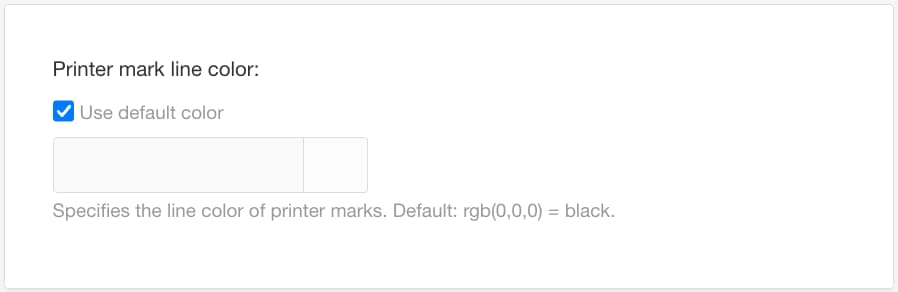
Clear the Use default color checkbox to select a color of your own choice.
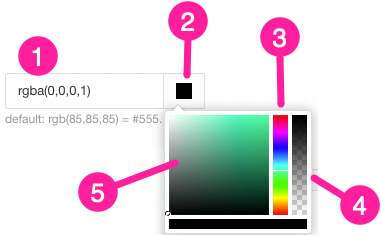
Set the color either by:
Entering an RGBA code for the color you want (1).
Selecting the Color square to display the color selector (2).
Choose the color with the spectrum bar (3).
Control the transparency with the opacity bar (4).
Choose the color shade with the main color panel (5).
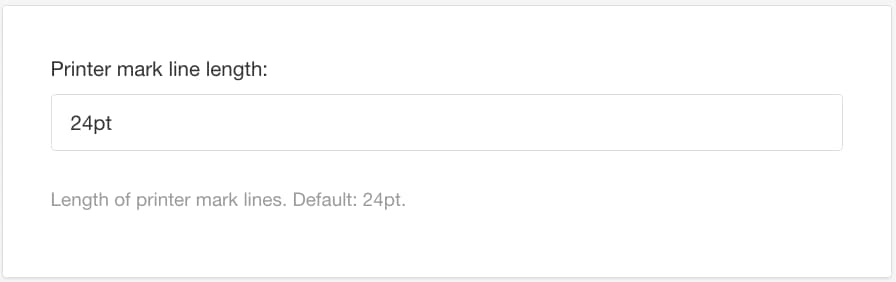
Adjust the length of the crop marks in Printer mark line length.
Select Save.