Create Subsections in the Publication Structure
You can use the publication structure to create subsections. When you publish, Paligo will automatically create the same structure in the output.
Create all of your sections and subsections as separate topics. For example, if you have an Introduction topic and you want it to contain a References subsection, create one topic for Introduction and one topic for References.
Open the publication structure.
Drag your topics into the structure. You can create subsections by dragging the topics left and right below other topics.
For HTML outputs only, select Layouts and edit the layout you will use for publishing. In the Toc and chunking settings, use Chunk section depth to control whether topics become subsections. The default setting is 3, which means any topics at level 4 or below in the publication structure will become subsections of the level 3 topics.
Note
If a topic is set to have
xinfo:chunk=yes, it will always be on its own page, even if it is at a lower level than the Chunk section depth. (see Use Chunking to Control Subsections)Publish your content.
For PDF outputs, the subsections are shown on the same page as the main section, where space allows. They are set as subsections with lower heading levels automatically.
For HTML outputs, Paligo displays each topic on its own page until the Chunk section depth is reached. Topics at a lower level then become subsections, unless they are specifically set to be separate chunks (see Use Chunking to Control Subsections).
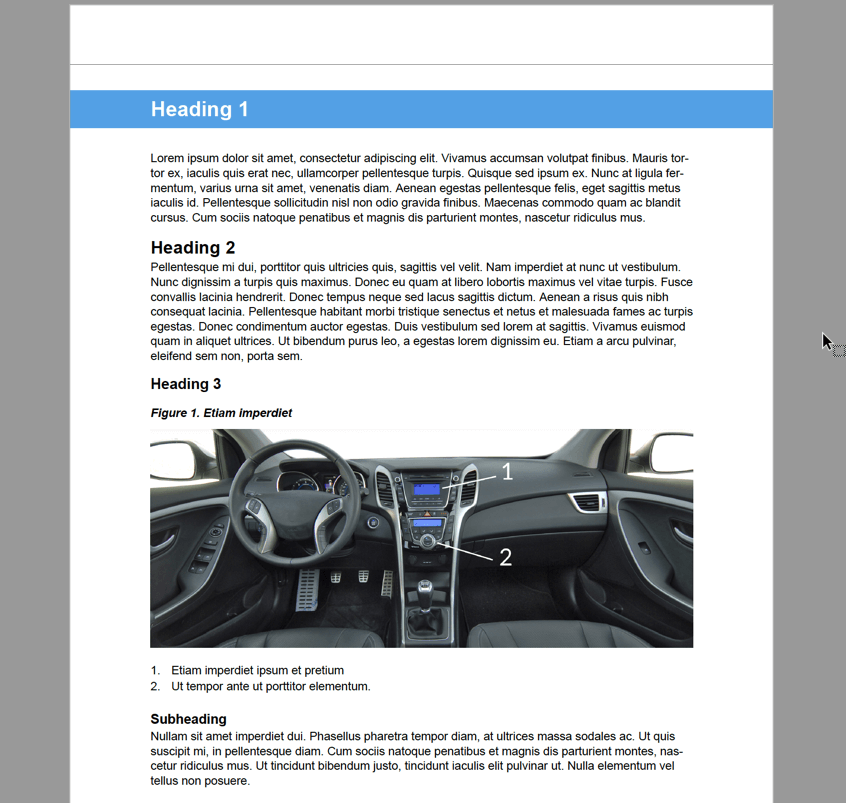
In this example, we have three topics. To keep the explanation simple, we have named them "Heading 1", "Heading 2" and "Heading 3".
In the publication structure, "Heading 1" is set as the top-level topic and "Heading 2" and "Heading 3" are nested as subsections below "Heading 1".
 |
We publish to PDF.
Paligo detects the hierarchy of topics in the publication and recreates it in the PDF output. The "Heading 2" and "Heading 3" topics appear as subsections of the "Heading 1" topic.
 |