Apply Publishing Filters
When you publish your content, you can choose which Filter Attributes to apply to the output. There is a field for each profiling attribute and you can set one or more values. Note that filter attributes are also known as profiling attributes.
If you choose a single value, Paligo will:
-
Include any content that has the filter attribute and the value you defined (for that filter attribute)
-
Include any content that does not have the filter attribute
-
Exclude any content that has the filter attribute, but with a different value.
If you choose multiple values, the filter works as an OR filter. Paligo will then filter like this:
-
Include any content that has the filter attribute and any of the values you defined (for that filter attribute)
-
Include any content that does not have the filter attribute
-
Exclude any content that has the filter attribute, but with a different value to the ones you defined.
When you apply filtering, it is important to understand the "inclusive" filter behavior we have described. Also, be aware that each filter attribute is handled separately. Choosing a value for one filter attribute does not mean Paligo automatically applies the same value for other filter attributes. The example at the end of this article shows how you can include and exclude content with filters.
To apply publishing filters:
-
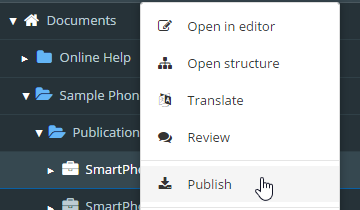
Select the dotted menu (...) for the topic or publication in the Content Manager.
-
Select Publish.
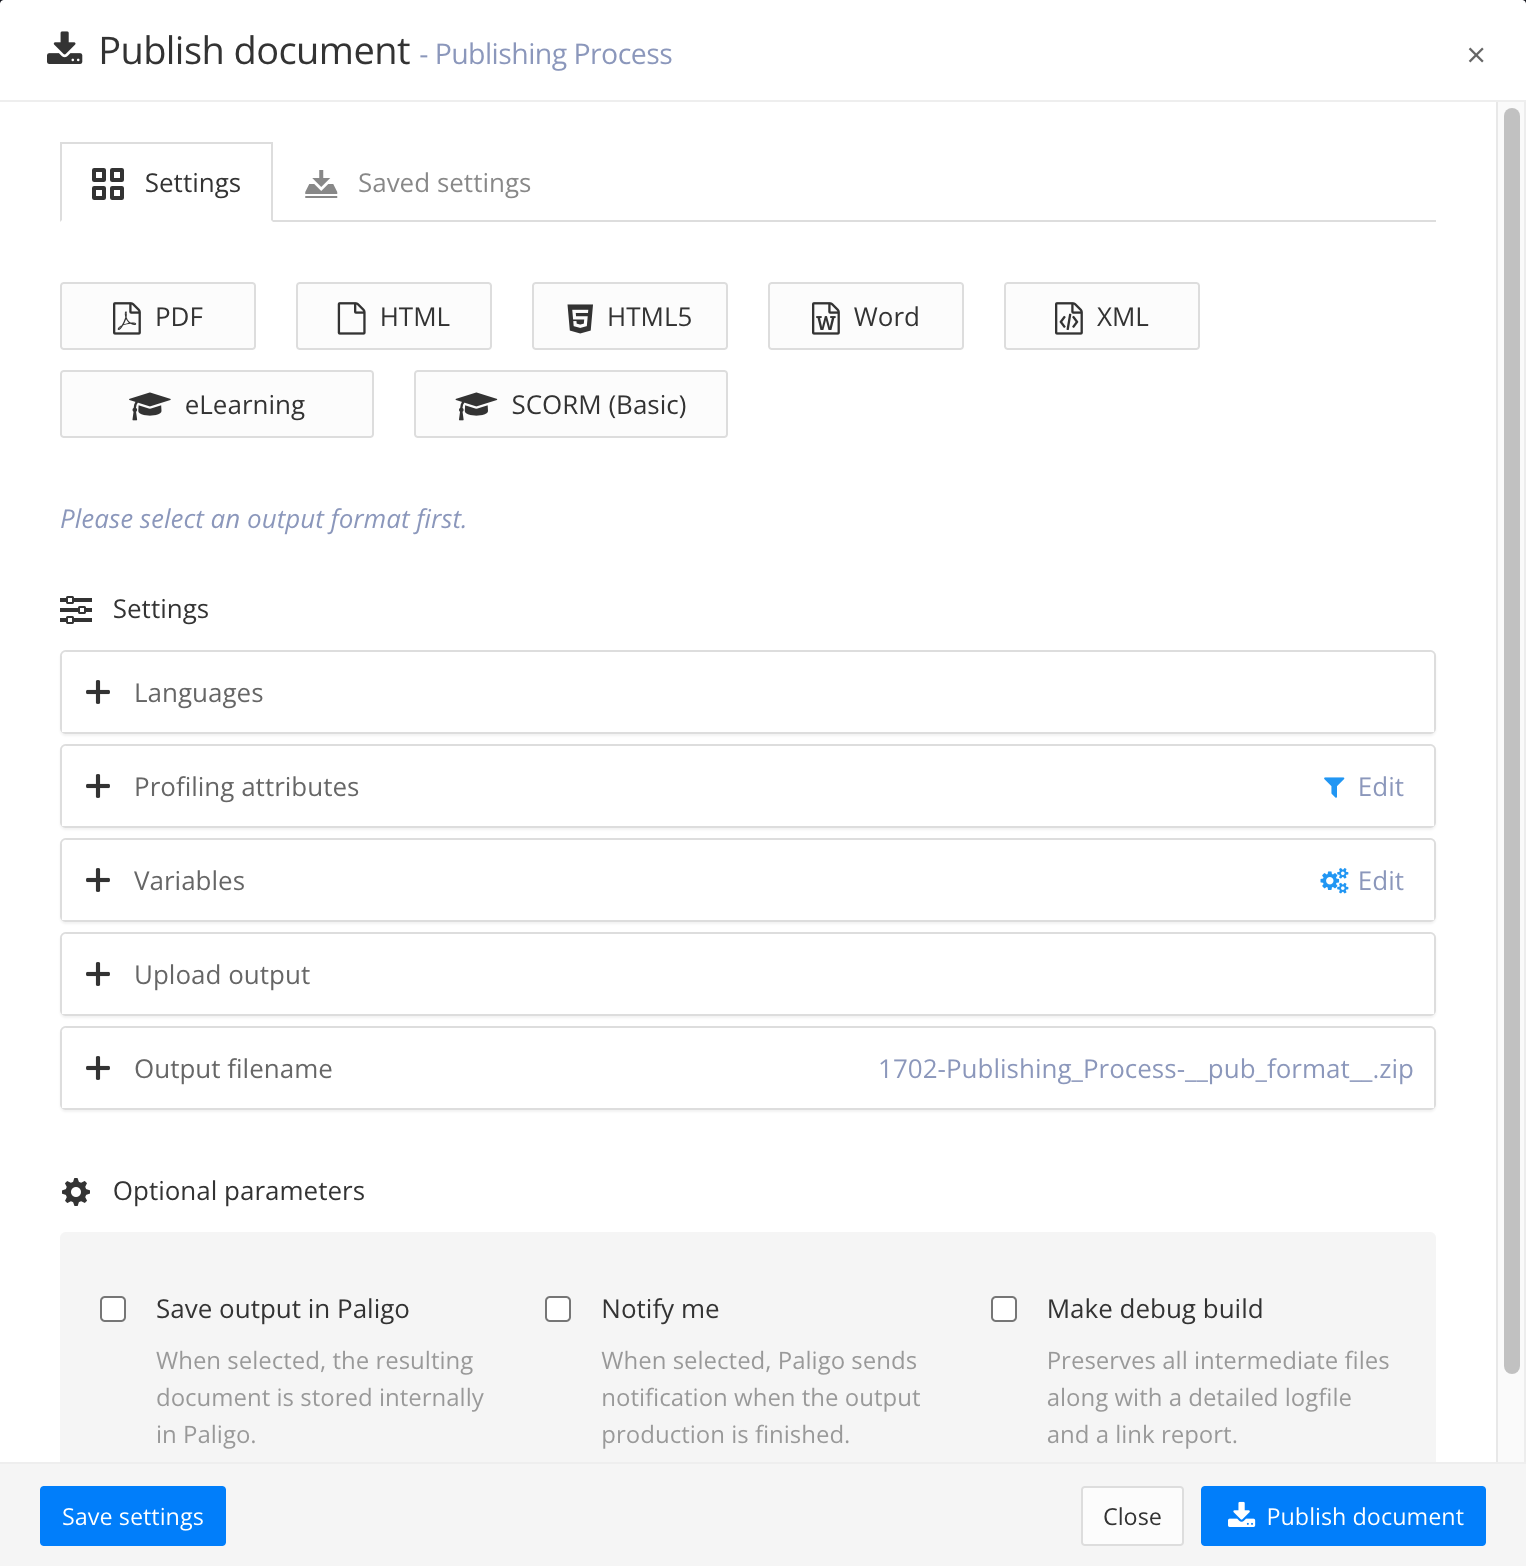
Paligo displays the Publish document dialog.
-
Select an Output type (PDF, HTML, HTML5, Word, XML, eLearning or SCORM).
-
Set the Languages, Variables and Optional Parameters.
Tip
These are common publishing settings, see Publish Content.
-
Select Edit in the Profiling attributes section.

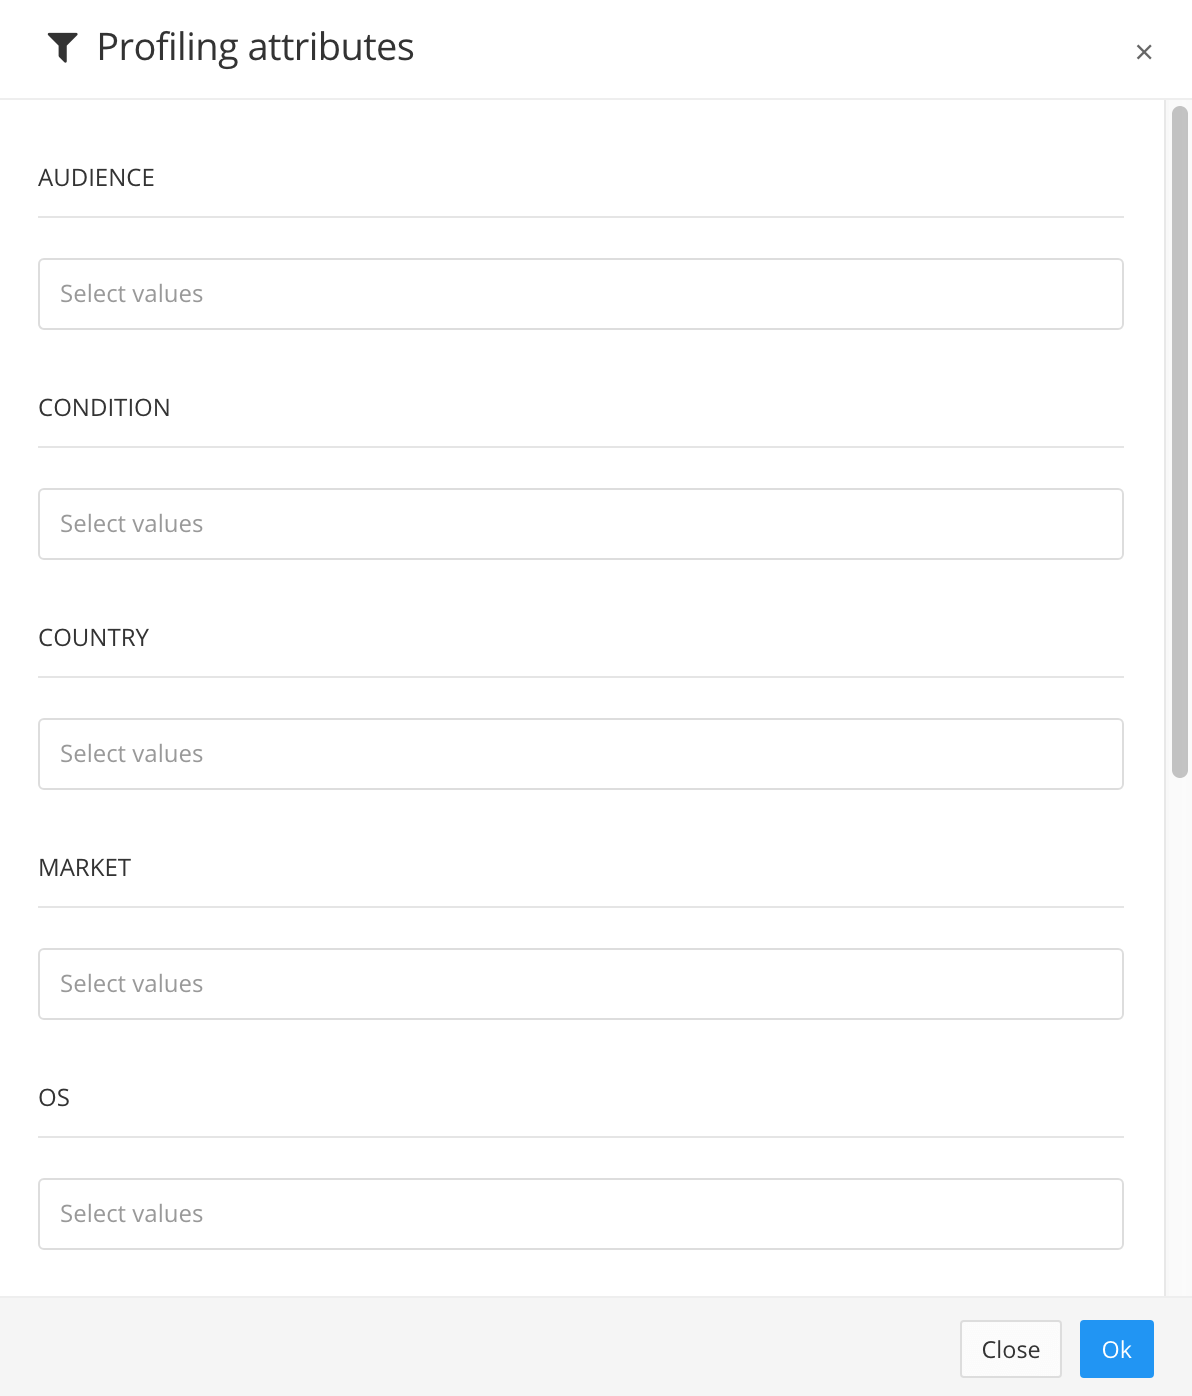
The Profiling attributes dialog contains a field for each available filter attribute.
-
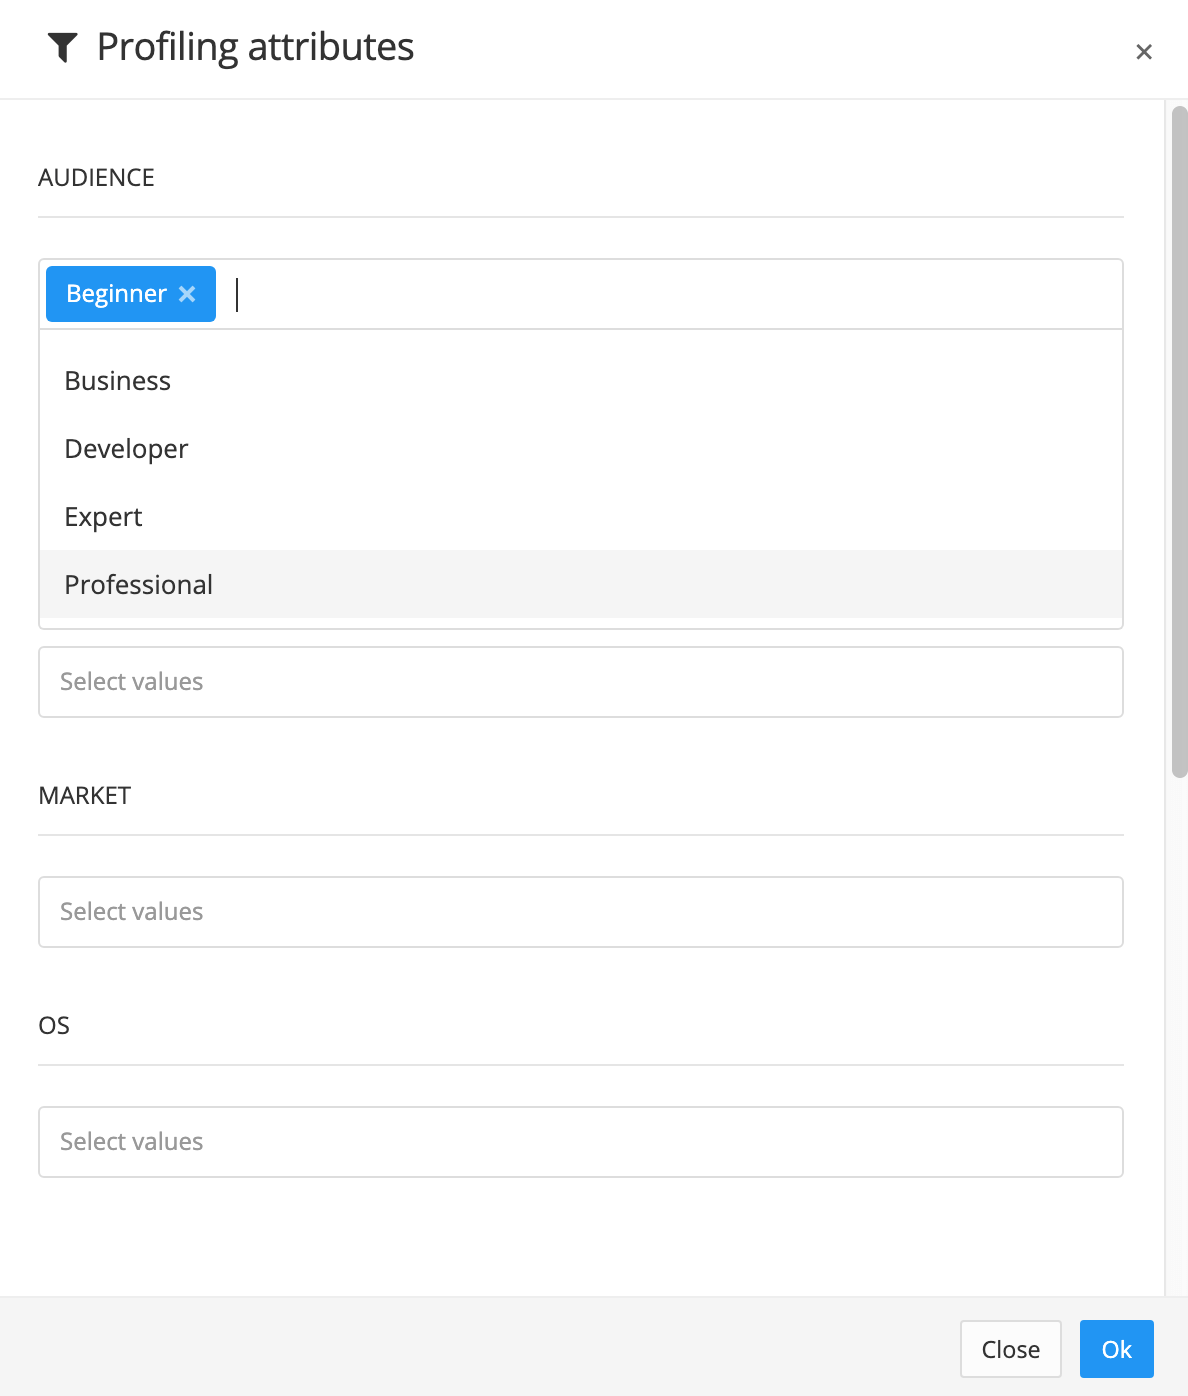
Decide which filter attributes and values you want to apply to your publication. Then, for each filter that you want to use, select the profiling value from the menu.
To learn how to create more profiling values, see Create Profiling Values.
Note
If there are any filter attributes that you do not want to use, leave their fields blank. When there is no attribute set, Paligo ignores that type of filter.
-
Repeat steps 5 and 6 for each profiling attribute you want to apply.
-
Select OK.
-
Select Publish document to publish your content.
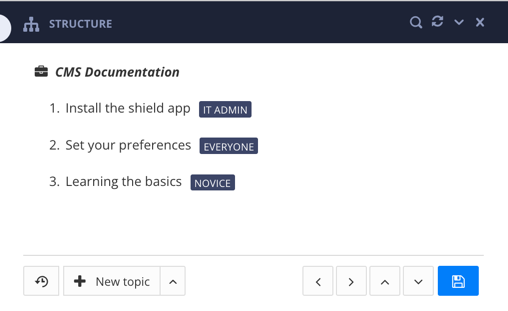
Let's say you have a publication with these topics:
 |
-
Install the shield app
This topic is only for IT admin users.
-
Set your preferences
This topic is suitable for all users.
-
Learning the basics
This topic is only for beginner users.
You want to publish a help center designed for IT admin users. For this, you need to include "Install the shield app" and "Set your preferences" but exclude "Learning the basics". To make this possible, you add the audience filter attribute to the section element in the appropriate
topics, and set the values as follows:
-
You give "Install the shield app" the
audienceattribute on thesectionelement. You set the attribute value to:IT admin(you add a value with this name).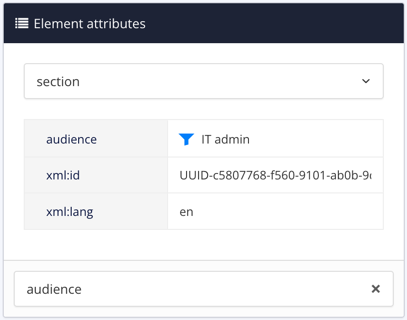
-
You leave "Set your preferences" with the default settings. It does not need an
audienceattribute as this content is suitable for all users. -
You give "Learning the basics" the
audienceattribute and set its value toNovice. Again, you add a value with this name and the attribute is on thesectionelement.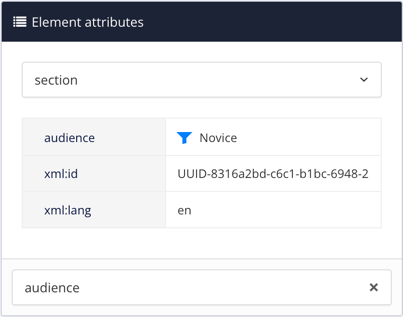
You then publish your content. In the publishing settings, you apply the audience filter and you choose the IT admin value.
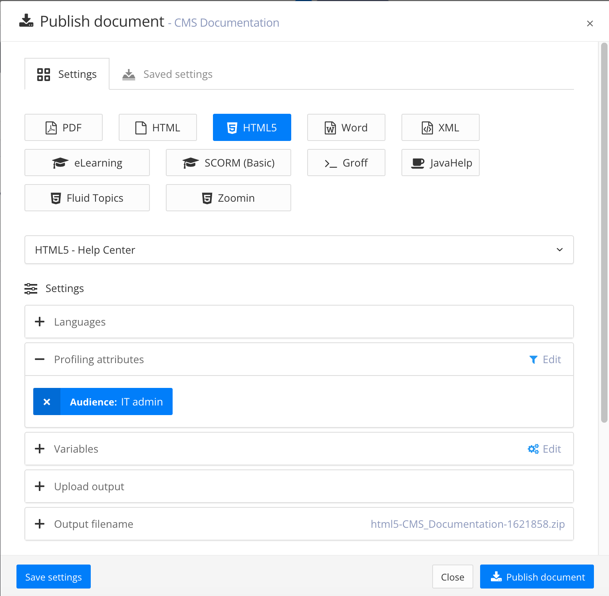 |
When Paligo generates the output, it:
-
Includes "Install the shield app" as it has audience:IT admin. You chose to use content that has the audience filter attribute with the admin value.
-
Includes "Set your preferences" as this does not have the audience filter attribute. By default, Paligo includes any content that does not have the filter attributes you chose to use.
-
Excludes "Learning the basics" as it has the filter attribute, but it does not have admin as the value. Instead it has novice, which does not match your filter criteria, and so the content is excluded.
 |