Add a Cross-Reference to an Element in Another Topic
Use Insert > Link > Cross-reference to add a cross-reference to a specific element in another topic. But this is only possible if the element being linked to has an XML ID. If it does not have an XML ID, you will need to edit the target topic and give the element an XML ID.
Tip
We recommend that you use cross-references between topics only where necessary, to avoid dependencies. Cross-references only work if the source topic (that contains the cross-reference) and the target topic are both included in the publication. For this reason, using cross-references between topics can affect the reuse possibilities for your topics.
To add a cross-reference to an element in another topic:
Open the topic that contains the element that you want to link to.
Position the cursor in the element that you want to link to.
Select the element in the Element Structure Menu and choose Go to element.
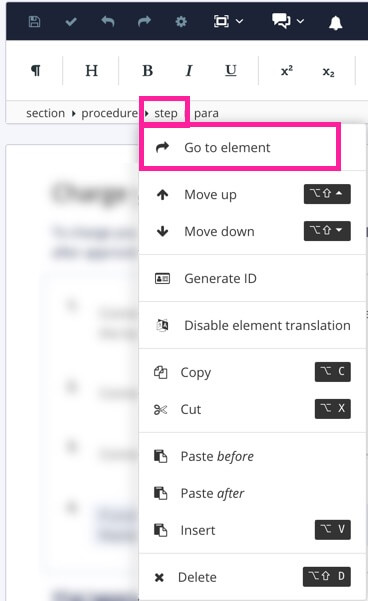
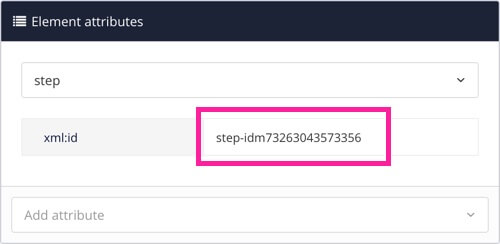
Check if an
xml:idis added in the Element Attributes Panel:If an
xml:idis already added, skip the next step.If there is no
xml:id, you will need to add it, continue with the next step.
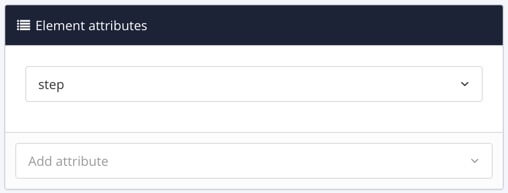
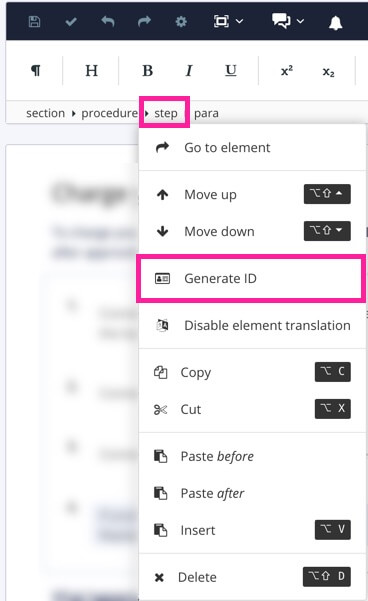
Select the element in the Element Structure Menu and choose Generate ID.
Paligo will generate an xml:id attribute for the list item or step automatically.
Select Save.

Open the topic that is going to contain the cross-reference.
Position the cursor where the link is to be inserted.
Tip
Alternatively, highlight the text that you want to use as link label.
Select the Insert tab in the Toolbar.

Select Link and choose Cross-reference.

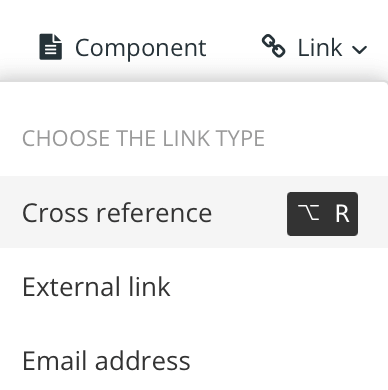
Tip
Or use the keyboard shortcut Alt + R (Windows) or Option ⌥ + R (Mac) to add the cross-reference.
Enter a text as Link Label. Leave it blank if you want the link text to be the same as the topic title, see Auto-Text for Cross-References.
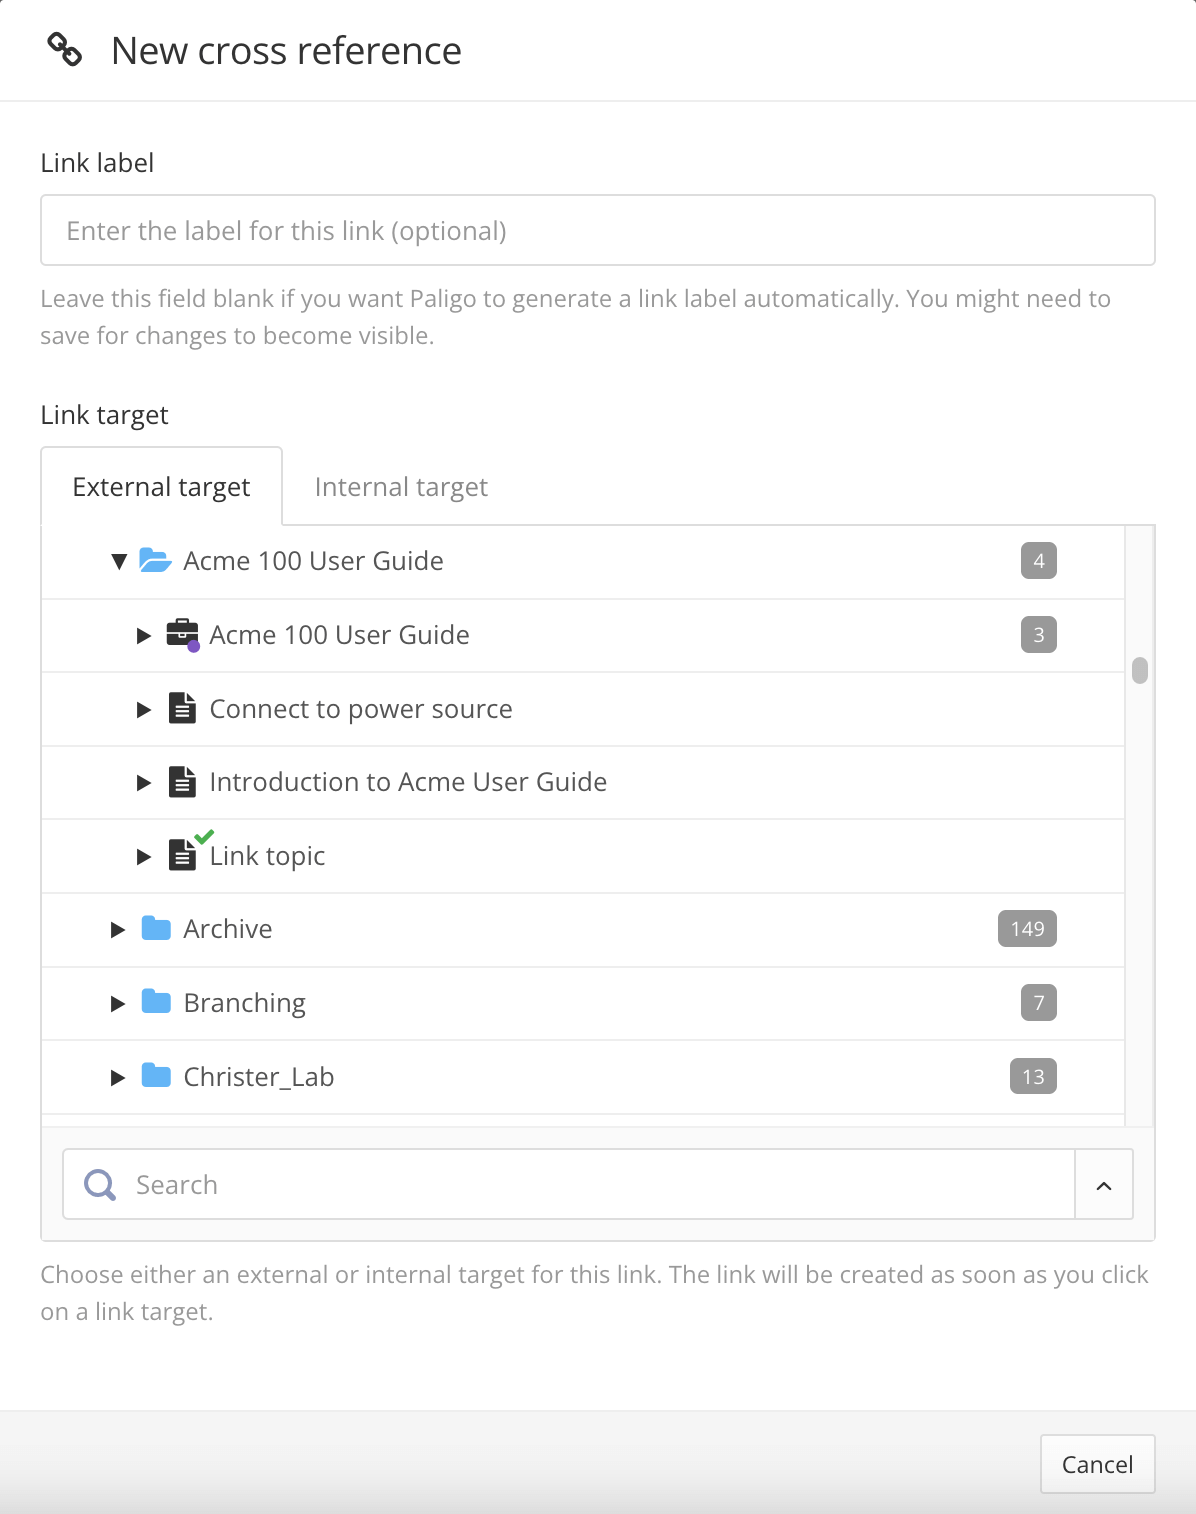
Choose to cross-reference directly to the topic or to a fork in the publication:
Select the arrow next to the topic to expand it and reveal its elements.
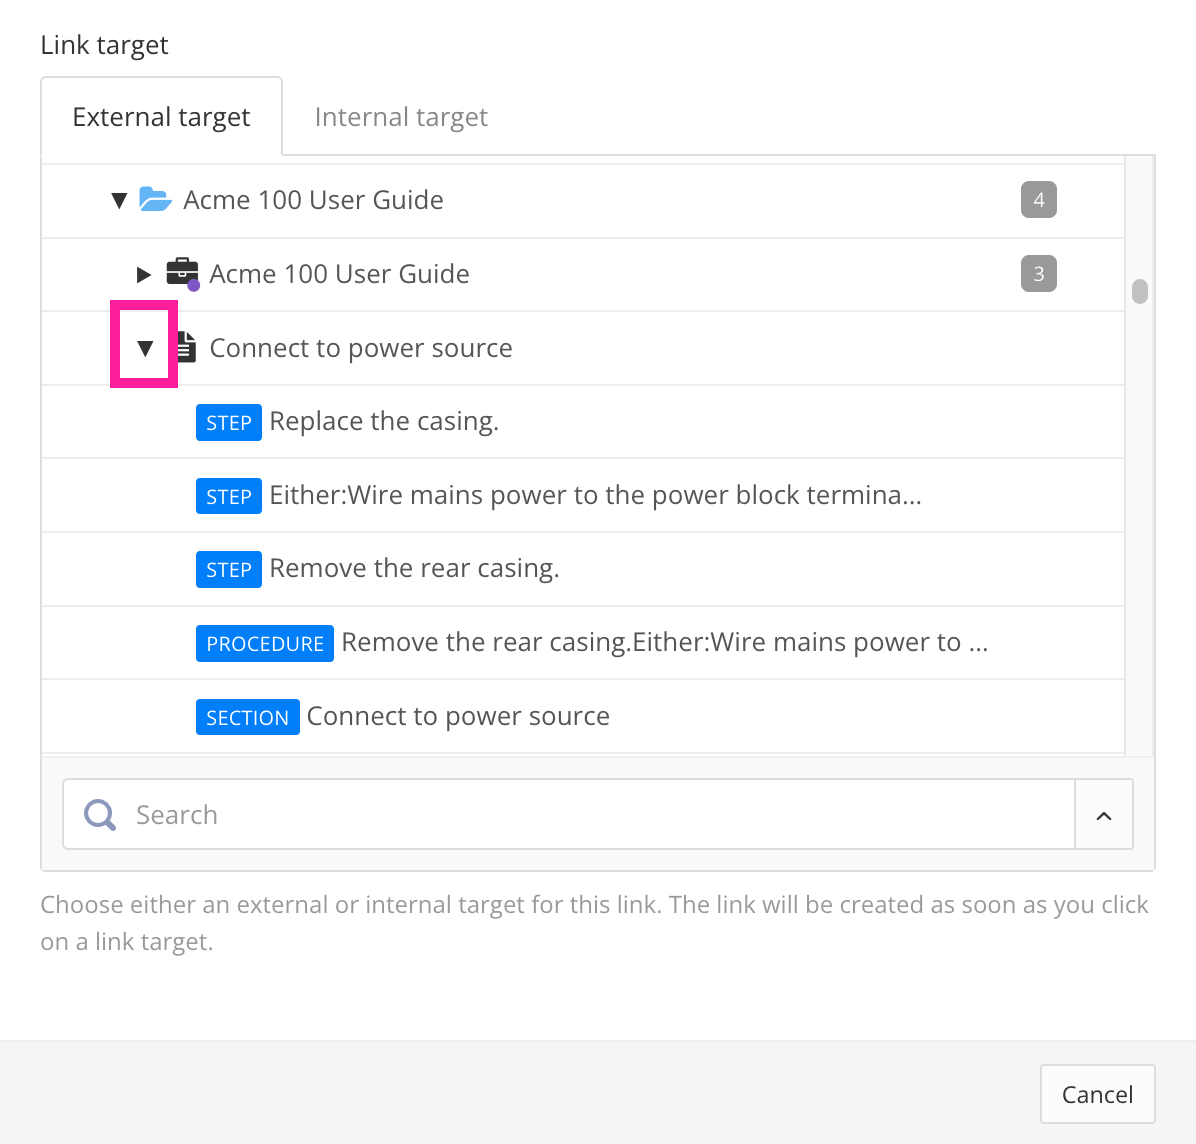
Select the element you want to cross-reference.
Note
Cross-references to
listitemelements inside bullet lists and ordered lists (numbered lists) may produce unusual results or be excluded from your published output completely. For these, we recommend that you reference a title element instead and explain which step you are referring to.Paligo does support cross-references to steps in procedures, and these will come out as "Step n" in the published output. We recommend that you also add some text with a cross-reference to the title of the target topic, so that your readers have more context. For example, "see Step 4 in Installing the battery", where "Step 4" is a cross-reference to the step and "Installing the battery" is a cross-reference to the target topic's title.
Paligo adds the cross-reference to your topic.

Note
Cross-references to procedure steps do not show as "Step n" in the editor. The link to the target topic and element is converted into "Step n" when you publish.
Select Save.
Tip
If you want to change the cross-reference text or apply auto-text, select it to display the cross-reference editor. You can use that to enable or disable auto-text and change the text of the label, see Auto-Text for Cross-References.