Einzelne Zellenausrichtung einstellen
Sie können die horizontale und vertikale Position für einzelne Tabellenzellen anpassen.

Links – Vertikale Ausrichtung. Rechts – Horizontale Ausrichtung.
Wählen Sie das Topic oder die Komponente im Content Manager aus, um es/sie im Editor zu öffnen.
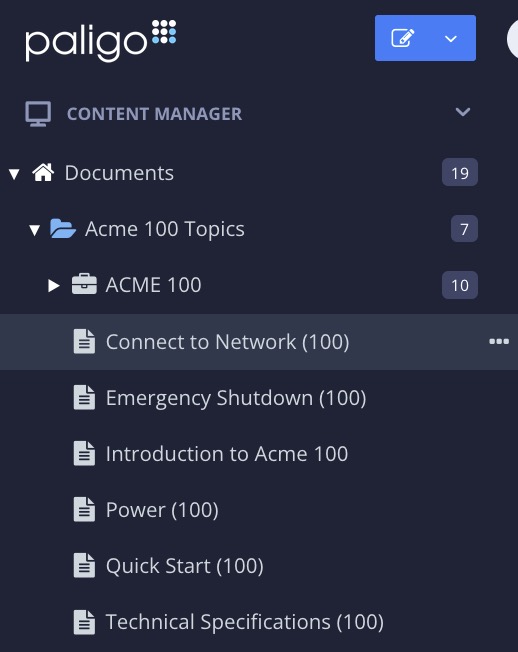
Alternativ können Sie Topics erstellen und dieses bearbeiten.
Platzieren Sie den Cursor in einer Tabellenzelle, die Sie anders ausrichten möchten.
Wählen Sie das geeignete Element in Menü „Elementstruktur“ aus und wählen Sie dann Zu Element gehen.
Das geeignete Element ist:
tbodyfür alle Zellen einer Tabelle außer denen in der Kopf- oder Fußzeiletheadfür alle Zellen in der ausgewählten Tabellenüberschrifttrfür alle Zellen in der ausgewählten Zeiletdfür die ausgewählte Zelle im Hauptteil der Tabellethfür die ausgewählte Zelle in der Tabellenüberschrift

Fügen Sie im Feld „Elementattribute“ Folgendes hinzu:
align, wenn Sie die horizontale Ausrichtung ändern möchten.valign, wenn Sie die vertikale Ausrichtung ändern möchten.
Ausrichtungswert(e) einstellen.
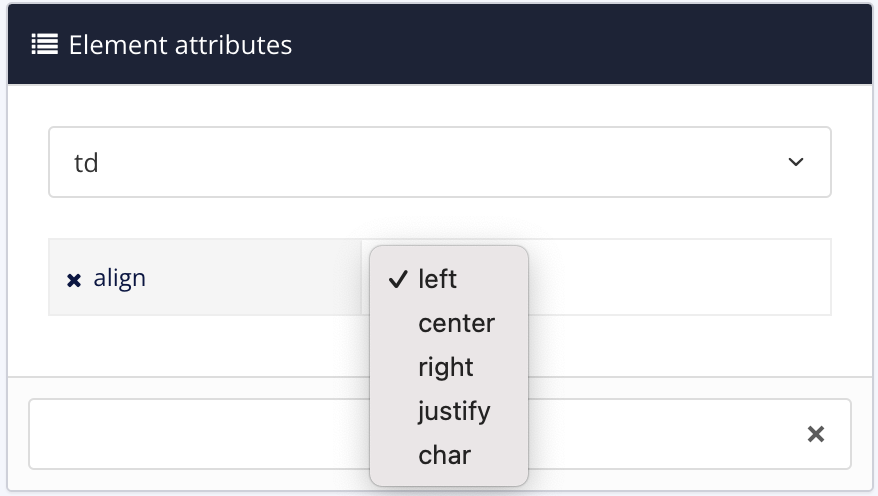
Für das Attribut
alignstehen folgende Optionen zur Auswahl:Links – Richtet den Spalteninhalt linksbündig aus.
Rechts – Richtet den Spalteninhalt rechtsbündig aus.
Mitte – Richtet den Inhalt an der Spaltenmitte aus.
Blocksatz – Fügt Leerräume zwischen den Zeichen in einer Spalte hinzu. Das erste Zeichen des ersten Wortes befindet sich am linken Rand und das letzte Zeichen des letzten Wortes am rechten Rand.
Char – Nutzen Sie char in DocBook XML, um den Inhalt an einem bestimmten Zeichen auszurichten, in der Regel einer Dezimalstelle. Char ist nur im Rahmen unseres Supports für DocBook-Importe verfügbar und nicht für die Verwendung in Paligo vorgesehen.
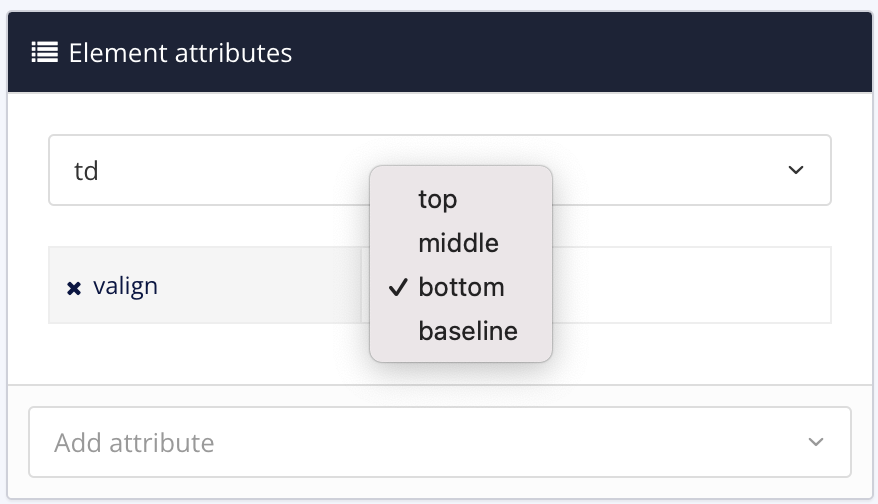
Für das Attribut
valignstehen folgende Optionen zur Auswahl:Oben – Positioniert den Inhalt oben in der Zelle.
Mitte – Positioniert den Inhalt in der Mitte der Zelle.
Unten – Positioniert den Inhalt unten in der Zelle.
Grundlinie – Richtet den Inhalt an einer gemeinsamen Grundlinie für diese Zeile aus. Die Grundlinie ist die unsichtbare Linie, auf der die Textzeichen „sitzen“. Diese Einstellung gilt für die erste Textzeile in einer Zelle, kann aber auch alle Zellen in einer Zeile betreffen.

Wiederholen Sie die Schritte 2 bis 5 für jede Reihe oder Zelle, die eine andere Ausrichtung benötigt.
Drücken Sie Speichern.
