Webhooks
A webhook is a tool that allows you to set an event in Paligo to trigger events in another application. This is only possible if the other application also supports webhooks. For example, you could use a webhook to update a ticket in JIRA when a Paligo publication is published.
At the moment, Paligo supports webhooks for these events:
Status of a resource is set to Released
Publication is Published.
An Assignment is created
An Assignment is Approved.
Status of a resource is set to In Translation
Status of a resource is set to In Review
The status of an assignment has changed (Assignment user status changed)
The information that Paligo sends is similar to a notification. It contains basic information such as the ID of the publication or topic, the title, the name of the template (if appropriate), and the type of event that has happened in Paligo. This is sent as JSON to a URL that you provide for the external application. Your developers will need to configure your external application to receive and use the webhook data.
To create a webhook:
Set up your external application to receive webhooks. Paligo can only send updates to applications that allow webhooks.
Refer to the application's official documentation for instructions.
Get the following information for your external application:
URL to use for receiving webhooks from Paligo
Login details (if a login is required).
Paligo supports OAuth logins and basic logins (user name and password).
In Paligo, display the Integrations and Webhooks tab:
Sign in to Paligo using a user account that has administrator permissions.
Select the avatar in the top-right corner.

Select Settings from the menu.

Select the Integrations and webhooks tab.

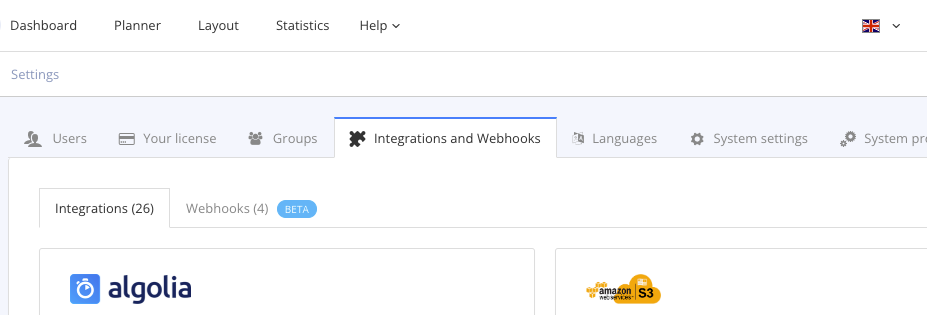
Select the Webhooks tab.
Select Add webhook to create a new webhook.
Alternatively, you can edit an existing webhook. Select the dotted menu ( ... ) for the webhook and then select Edit.
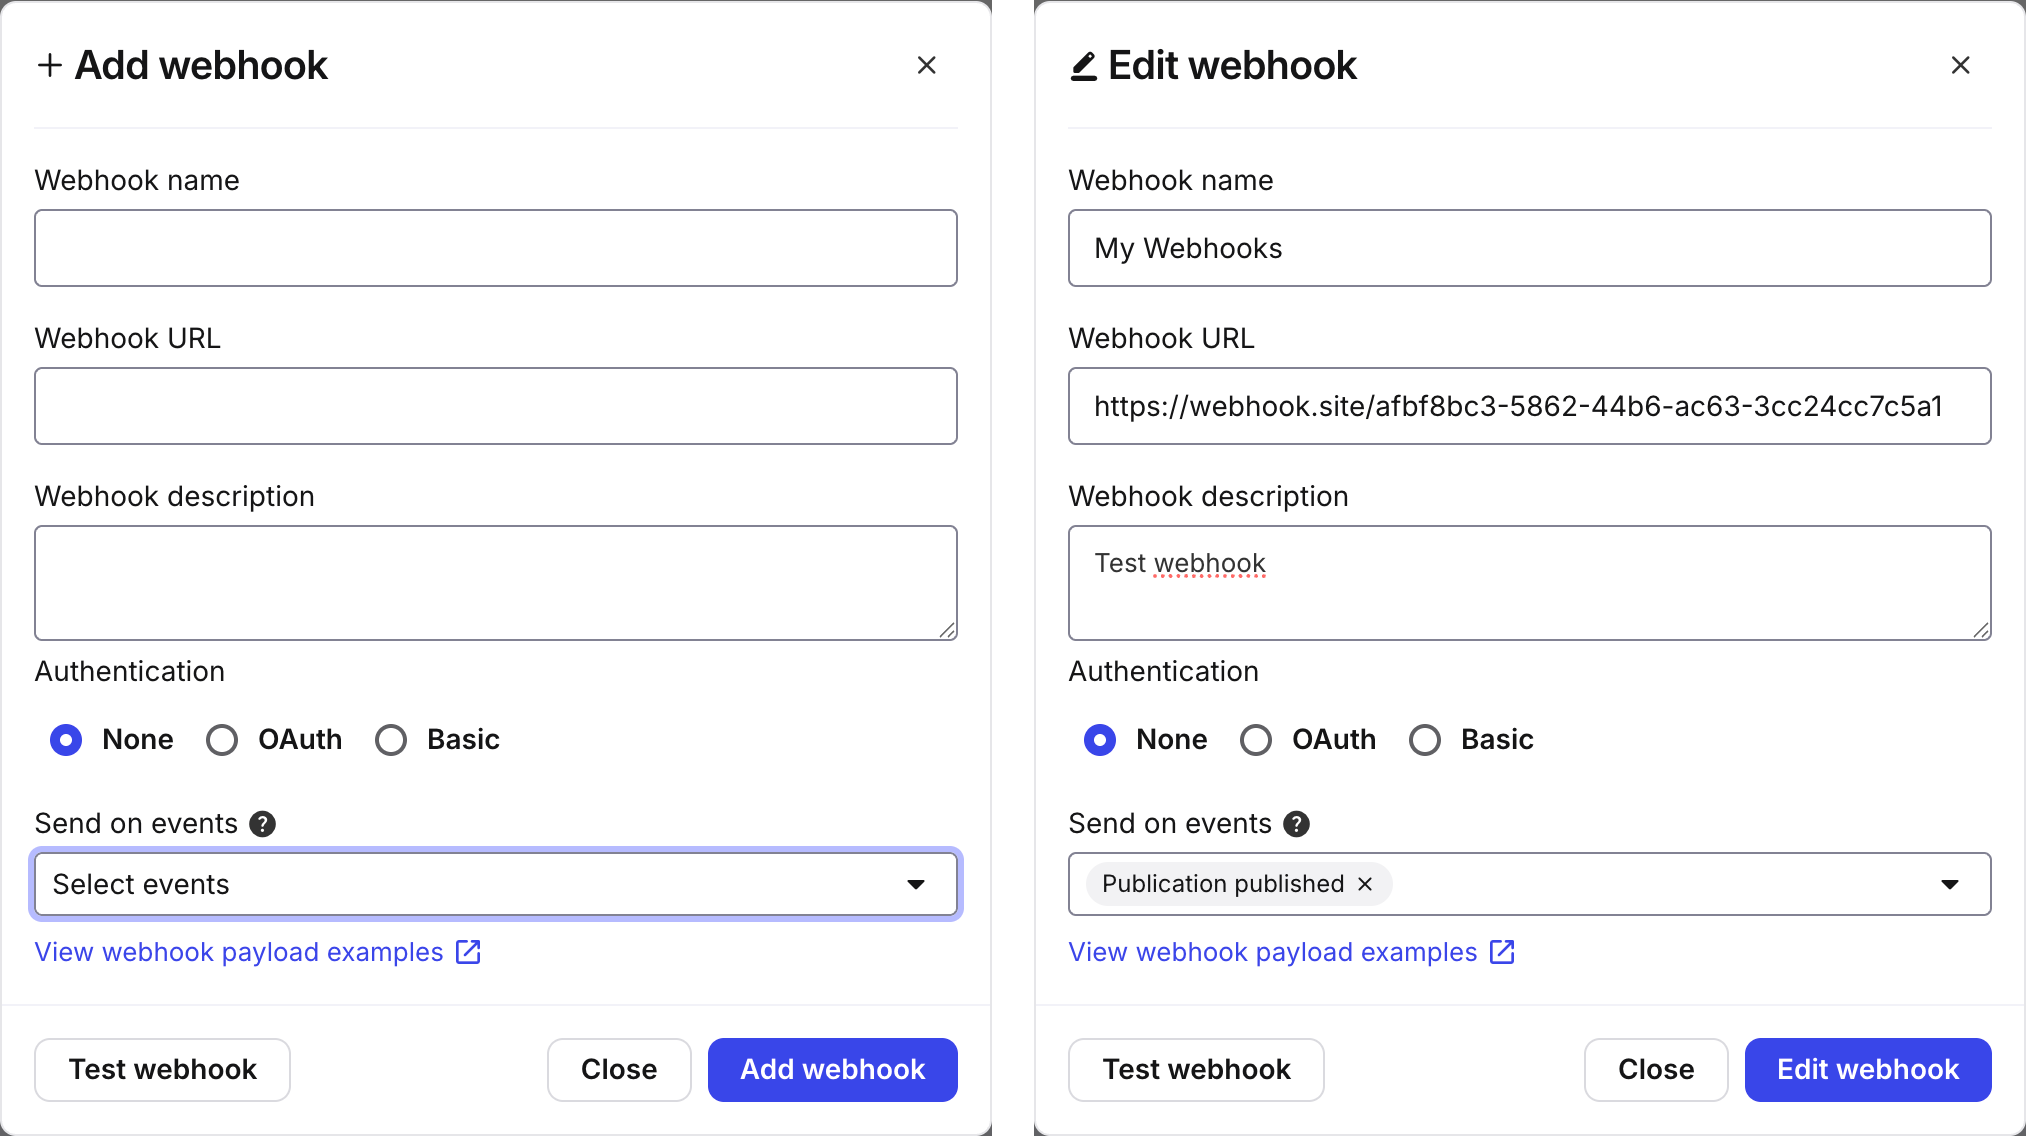
Paligo displays the Add webhook dialog or Edit webhook dialog. They contain the same settings.
Enter the Webhook name.
Give it a name that is meaningful and that makes it easy for other users to understand its purpose.
Enter the Webhook URL.
This is the destination addressof your external application for the webhook.
Enter a Webhook description [optional].
Enter a meaningful description of the webhook so that other users can easily understand the purpose of the webhook.
Choose the type of Authentication required for logging in to the external application.
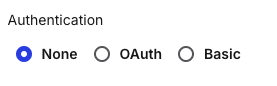
None
OAuth
If you choose OAuth, you also need to enter the Token.
Basic
If you choose Basic, you also need to enter the Username and Password.
Use Send on events to choose when Paligo will use a webhook to contact the other application.
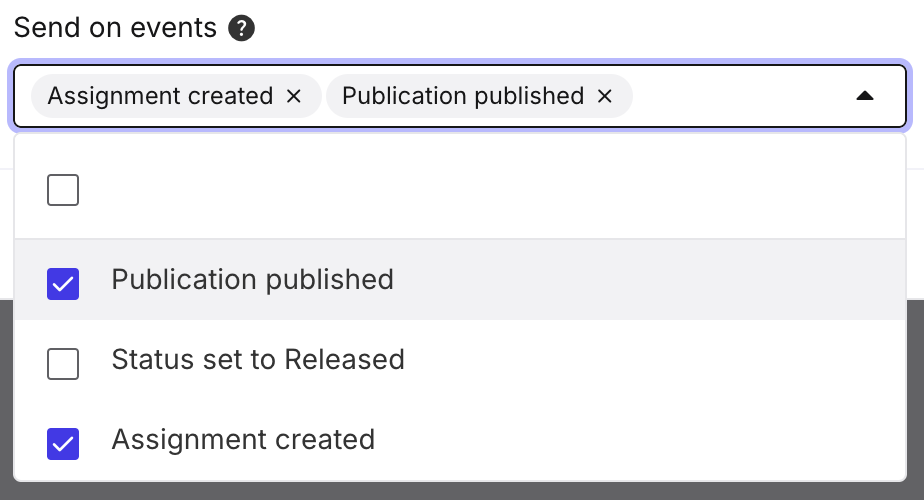
Choose from:
Status set to Released
Publication published
Assignment created
Status set to in translation
Status set to in review
Note
You can choose one event, multiple events, or no events. Choosing no events can be useful if you want to keep the webhook configuration, but don't want it to trigger any events. For example, if you are setting up webhooks that you will use in the future.
To get an idea of what information Paligo will send, have a look at the Payloads page.
Select Test webhook to check that Paligo can use the webhook successfully.
You can use the information in the Payloads section to get an idea of what information Paligo will send.
Select Add webhook to add your new webhook.
Configure your external application to use the information that Paligo sends as a webhook. You can use the example in Paligo's webhook editor to get an idea of what information Paligo will send.
Refer to the application's official documentation for instructions.
To edit an existing webhook:
In Paligo, display the Integrations and Webhooks tab:
Sign in to Paligo using a user account that has administrator permissions.
Select the avatar in the top-right corner.
Select Settings from the menu.
Select the Integrations and webhooks tab.
Select the Webhooks tab.
Find the webhook that you want to edit, select its dotted menu (...) and then select Edit.
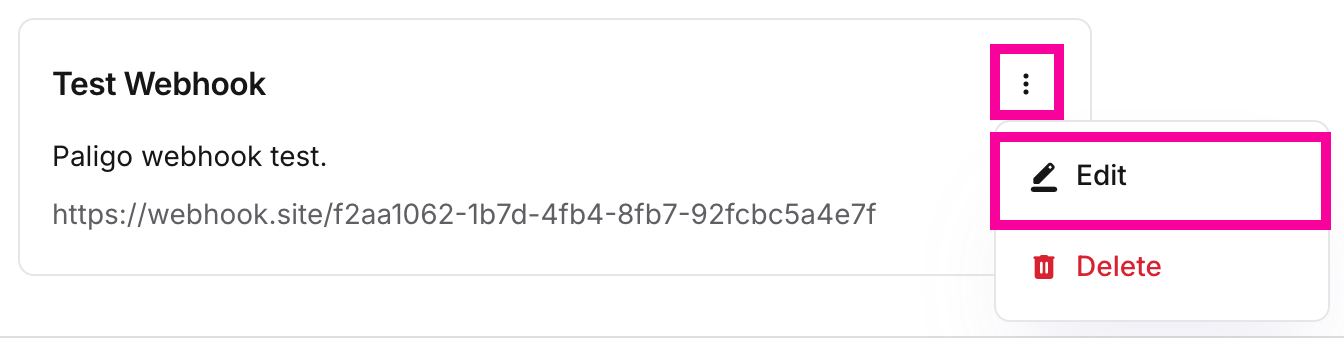
Edit the webhook.
Select Edit webhook to save your changes.
To remove a webhook that you no longer need:
In Paligo, display the Integrations and Webhooks tab:
Sign in to Paligo using a user account that has administrator permissions.
Select the avatar in the top-right corner.
Select Settings from the menu.
Select the Integrations and webhooks tab.
Select the Webhooks tab.
Find the webhook that you want to remove, select its dotted menu ( ... ) and then select Delete.
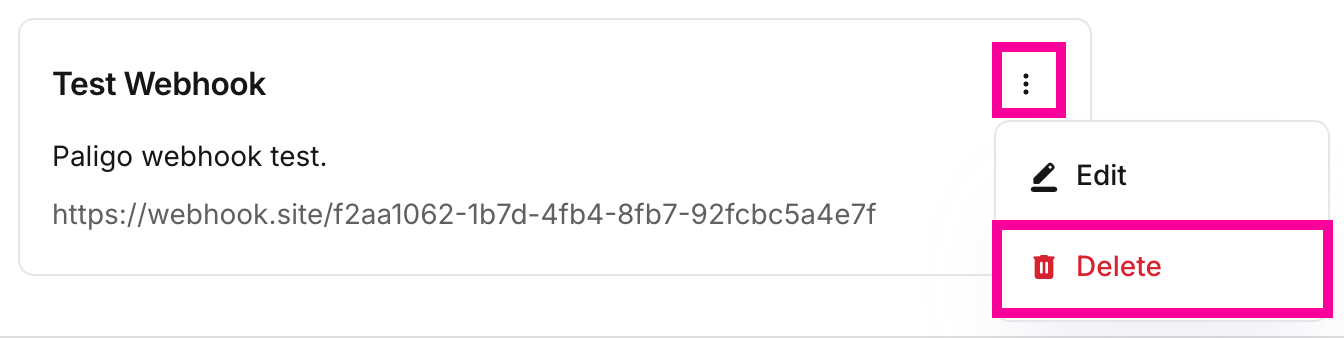
Select Delete to confirm you want to remove the webhook.