Set the Admonition Spacing for PDF
Learn how to control the spacing for admonitions in PDF outputs. Set the margins and the padding to control the space inside an admonition.
To control the spacing around admonitions in PDF outputs, use the margin settings in the PDF layout. The layout also has padding settings for controlling the spacing inside the admonition.
Select Layout in the top menu.

Paligo displays a list of Layouts. The list is empty if there are no custom Layouts in your Paligo instance.
Select the Layout you want to update or Create a Layout.
Tip
You can copy the URL of the Layout Editor and paste it into a new tab in your browser. This can be useful if you frequently switch between your Paligo content and the Layout settings.
Select Admonitions.
Select General.
Use these settings to define the side margins for the text inside your admonitions:
Margin-left for admonitions body
Use to set a left-side indent for the body text of admonitions. Enter a value and its units of measurement, for example, 16pt.
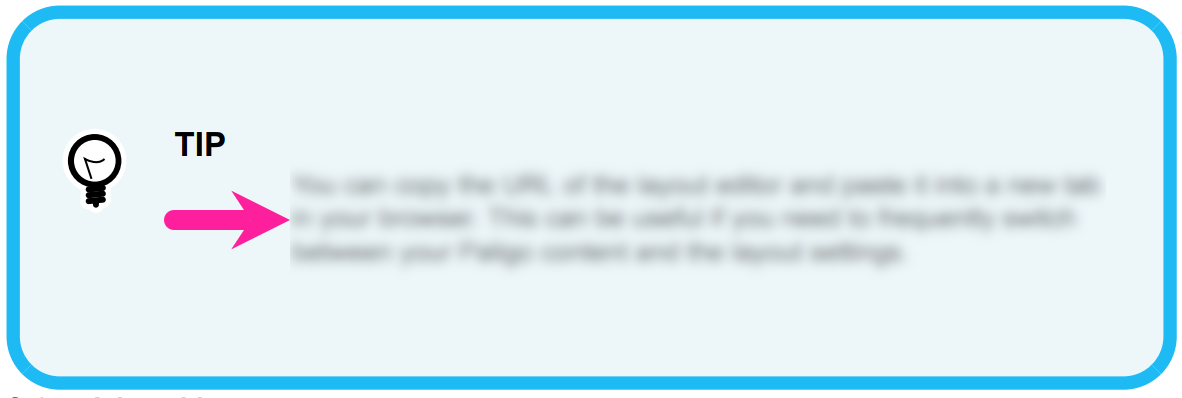
Margin-right for admonitions body
Use to set a right-side indent for the body text of admonitions. Enter a value and its units of measurement, for example, 16pt.
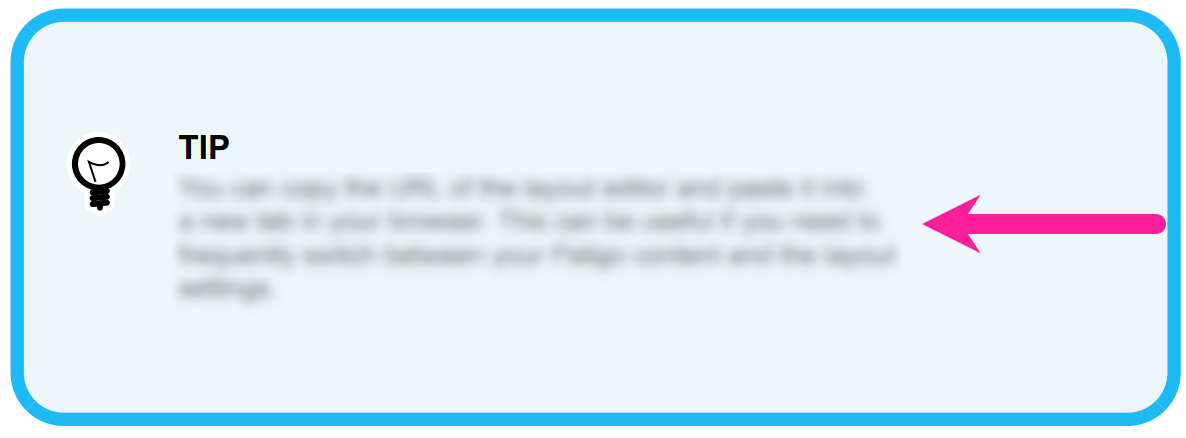
For both settings, enter a value and include the units of measurement, for example, 16pt. Paligo applies the indent from the default position of the body text.
Use these settings to define the side margins for the titles in your admonitions:
Margin-left for admonition title
Use to set a left-side indent for the title of admonitions. Enter a value and its units of measurement, for example, 16pt.
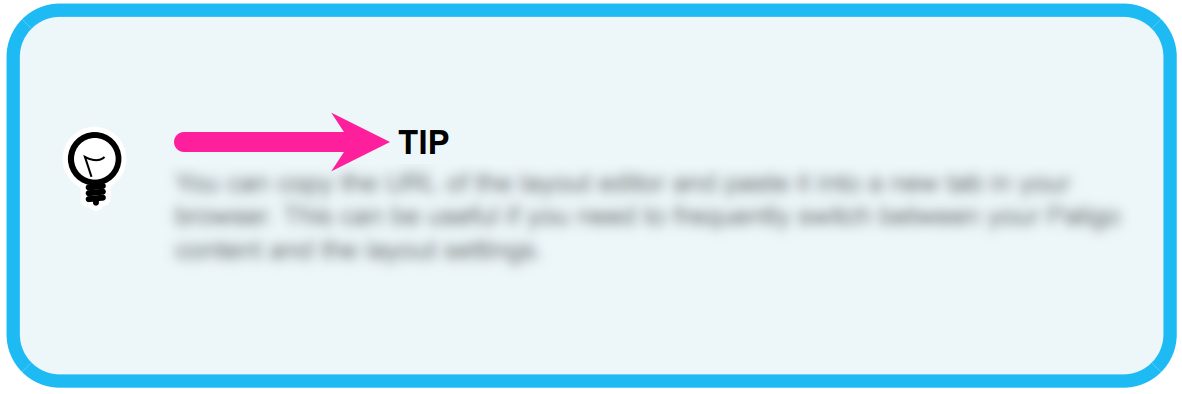
Margin-right for admonition title
Use to set a right-side indent for the title of admonitions. Enter a value and its units of measurement, for example, 16pt.
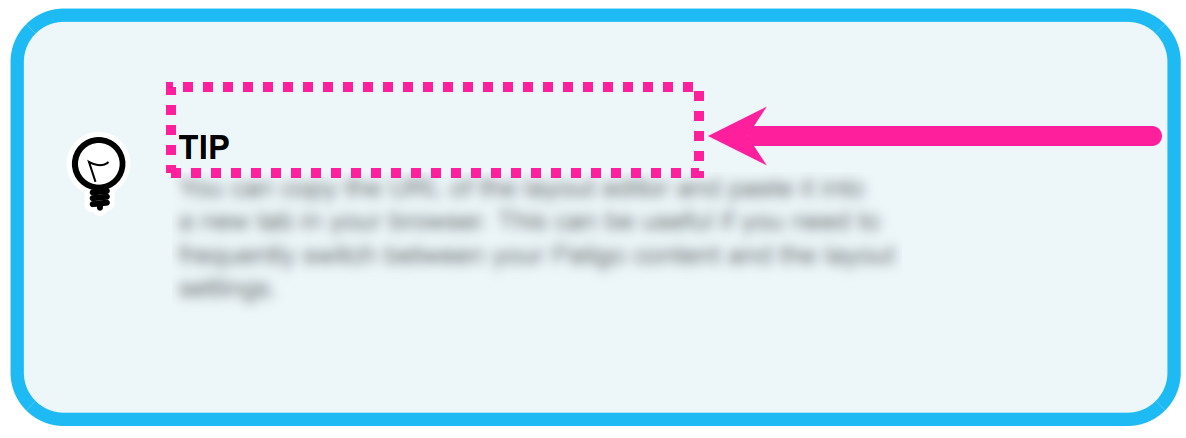
Note
If you have short titles for your admonitions, you may not be able to see the effect of the margin. This is because the title text will not extend across the admonition box far enough to reach the margin.
For both settings, enter a value and include the units of measurement, for example, 16pt. Paligo applies the indent from the default position of the title.
Select Graphical.
Use these settings to define the amount of space above and below graphical admonitions:
Space-before (optimum) for graphical admonitions
Use to set a preferred amount of space above graphical admonitions. This setting does not apply to admonitions inside lists and procedures.
Space-after (optimum) for graphical admonitions
Use to set a preferred amount of space below graphical admonitions. This setting does not apply to admonitions inside lists and procedures.
Space-before (optimum) for graphical admonitions in list items and steps
Use to set a preferred amount of space above graphical admonitions that appear in a list or procedure.
Space-after (optimum) for graphical admonitions in list items and steps
Use to set a preferred amount of space below graphical admonitions that appear in a list or procedure.
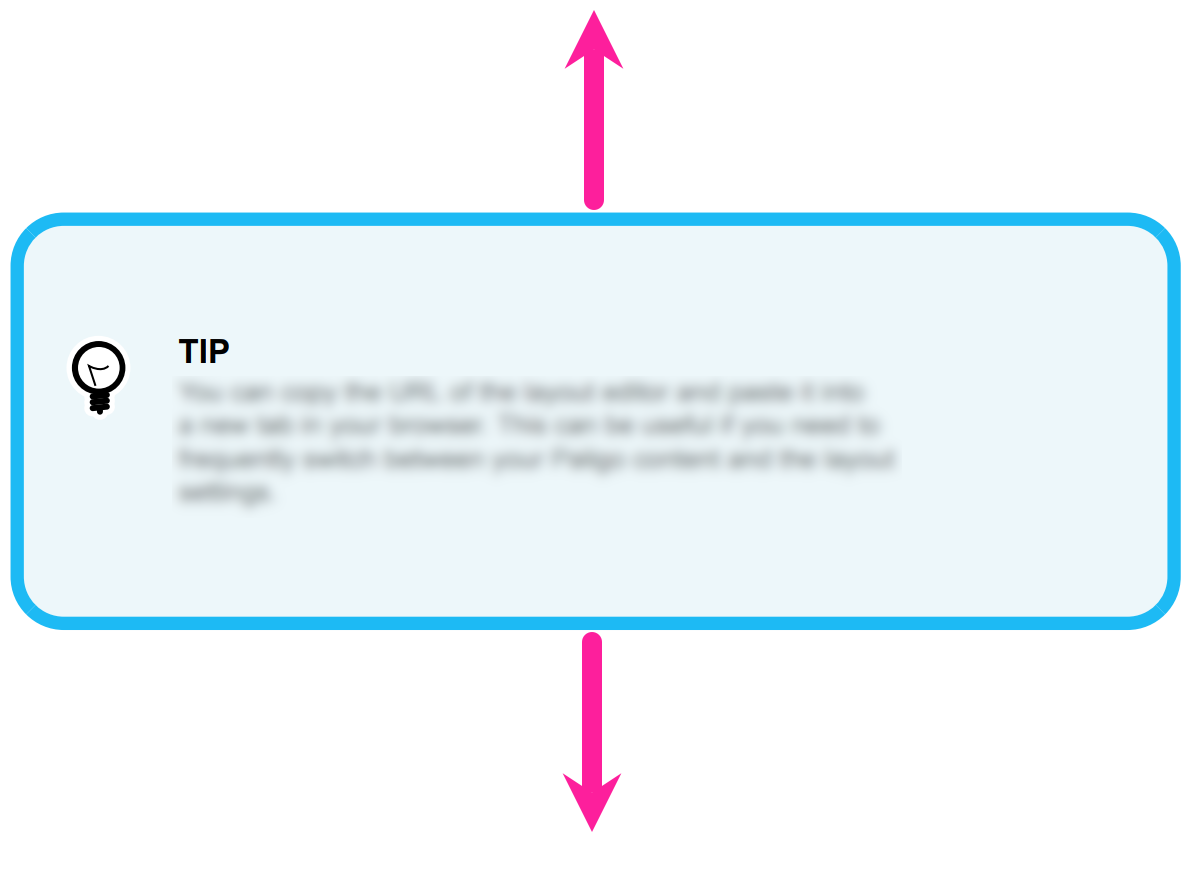
For all of these settings, enter a scaling value. Paligo uses the value in relation to the size of body text in your PDF. For example, if you enter 2.5, Paligo will add spacing that is 2.5 times bigger than the body text size. If you enter 0.5, Paligo will add spacing that is half the size of the body text.
Paligo will try to apply the preferred amount of space, but in some cases may need to use less. For example, a page break might result in Paligo applying different spacing.
Use the following settings to define the amount of space inside the graphical admonitions. This is the "padding".
Padding-top for graphical admonitions
Enter the amount of space between the top of the admonition box and the top of the title (or body text if there is no title). Enter a value and the units of measurement, for example, 2em.
Padding-bottom for graphical admonitions
Enter the amount of space between the bottom of the admonition box and the bottom of the body text. Enter a value and its units of measurement, for example, 2em.
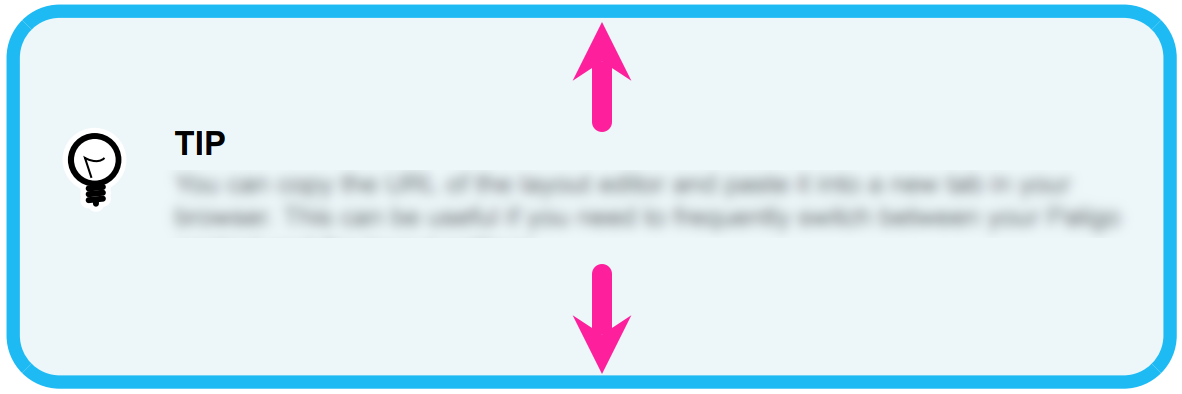
Use these settings to set margins for graphical admonitions. The margins apply to the whole admonition, not just the content inside it.
Margin-left for graphical admonitions
Sets the left-side indent for all graphical admonitions.
Margin-right for graphical admonitions
Sets the right-side indent for all graphical admonitions.
For both settings, enter a value and the units of measurement, for example, 2cm.

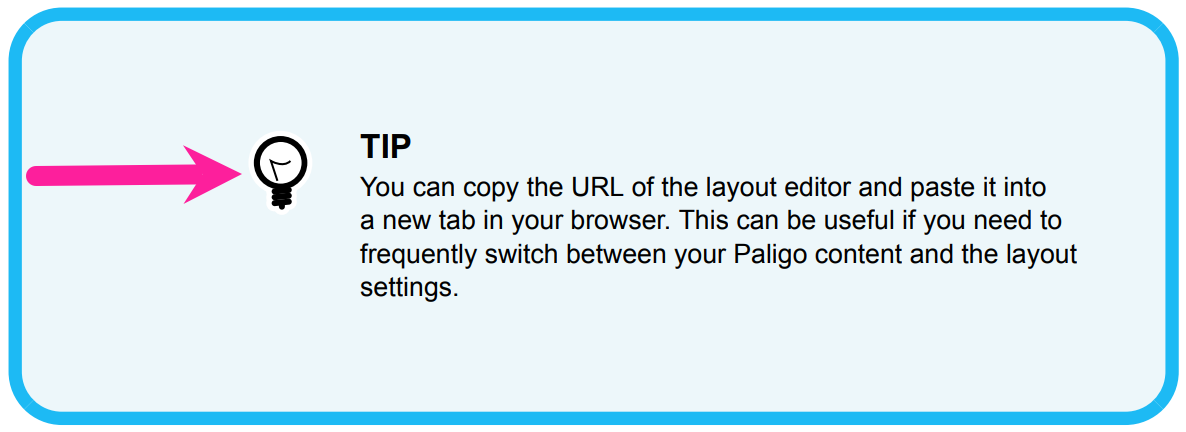
Use the Margin-left for graphical admonition icon setting to control the position of the admonition icons. Enter a value and the units of measurement, for example, 1.5em. Paligo applies the margin from the default position of an icon.
Note
The icon can overlap the text and title. If you change the icon margin, you may also need to change the title and body text margins.
Select Nongraphical.
Use the spacing settings to adjust the positioning of the title and body text of your nongraphical admonitions. The settings work in the same way as the similarly named settings in the Graphical category, except that they apply to the nongraphical admonitions instead.
Space-before (optimal) for nongraphical admonitions
Use to set a preferred amount of space above non-graphical admonitions.
Space-after (optimal) for nongraphical admonitions
Use to set a preferred amount of space below non-graphical admonitions.
Padding-top for nongraphical admonitions
Use to set the amount of space above the title of nongraphical admonitions. This space applies to the body text if there is no title.
Padding-bottom for nongraphical admonitions
Use to set the amount of space below the body text of nongraphical admonitions.
Margin-left for nongraphical admonition
Use to set the left-side indent of nongraphical admonitions. This applies to the whole admonition.
Margin-right for nongraphical admonition
Use to set the right-side indent of nongraphical admonition. This applies to the whole admonition.
Select Save.
To learn about using the other PDF layout settings to style admonitions, see Admonition Styling (PDF).