Publish Multiple Versions of Content
If you have documentation for multiple versions of a product, you can provide a dropdown menu for the users to switch between the versions. The feature will load the same page in another version, if it exists, otherwise redirecting to the home page of another version. Also, each version can have translations that the user can switch between in the HTML5 Help Center output.
To get a dropdown menu in your HTML5 Help Center output, each version must be published and their URL:s must be added to the used HTML5 layout.
 |
Tip
Moogsoft is a wonderful example of how the version switcher can be used.
Note
Step 7 to 14 in the following instruction are required for the dropdown menu to swap between the exact pages. You can choose not to use them, but then the version swap will direct the user to the main page instead.
The dropdown will switch between exact pages if there is an equivalent page in the version you are switching to. If there is no equivalent page, the version swap will direct the user to the main page instead.
Note
Switching between versions can only be done when the content is hosted on a web server. When testing output locally, the local output needs to be opened using a local web server in order to enable version switching.
To use the version dropdown menu, you need to organize your output topics in a specific folder structure:
Create a separate folder for each version on your server.
Note
It does not matter what the root folder is called. But it needs to point to the folder where your documents are stored. The slash ("/") at the beginning of the path represents the main root of your folder structure.
Subfolders are added for each version you want to include. In the example folder structure below, we have a main folder, with two version folders inside.
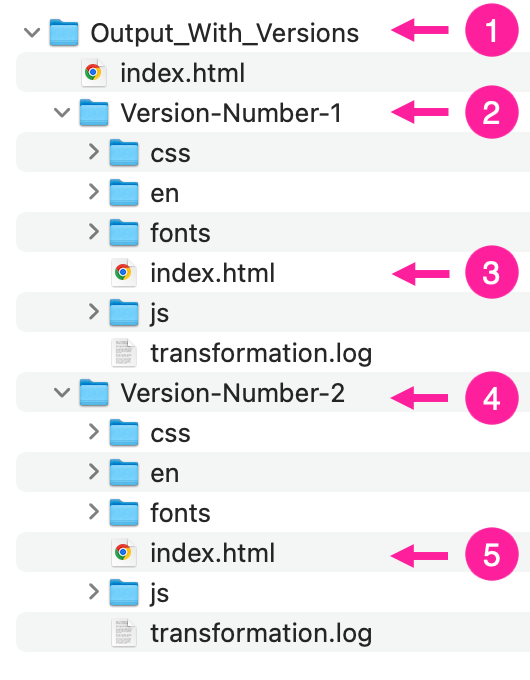
Main root
Version 1 root
Version 1 root index file
Version 2 root
Version 2 root index file
Select Layout in the top menu.

Paligo displays a list of Layouts. The list is empty if there are no custom Layouts in your Paligo instance.
Select the Layout you want to update or Create a Layout.
Tip
You can copy the URL of the Layout Editor and paste it into a new tab in your browser. This can be useful if you frequently switch between your Paligo content and the Layout settings.
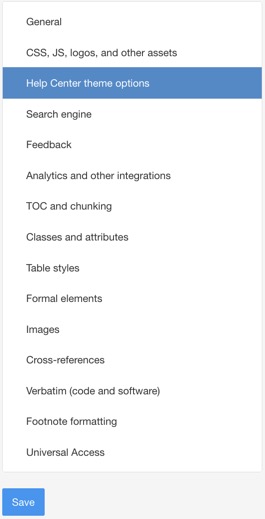
Select Help Center Theme Options in the sidebar.
Scroll down to Versions for version dropdown.
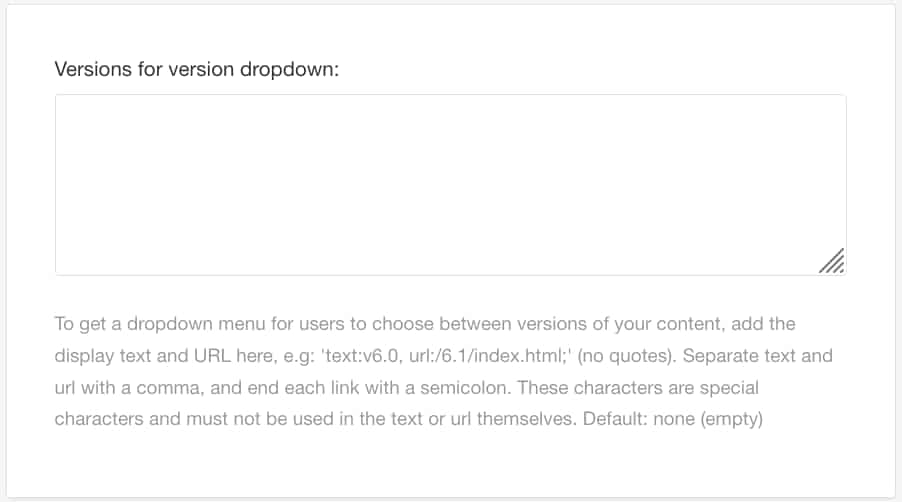
Enter a text and URL for each version like this
text:Version 5.1 (latest), url:/docs/index.html;. The text string will be displayed in the dropdown menu in the output.Important
The url referencing the version needs to point to the index file at the root of your version folder. In our example structure, the references would be:
text:Version 1, url:/Version-Number-1/index.html;text:Version 2, url:/Version-Number-2/index.html;Select General in the sidebar.
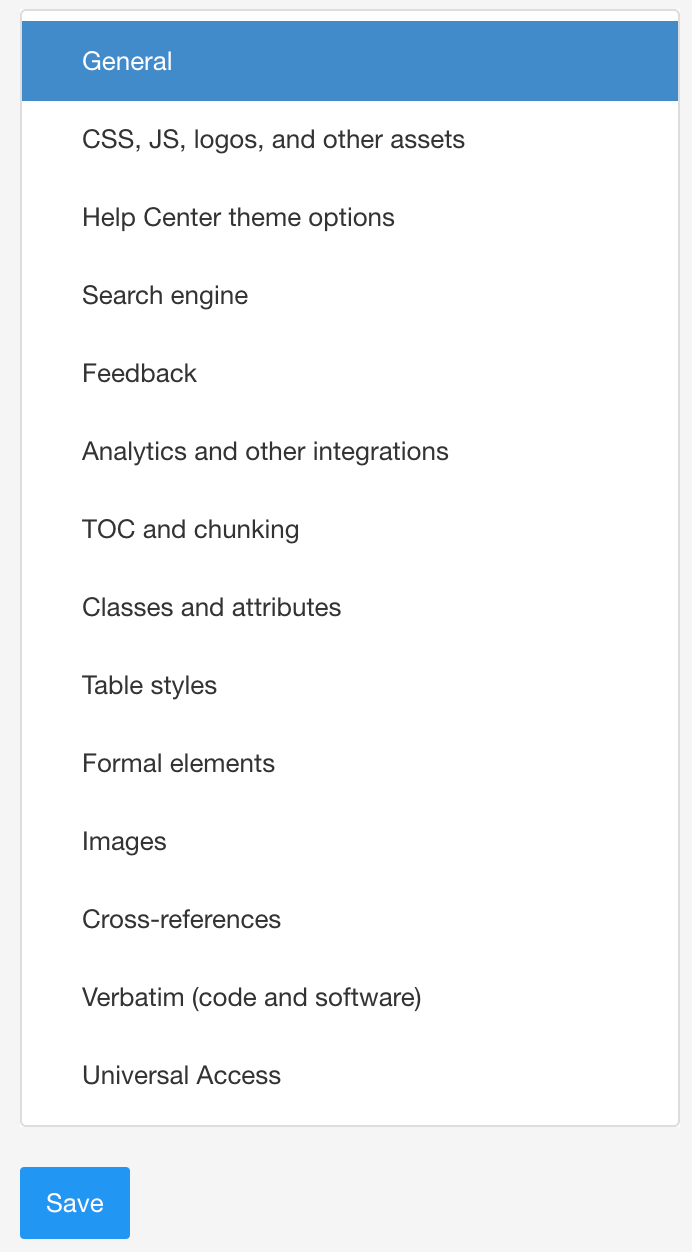
Scroll down to Use a short and flat URL structure for output files.

Select Disable.
Scroll down to Use output file names made from id and SEO name.
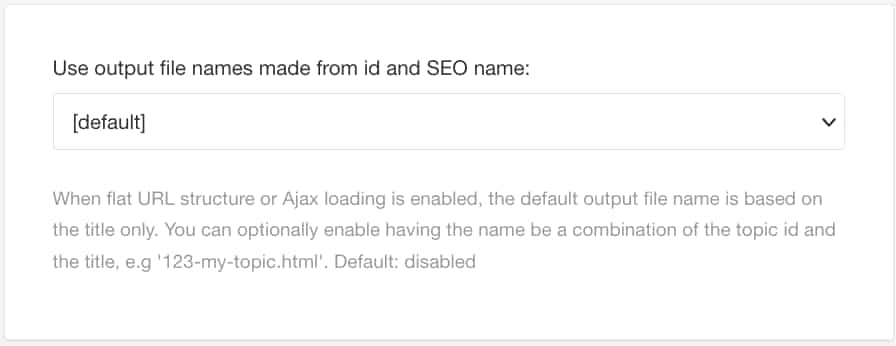
Select Disable.
Scroll down to Ajax load content.
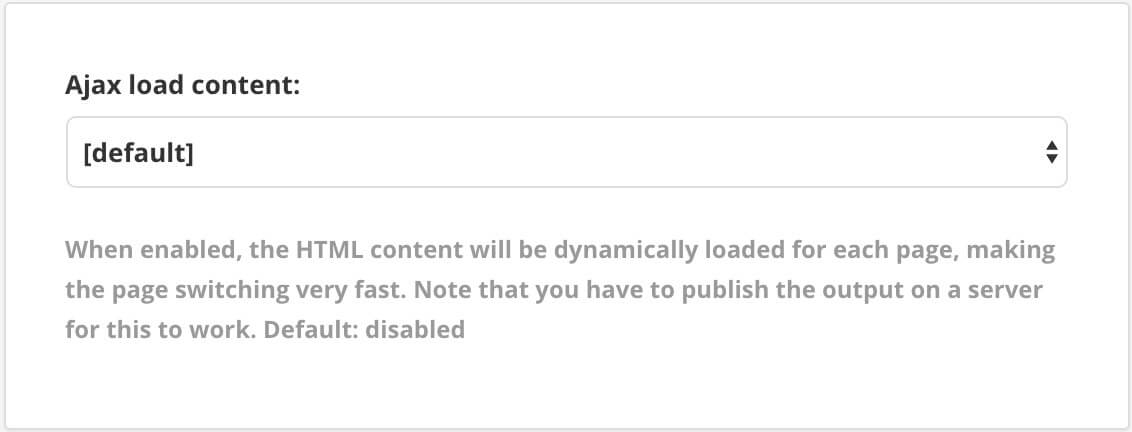
Select Disable.
Select Save.
Publish each version and place them in the dedicated folder structure.