eLearning Layout Editor Options
To publish content that you can import into a Learning Management System (LMS), you need to create an eLearning layout, see Create a Layout. Make sure to select the appropriate eLearning option (eLearning or SCORM).
The layout contains "publishing settings" that Paligo applies to your content when it builds your output. Paligo has built-in layouts for eLearning and SCORM output, but we recommend that you create your own layout. You can then make changes to the layout settings and use it as the basis for other layouts too. Style the layout, see eLearning Styling.
In the Layout Editor you have the following settings for an eLearning layout:
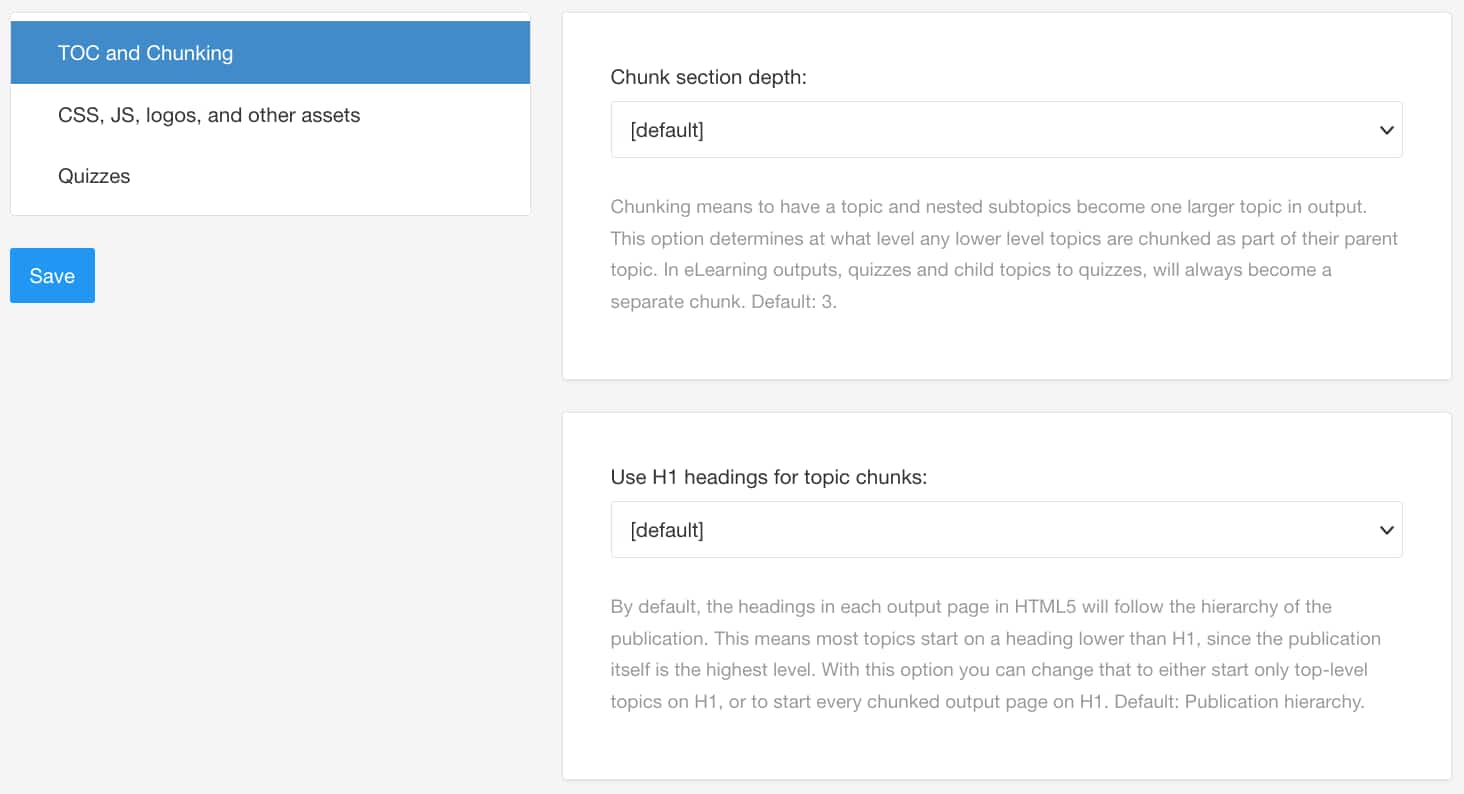
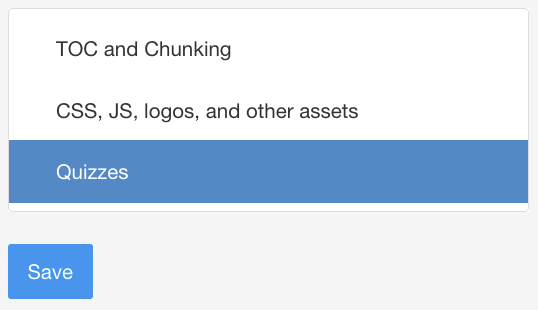
TOC and Chunking - TOC settings are for controlling options for the Table of Contents. Chunking settings are for controlling the size of your topics in the HTML output.
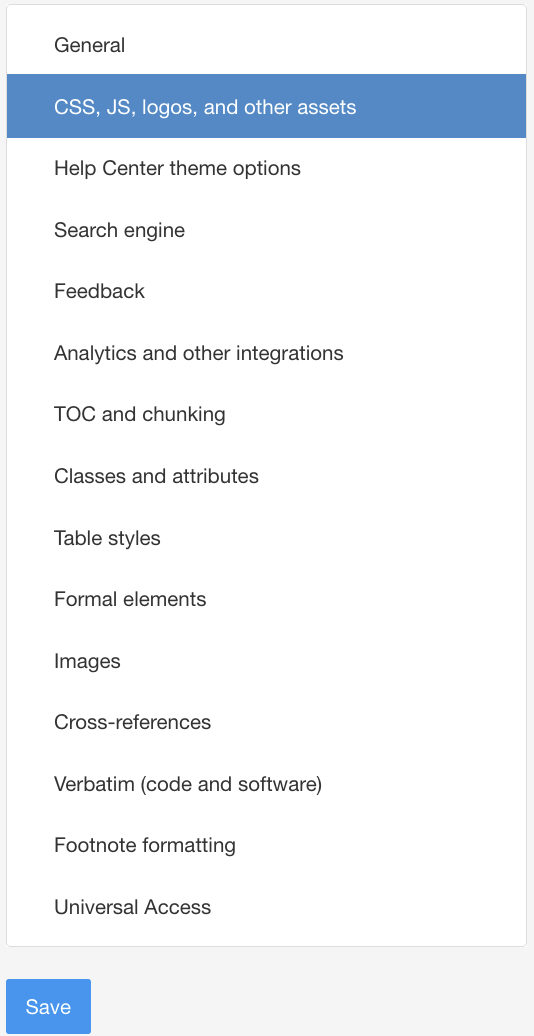
CSS, JS, Logos and Other Assets - Upload your logotype to replace the Paligo output and add your customized CSS and JS files.
Quizzes - Decide whether the questions are to be displayed one by one or all at the same time. The default is one by one.
 |
By default, the eLearning output includes the Paligo logo in the top corner, above the table of contents. To replace it, you can upload your own logo image to your eLearning layout. When you publish that layout, the output will use your custom logo instead.
Elearning output with custom logo in place.
To add a custom logo:
Select Layout in the top menu.

Paligo displays a list of Layouts. The list is empty if there are no custom Layouts in your Paligo instance.
Select the Layout you want to update or Create a Layout.
Tip
You can copy the URL of the Layout Editor and paste it into a new tab in your browser. This can be useful if you frequently switch between your Paligo content and the Layout settings.
Select CSS, JS, logos and other assets in the sidebar.
Use the Logotype field to upload a logo image. You can upload an image in any of these formats: ai, svg, pdf, png, tif, gif.
Select Save.
When you publish using this layout, Paligo will generate an eLearning layout that uses your uploaded image as the logo.
Note
You can set up the logo to act as a hyperlink to another web page such as your company homepage. To find out more, see Set a Logo to Link to a Web Page.
If you have added a custom logo, you can set it to work as a hyperlink in the published eLearning. When a user selects the logo, the browser will navigate to the web page of your choice, such as the home page for your organization. The linked web page will always open in a new tab or window.
To set up a logo so that it acts as a hyperlink and links to a particular web page:
Select Layout in the top menu.
Paligo displays a list of Layouts. The list is empty if there are no custom Layouts in your Paligo instance.
Select the Layout you want to update or Create a Layout.
Tip
You can copy the URL of the Layout Editor and paste it into a new tab in your browser. This can be useful if you frequently switch between your Paligo content and the Layout settings.
Select CSS, JS, logos and other assets in the sidebar.
Enter the URL for the target web page in the Logo Link field. (For example, http://paligo.net.)

Note
If you clear the field, the logo will not act as a hyperlink.
Select Save.
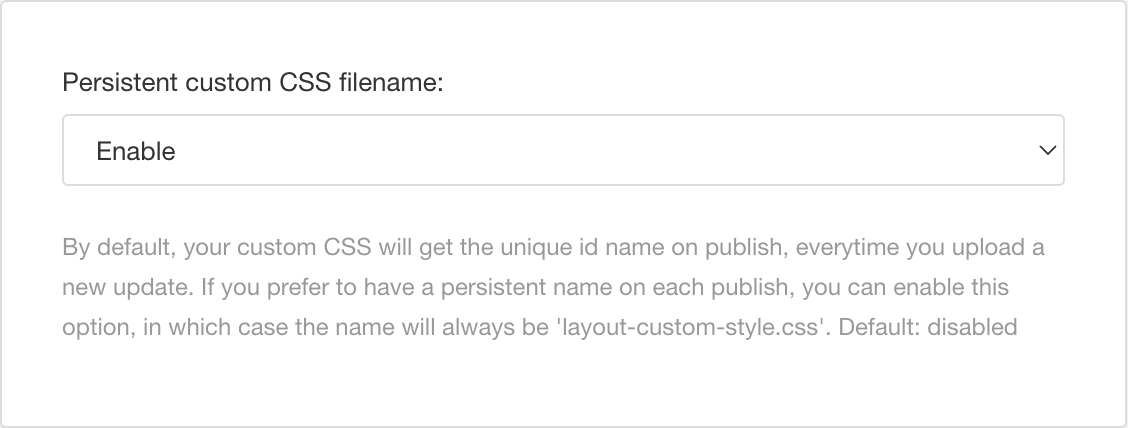
If you upload a CSS file to your eLearning layout, Paligo gives it a unique ID. This happens each time you upload a CSS file. For example, let's say you upload a file and Paligo gives it a unique ID. You then decide you need to make more changes, so you update the file outside Paligo and upload it again. This second upload is given a completely different ID to the first upload, and so, when you publish, the CSS file will have a different name. If you prefer, you can set Paligo to use a consistent file name (layout-custom-style.css) so that the CSS file name does not change.
To set Paligo to keep using the same CSS file name:
Select Layout in the top menu.
Paligo displays a list of Layouts. The list is empty if there are no custom Layouts in your Paligo instance.
Select the Layout you want to update or Create a Layout.
Tip
You can copy the URL of the Layout Editor and paste it into a new tab in your browser. This can be useful if you frequently switch between your Paligo content and the Layout settings.
Select CSS, JS, logos and other assets in the sidebar.
Set Persistent custom CSS filename to:
Enable - Sets Paligo to keep the same file name for the CSS file. Paligo uses this file name:
layout-custom-style.css
Disable - Sets Paligo to generate a new ID and file name each time you add a CSS file to the layout. If you select Disable, the CSS file in the output will have a randomly generated file name. The file name will change each time you replace the CSS file in the layout.
Select Save.
When you publish, Paligo will apply the setting you have chosen. If there is a custom CSS file in your output, it will be called 'layout-custom-style.css' if you chose Enable or it will have a random file name if you chose Disable.
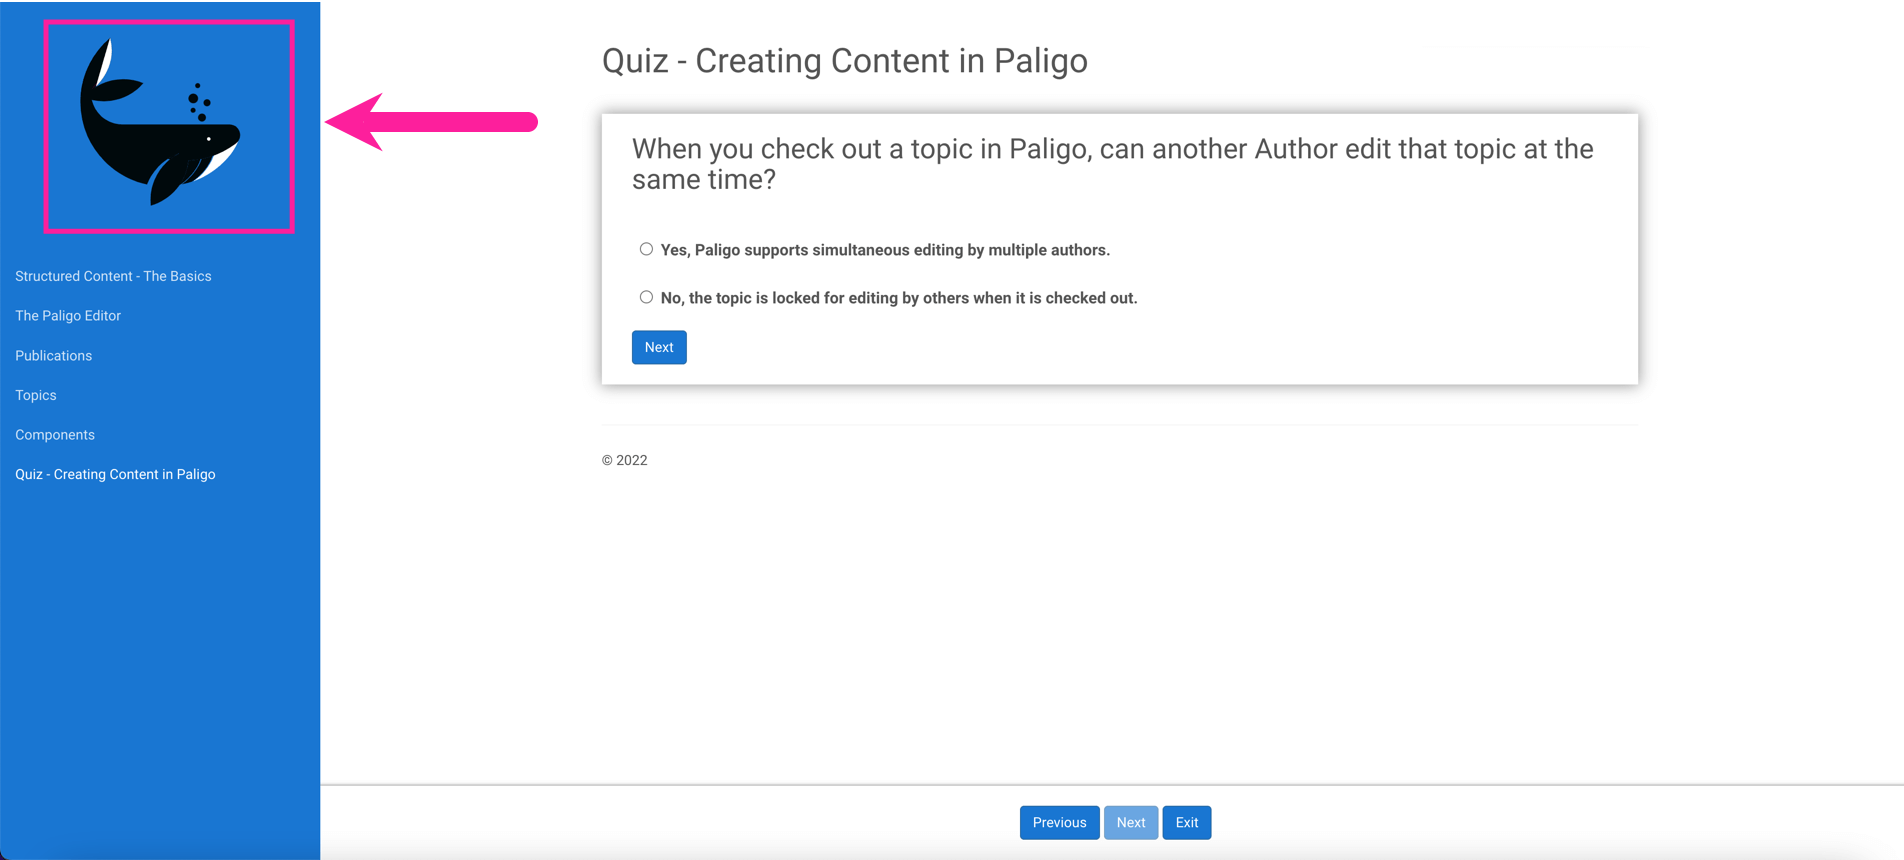
The default layout setting for quizzes in Paligo is to show the questions one by one. It is also possible to show them all at once. This can be styled in the eLearning layout configuration.
Tip
You can override the default setting (or a LE configured setting) for an individual quiz topic, by adding the role quiz-show-all or quiz-show-single to the qandaset element.
 |
To style the eLearning layout:
Select Layout in the top menu.
Paligo displays a list of Layouts. The list is empty if there are no custom Layouts in your Paligo instance.
Select the Layout you want to update or Create a Layout.
Tip
You can copy the URL of the Layout Editor and paste it into a new tab in your browser. This can be useful if you frequently switch between your Paligo content and the Layout settings.
Select Quizzes in the sidebar.
Select One by one or All from the menu.
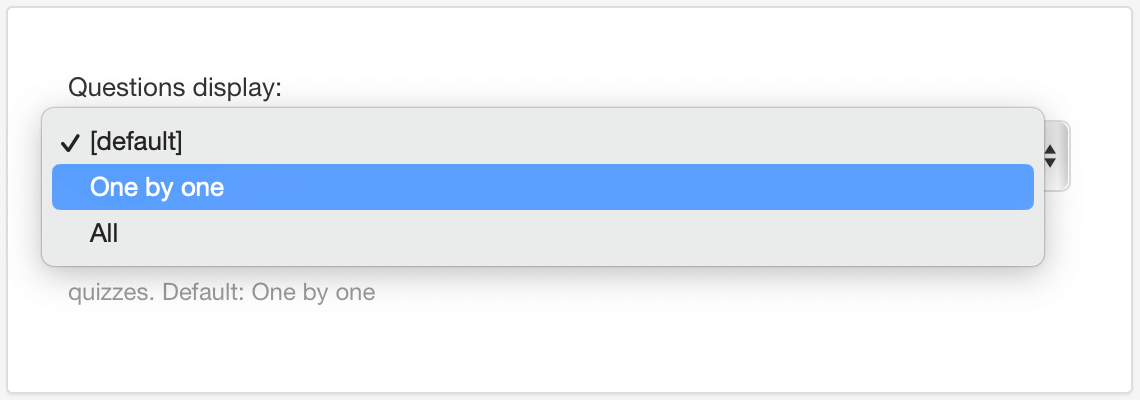
Select Save.