Create a Sitemap for your Help Center
Paligo can generate a sitemap XML file as part of your HTML5 Help Center output. The sitemap lists the pages in your help center and helps search engines to navigate and index the site.
To get Paligo to include a sitemap file in the output:
Select Layout in the top menu.

Paligo displays a list of Layouts. The list is empty if there are no custom Layouts in your Paligo instance.
Select the HTML5 Help Center Layout you are going to use for publishing. Alternatively, create a new one (see Create a Layout).
Select CSS, JS, logos and other assets in the sidebar.
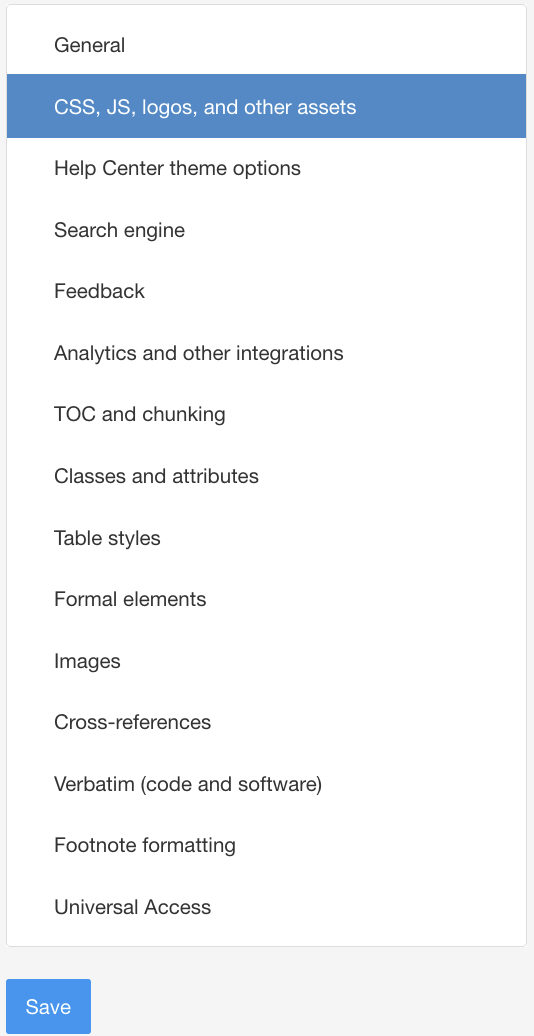
Set Create sitemap to:
Enable to get Paligo to generate a sitemap.xml file in the output.
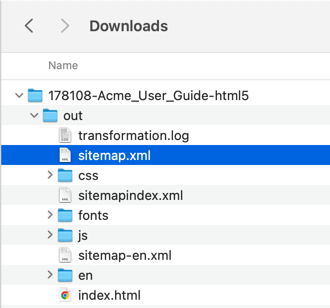
When you publish, the sitemap.xml file is in the Out folder.
Disable to prevent Paligo from generating a sitemap.
Default to inherit the value for this setting from the base Layout. The base Layout is either a built-in Layout provided by Paligo or another custom Layout, see Layout Relationships - Base, New, Duplicate.
In the Publishing destination path field, enter the URL of your help center.
If you have not published your help center yet, this is the address where you intend to host your help center, for example:
href="www.acme.com/customersupport/Paligo will use this as the absolute path for each topic in the sitemap.xml file.
Select Save.
When you use this Layout to publish, Paligo will include a sitemap.xml in the output. When you upload your content to your domain, make sure to include the entire Out folder, including the sitemap.xml. The various Internet search engines will then be able to find your sitemap file.