Borders on All Images (HTML)
You can use CSS to add borders around all images, based on the image type. For example, you could add borders around all block images, but leave inline images to have no borders.
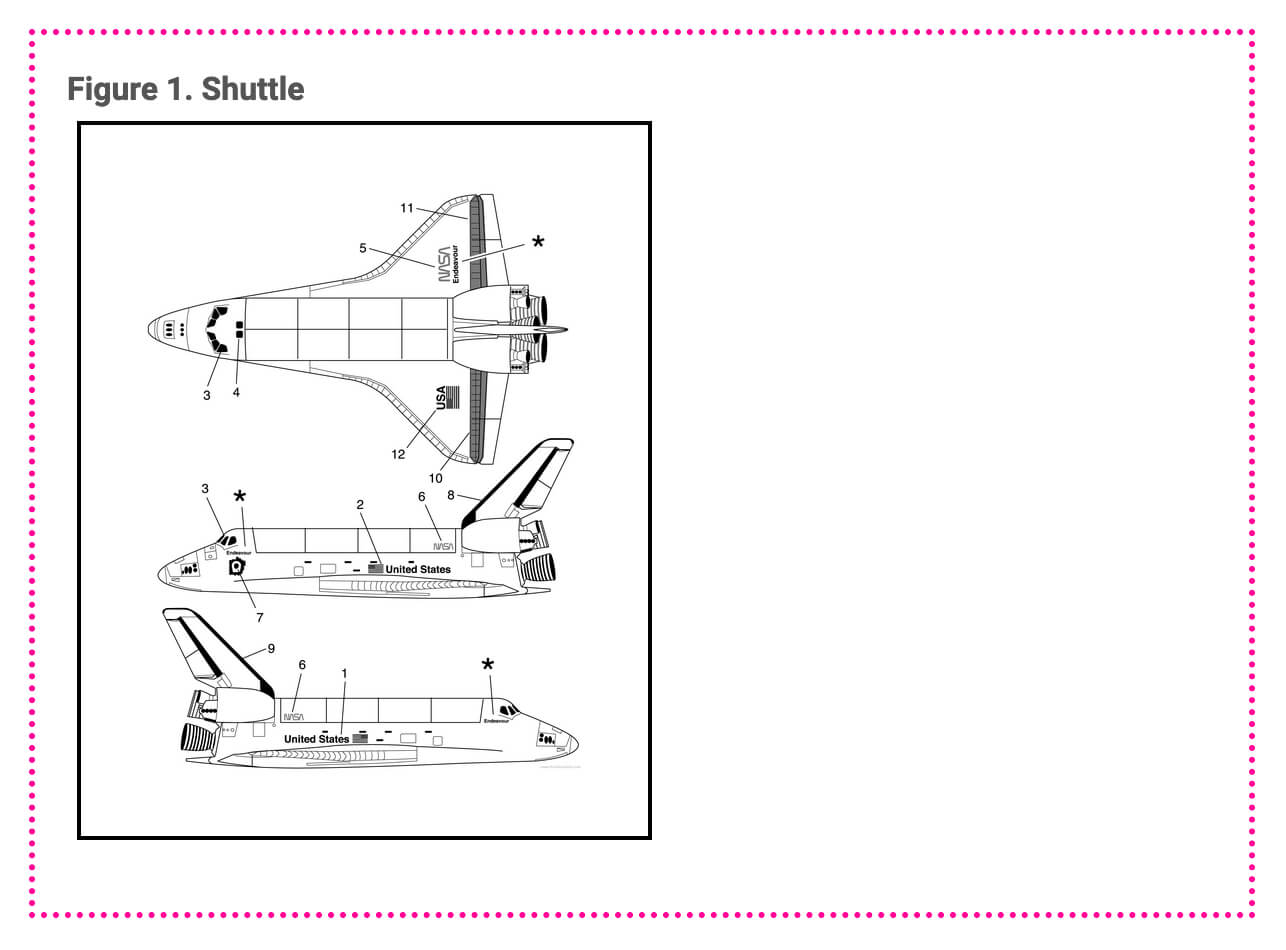
With images that are inside figures and informalfigures, you also have the option to add a border around the entire figure/informalfigure section. So you could have a border around the section, but not the image. Or you could have different borders around both.
 |
To use CSS to style image borders for HTML ouputs, follow the steps below. Note that for the examples provided, we have used a pink dotted border that is 3px wide. There is 1em padding (internal margin) on each image too. You can change the sizing, style, and padding as required.
Tip
For information on using CSS for border styles, we recommend the w3schools website.
Use a code or text editor to create a CSS file. Give it a suitable name and save it with the
.cssextension.Note
If you already use a custom CSS for your layout, you should edit that CSS file instead.
Enter the CSS for the border styles you want.
To style block images, add your border styling for the
.mediaobject imgclass. For example:.mediaobject img { border: 3px dotted #FF1493; padding:1em; }To style figure sections, add your border styling for the
.figureclass. For example:.figure { border: 3px dotted #FF1493; padding:1em; }To style informalfigure sections, add your border styling for the
.informalfigureclass. For example:.informalfigure { border: 3px dotted #FF1493; padding:1em; }To style inline images, add your border styling for the
.inlinemediaobjectclass. For example:.inlinemediaobject { border: 3px dotted #FF1493; padding:1em; }Note
The
figureandinformalfigureclasses are for styling the figure and informalfigure sections, not the images inside them. The images inside the sections are either block images that you can style withmediaobject imgor inline images that you can style withinlinemediaobject.Save your CSS file.
Select Layout in the top menu.

Paligo displays a list of Layouts. The list is empty if there are no custom Layouts in your Paligo instance.
Select the Layout you want to update or Create a Layout.
Tip
You can copy the URL of the Layout Editor and paste it into a new tab in your browser. This can be useful if you frequently switch between your Paligo content and the Layout settings.
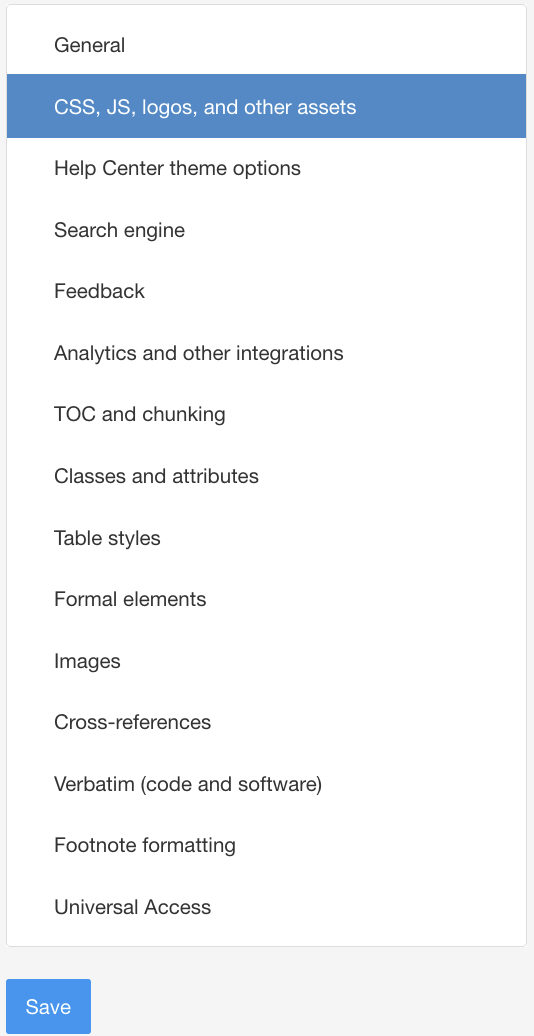
Select CSS, JS, logos and other assets in the sidebar.

Select Upload in the CSS section.

Important
When you upload a CSS file, it will replace any CSS file that is currently associated with the layout.
Note
If you are using an HTML layout rather than an HTML5 layout, the CSS upload feature is in the General category.
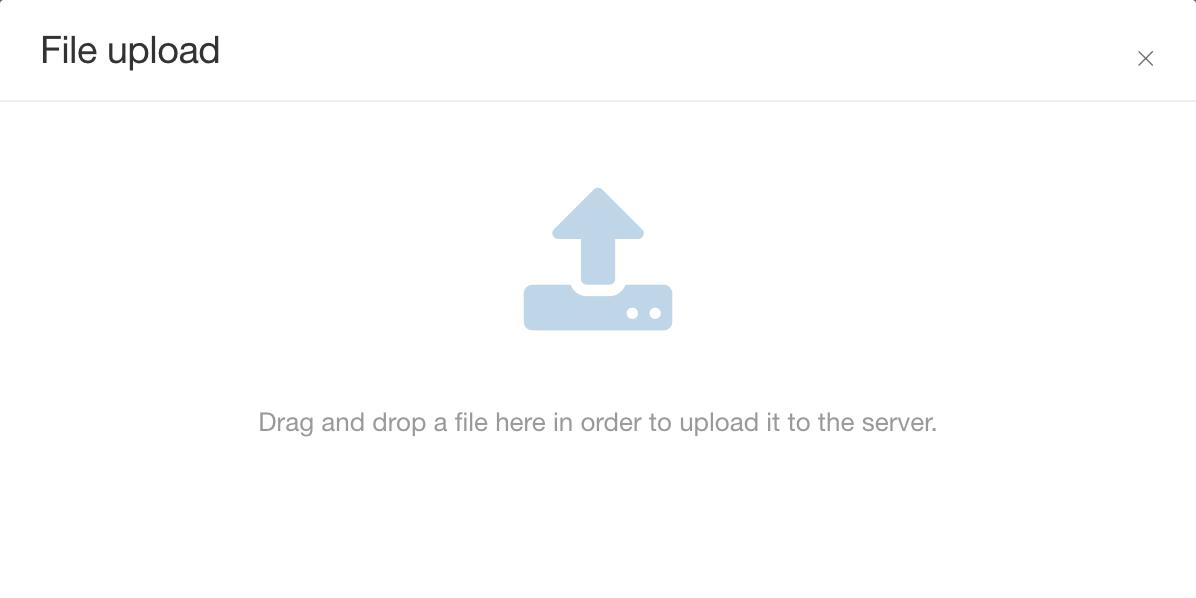
Drag your custom CSS file from your computer's file system onto the file upload dialog.

Paligo uploads the CSS file to the Paligo server.
Note
You should only upload validated CSS files that have the
.cssfile extension.Select Save.

When you publish with that layout, the CSS styles will be applied to your published output.