[en] Create a Simple List
[en] In Paligo XML (and DocBook), there is a simplelist element that you can use to create basic lists of words or phrases. They are especially useful for:
-
[en] Listing items horizontally, without numbers or bullet points
-
[en] Listing items vertically or horizontally across several columns, similar to a table.
[en] To create a simple list:
-
Wählen Sie das Topic oder die Komponente im Content Manager aus, um es/sie im Editor zu öffnen.
Alternativ können Sie Topics erstellen und dieses bearbeiten.
-
[en] In the topic, position the cursor where you want the simple list to appear.
-
[en] Use the Element Context Menu to insert the
simplelistelement.[en] When you add the
simplelistelement, Paligo automatically adds amemberelement inside it. Thememberelement is for the first item in the list.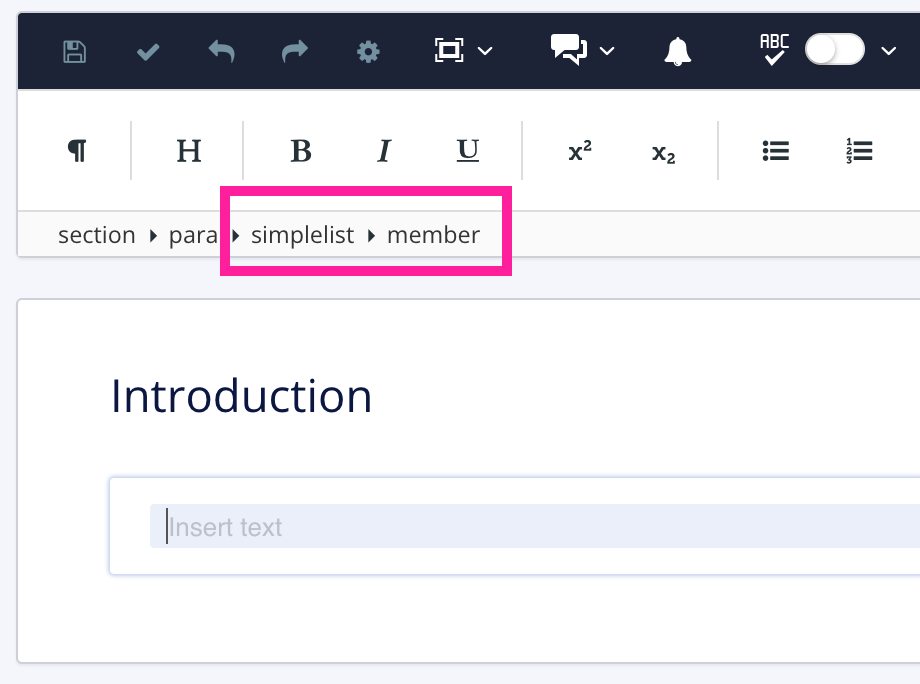
-
[en] Enter the text for the first list item and then press Enter to create the next list item (
member). -
[en] Enter the text for the next list item and press Enter.
-
[en] Continue adding all of the list items you need. Do not press Enter after the last list item, otherwise you will get an extra
memberelement.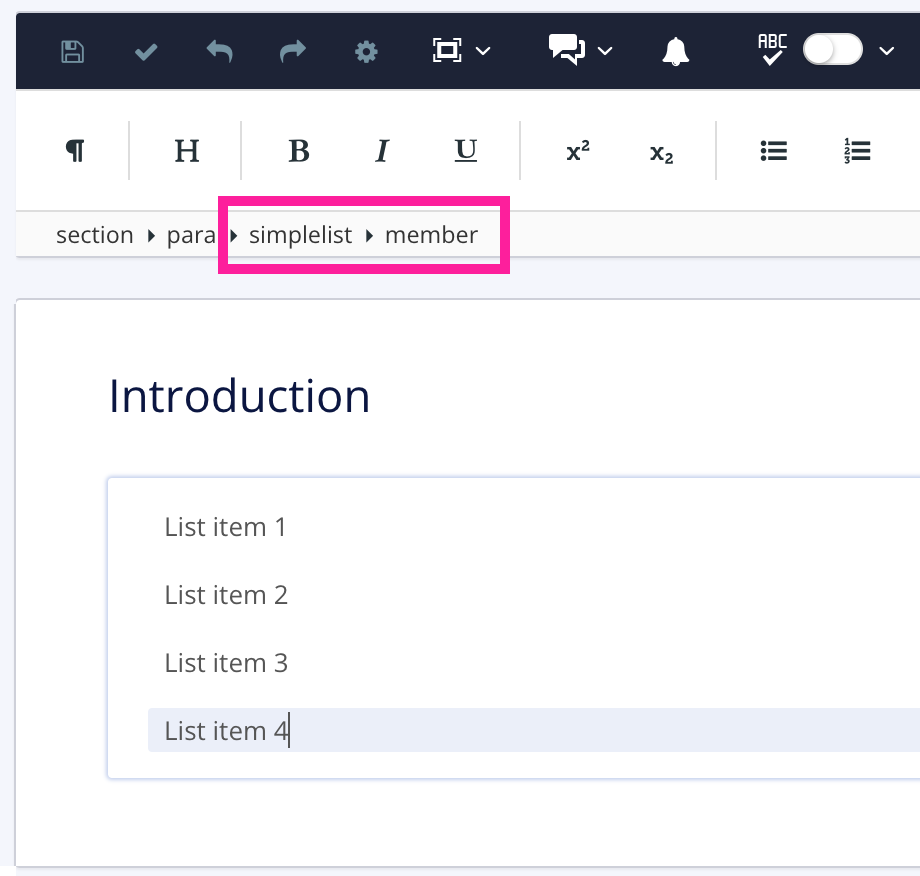
Tipp
[en] If you do get an extra
memberelement, select it, and then selectmemberin the Element Structure Menu at the top and then select Delete.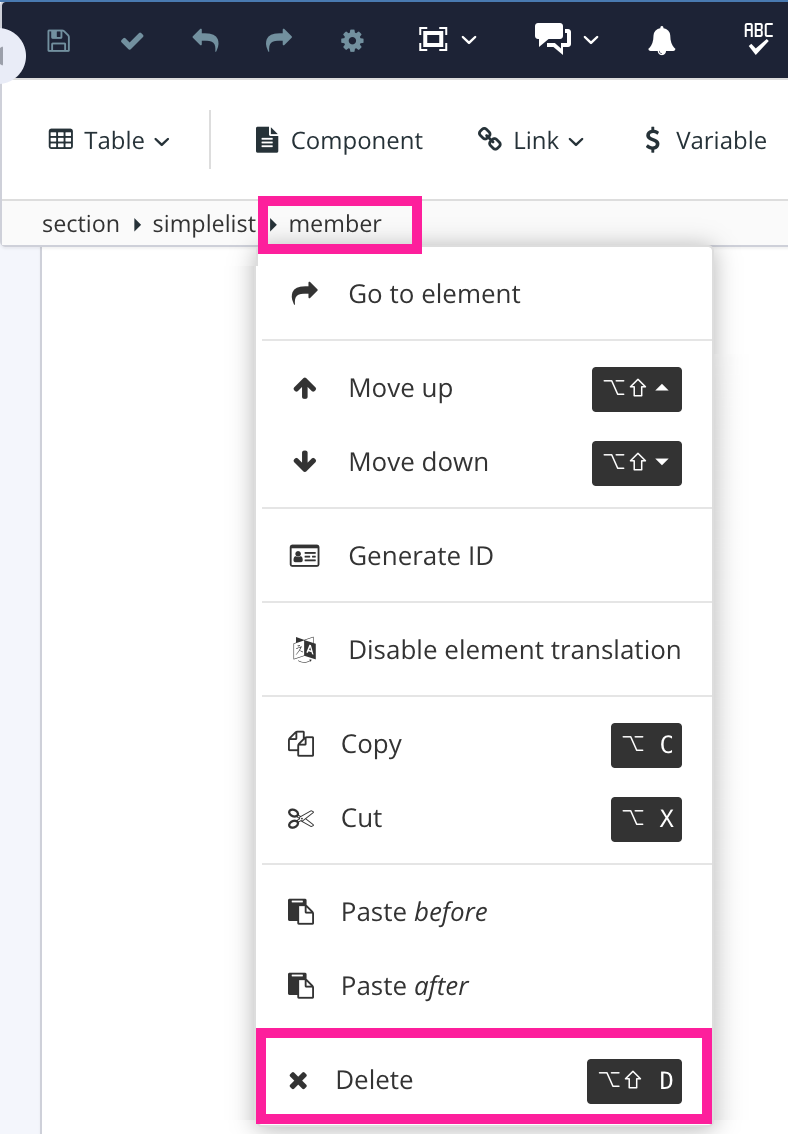
-
[en] Select the
simplelistelement in the Element Structure Menu and then select Go to element. -
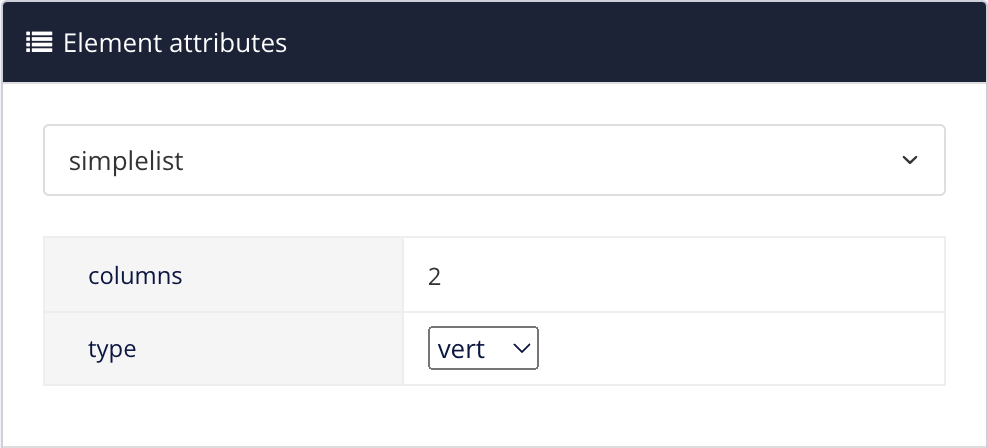
[en] In the Element attributes panel, add the
typeattribute and set its value to:-
[en] inline
[en] To display the list inline, as regular text.
[en] For example:
[en] Content of member 1[en] Content of member 2[en] Content of member 3[en] Content of member 4 -
[en] horiz
[en] To display the list horizontally across a number of columns*.
[en] For example:
[en] Content of member 1 [en] Content of member 2 [en] Content of member 3 [en] Content of member 4 -
[en] vert
[en] To display the list vertically across a number of columns*.
[en] For example:
[en] Content of member 1 [en] Content of member 3 [en] Content of member 2 [en] Content of member 4
[en] * You will set the columns in the next step.
-
-
[en] This step only applies if you set the simple list's
typeattribute tohorizorvert.-
[en] Select the
simplelistelement. -
[en] In the Element attributes panel, give the
simplelistelement thecolumnsattribute. -
[en] For the
columnsvalue, enter the number of columns you want the simple list to use.
[en] When you publish, Paligo will render the
simplelistso that it uses the number of columns you have set.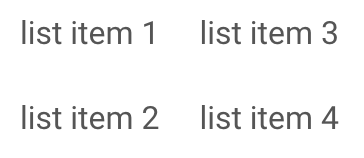
-
-
Drücken Sie Speichern.
