Optional and Required Steps in Procedures
You can mark up steps so that they are optional or required. To do this, you use the performance attribute. Paligo then gives the steps an optional or required class that can be styled differently in HTML outputs by using CSS.
When you are writing step-by-step procedures, you may have some steps that are optional and some that the user must complete. To make these steps stand out, you may want to style them differently, and this requires the steps to be marked up differently in Paligo XML.
You can use the performance attribute to set a step to optional or required. When you publish to HTML, the step will have a class name for optional or required, so that it can be styled differently using CSS.
Note
Optional and required steps can only be styled differently for HTML outputs. If you need different styling for PDFs, a customization is required.
To use the performance attribute:
Create a procedure with steps.
Select a step. In the element structure menu, select the
stepelement and then select Go to element.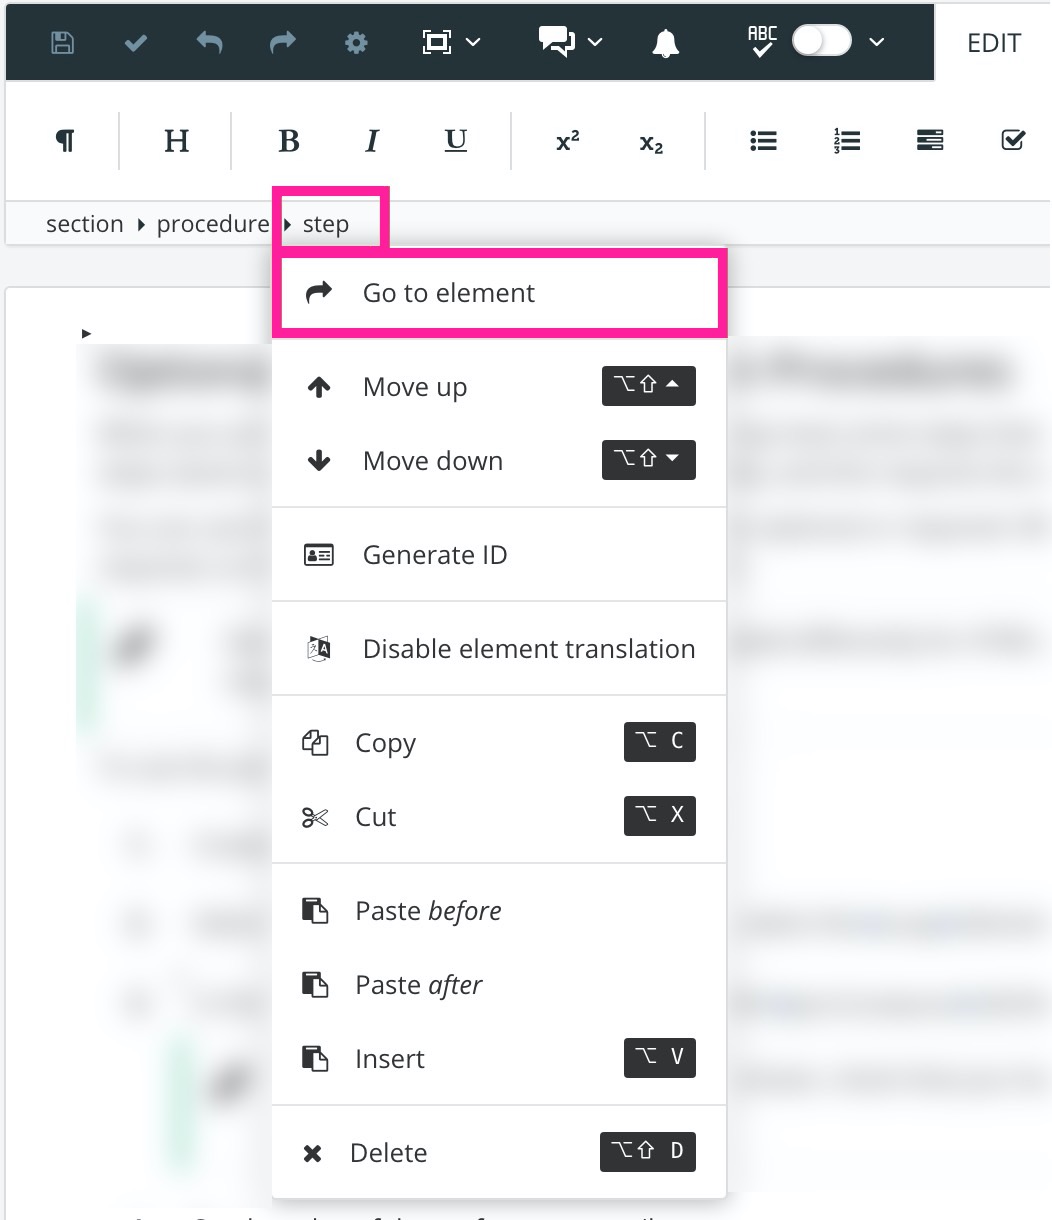
In the Element attributes section, search for the
performanceattribute and then add it.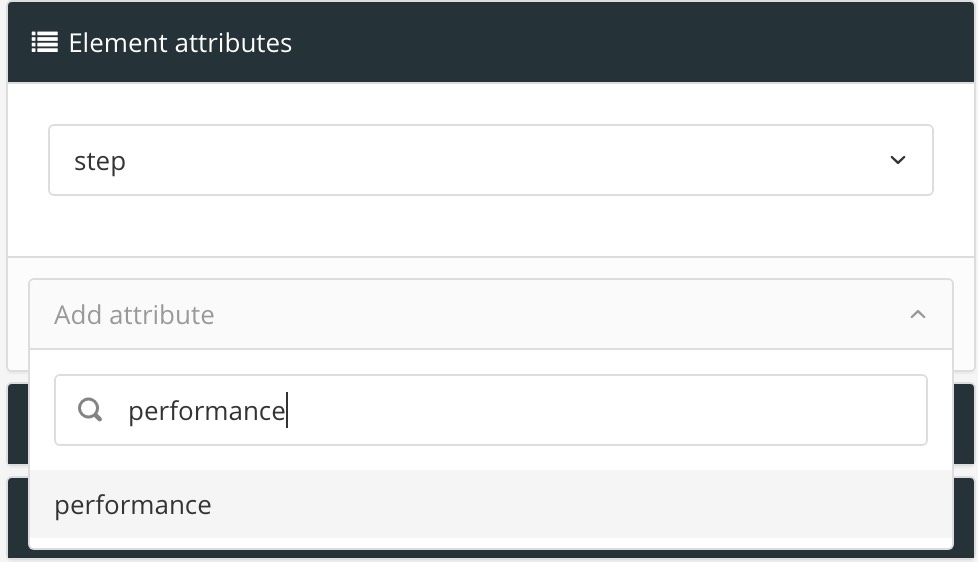
Note
If the performance attribute is not shown, check that you have selected the step element and not the para element that is inside the step.
Set the value of the performance attribute to:
Optional for steps that are not a requirement. The user can choose whether they want to complete these steps.
Required for steps that the user must complete.
Select Save.
Create a custom CSS file and add the styling for the optional and required steps to it. The classes you need to style are .step.optional and .step.required. For example, the following code adds "(Optional)" or "(Required)" before the paragraph in the step and also sets the font to bold.
.step.optional p:first-child:before {
    content: '(Optional) ';
    font-weight: bold;
}

.step.required p:first-child:before {
    content: '(Required) ';
    font-weight: bold;
}
This example only works for English. But it is possible to have multi-lingual support with CSS:
/* For supporting multiple languages: */

html[lang="sv"] .step.optional p:first-child:before {
    content: '(Valfritt ) '; font-weight: bold;
}

html[lang="en"] .step.required p:first-child:before {
    content: '(Required) '; font-weight: bold;
}

html[lang="sv"] .step.required p:first-child:before {
    content: '(Obligatoriskt ) ';
    font-weight: bold;
}
Upload your CSS file to your HTML layout.
To find out more about creating custom CSS files and uploading them to your HTML layouts, see Style with CSS.
Publish to HTML, using the HTML layout from the previous step.